In week two, we reviewed the basics of electronic circuits and components, and for the first time at ITP, we were given a physical computing kit that included most of the parts needed to complete the class labs.
The various components of the physical computing kit we received in class in order to start prototyping our own electrical circuits. Some of the basic components used for this week’s lab included the solderless breadboard, LEDs, resistors, solid core hookup wires, and the Arduino Nano 33 IoT.
The electronics labs for the week had us practice using a multimeter, building circuits, adding switches, and soldering connections — and after running through these exercises, we were asked to get creative with making our own switch.
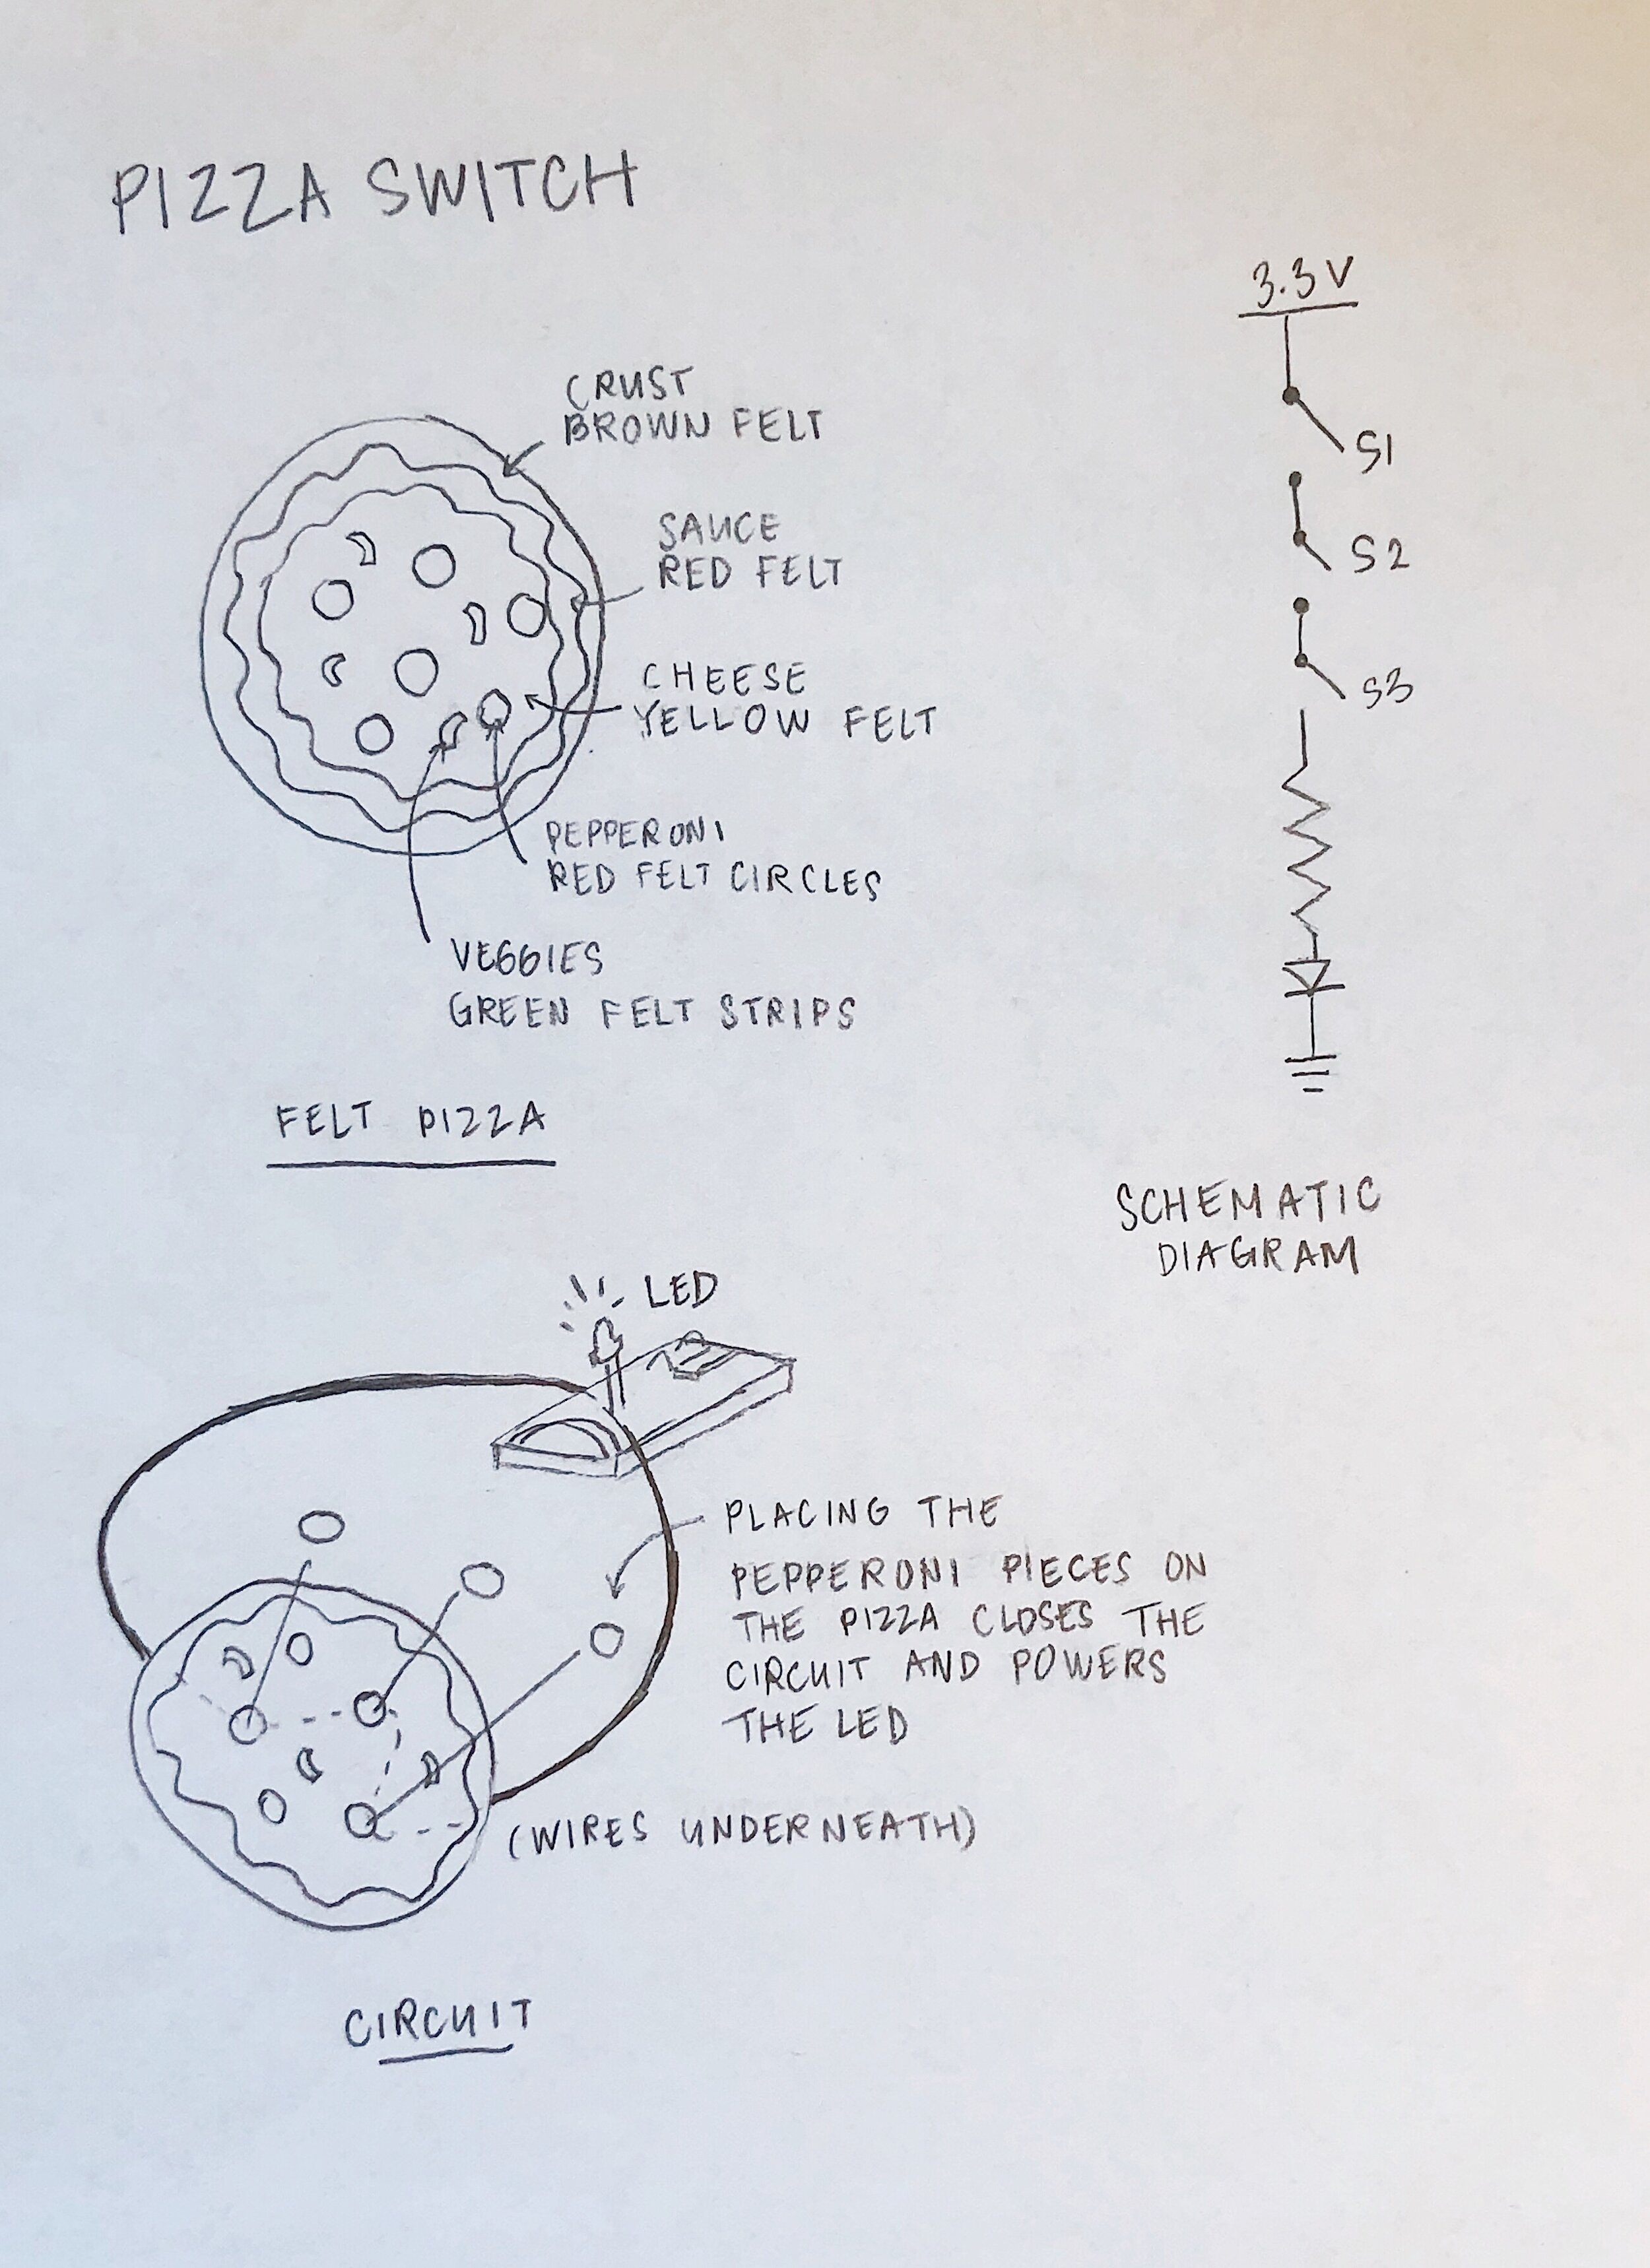
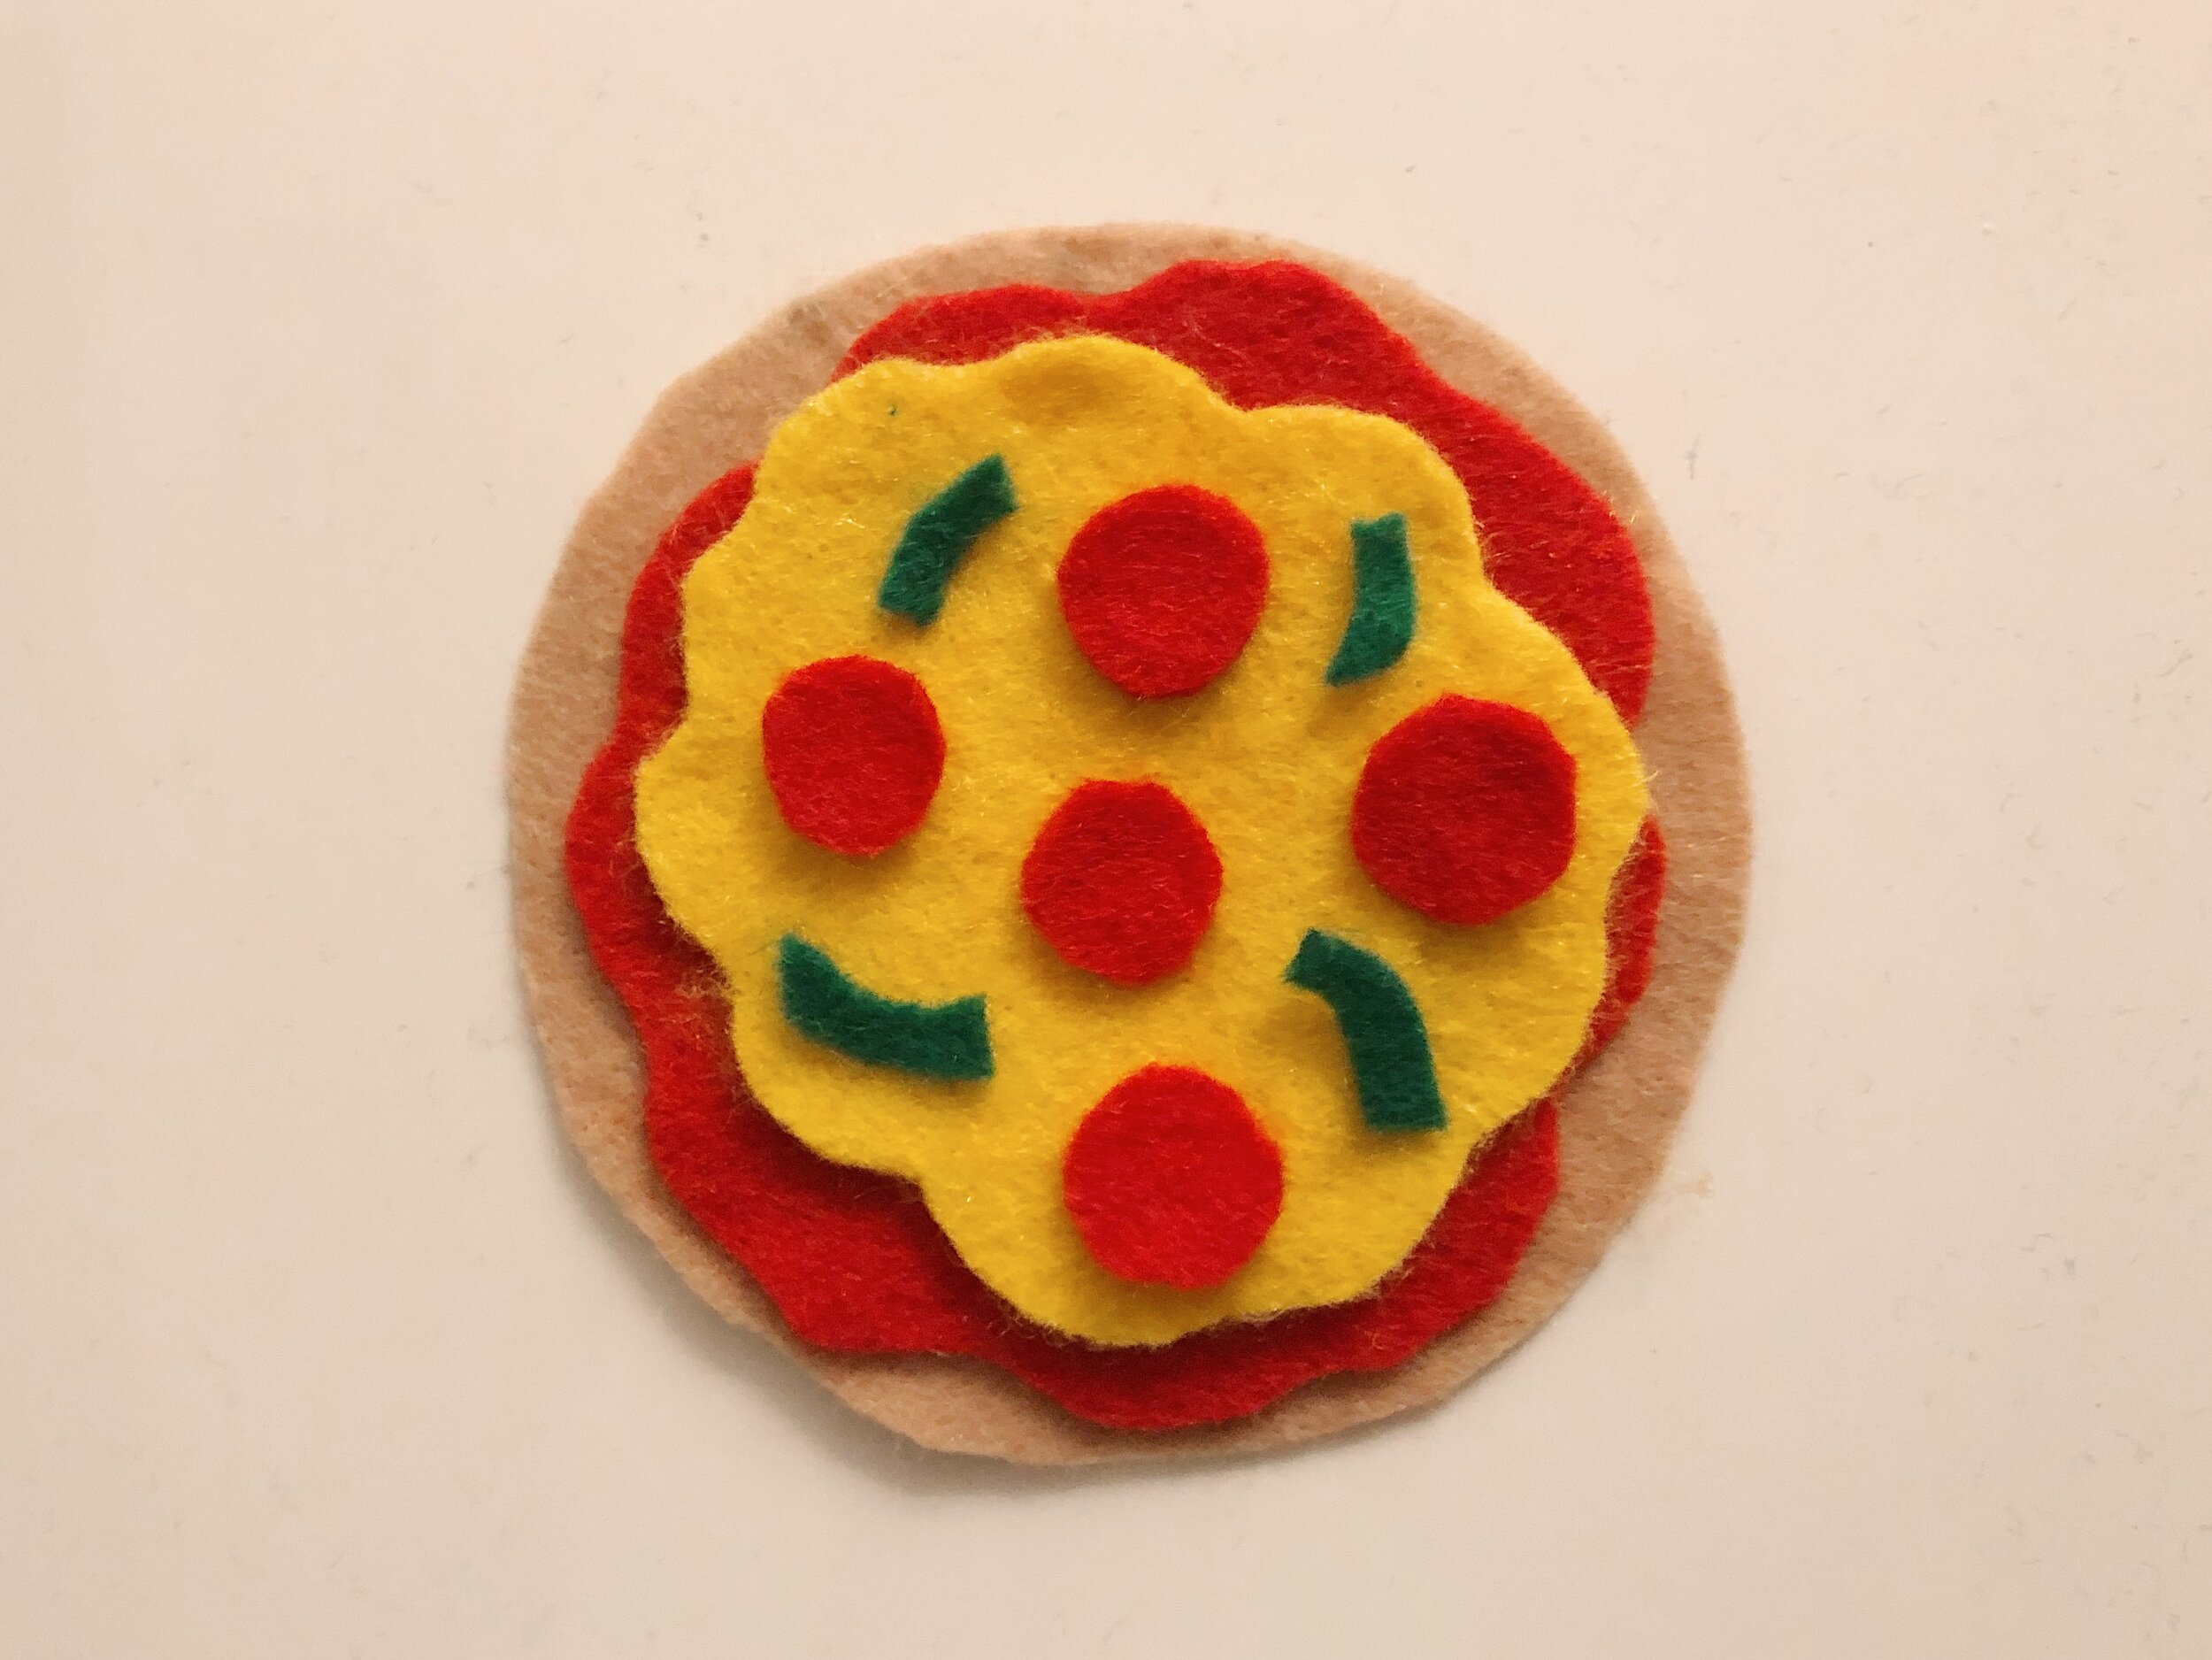
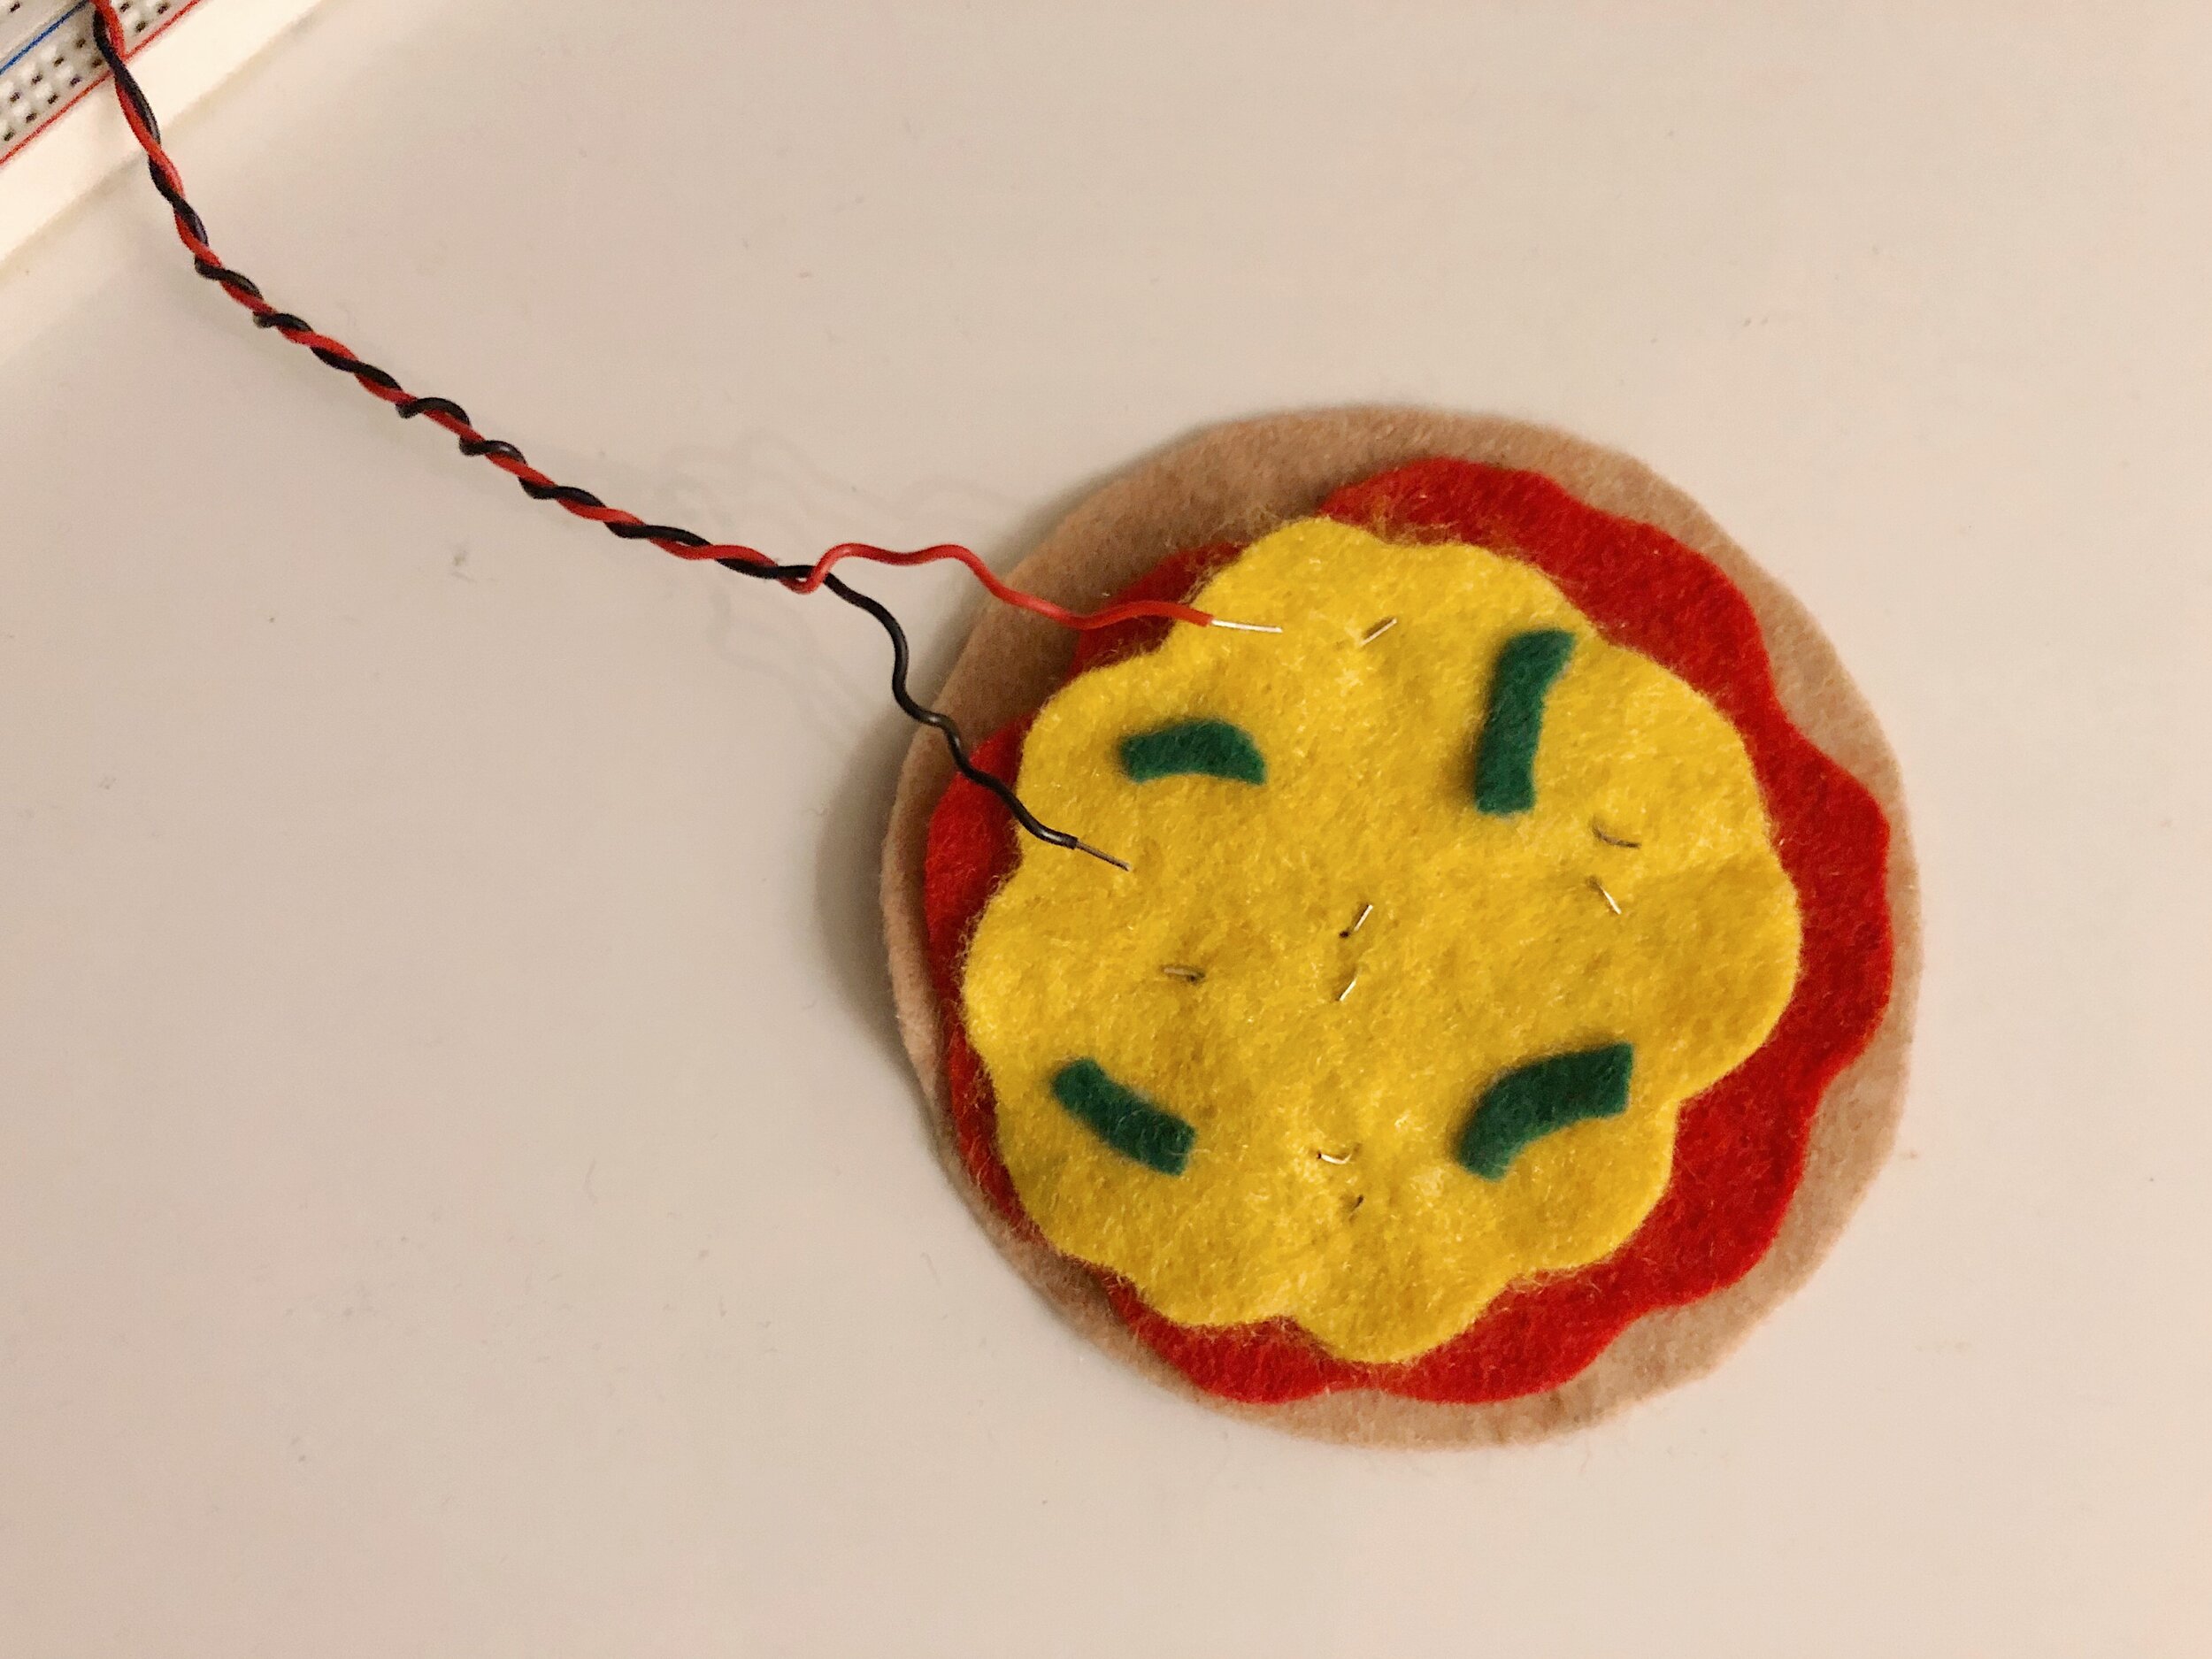
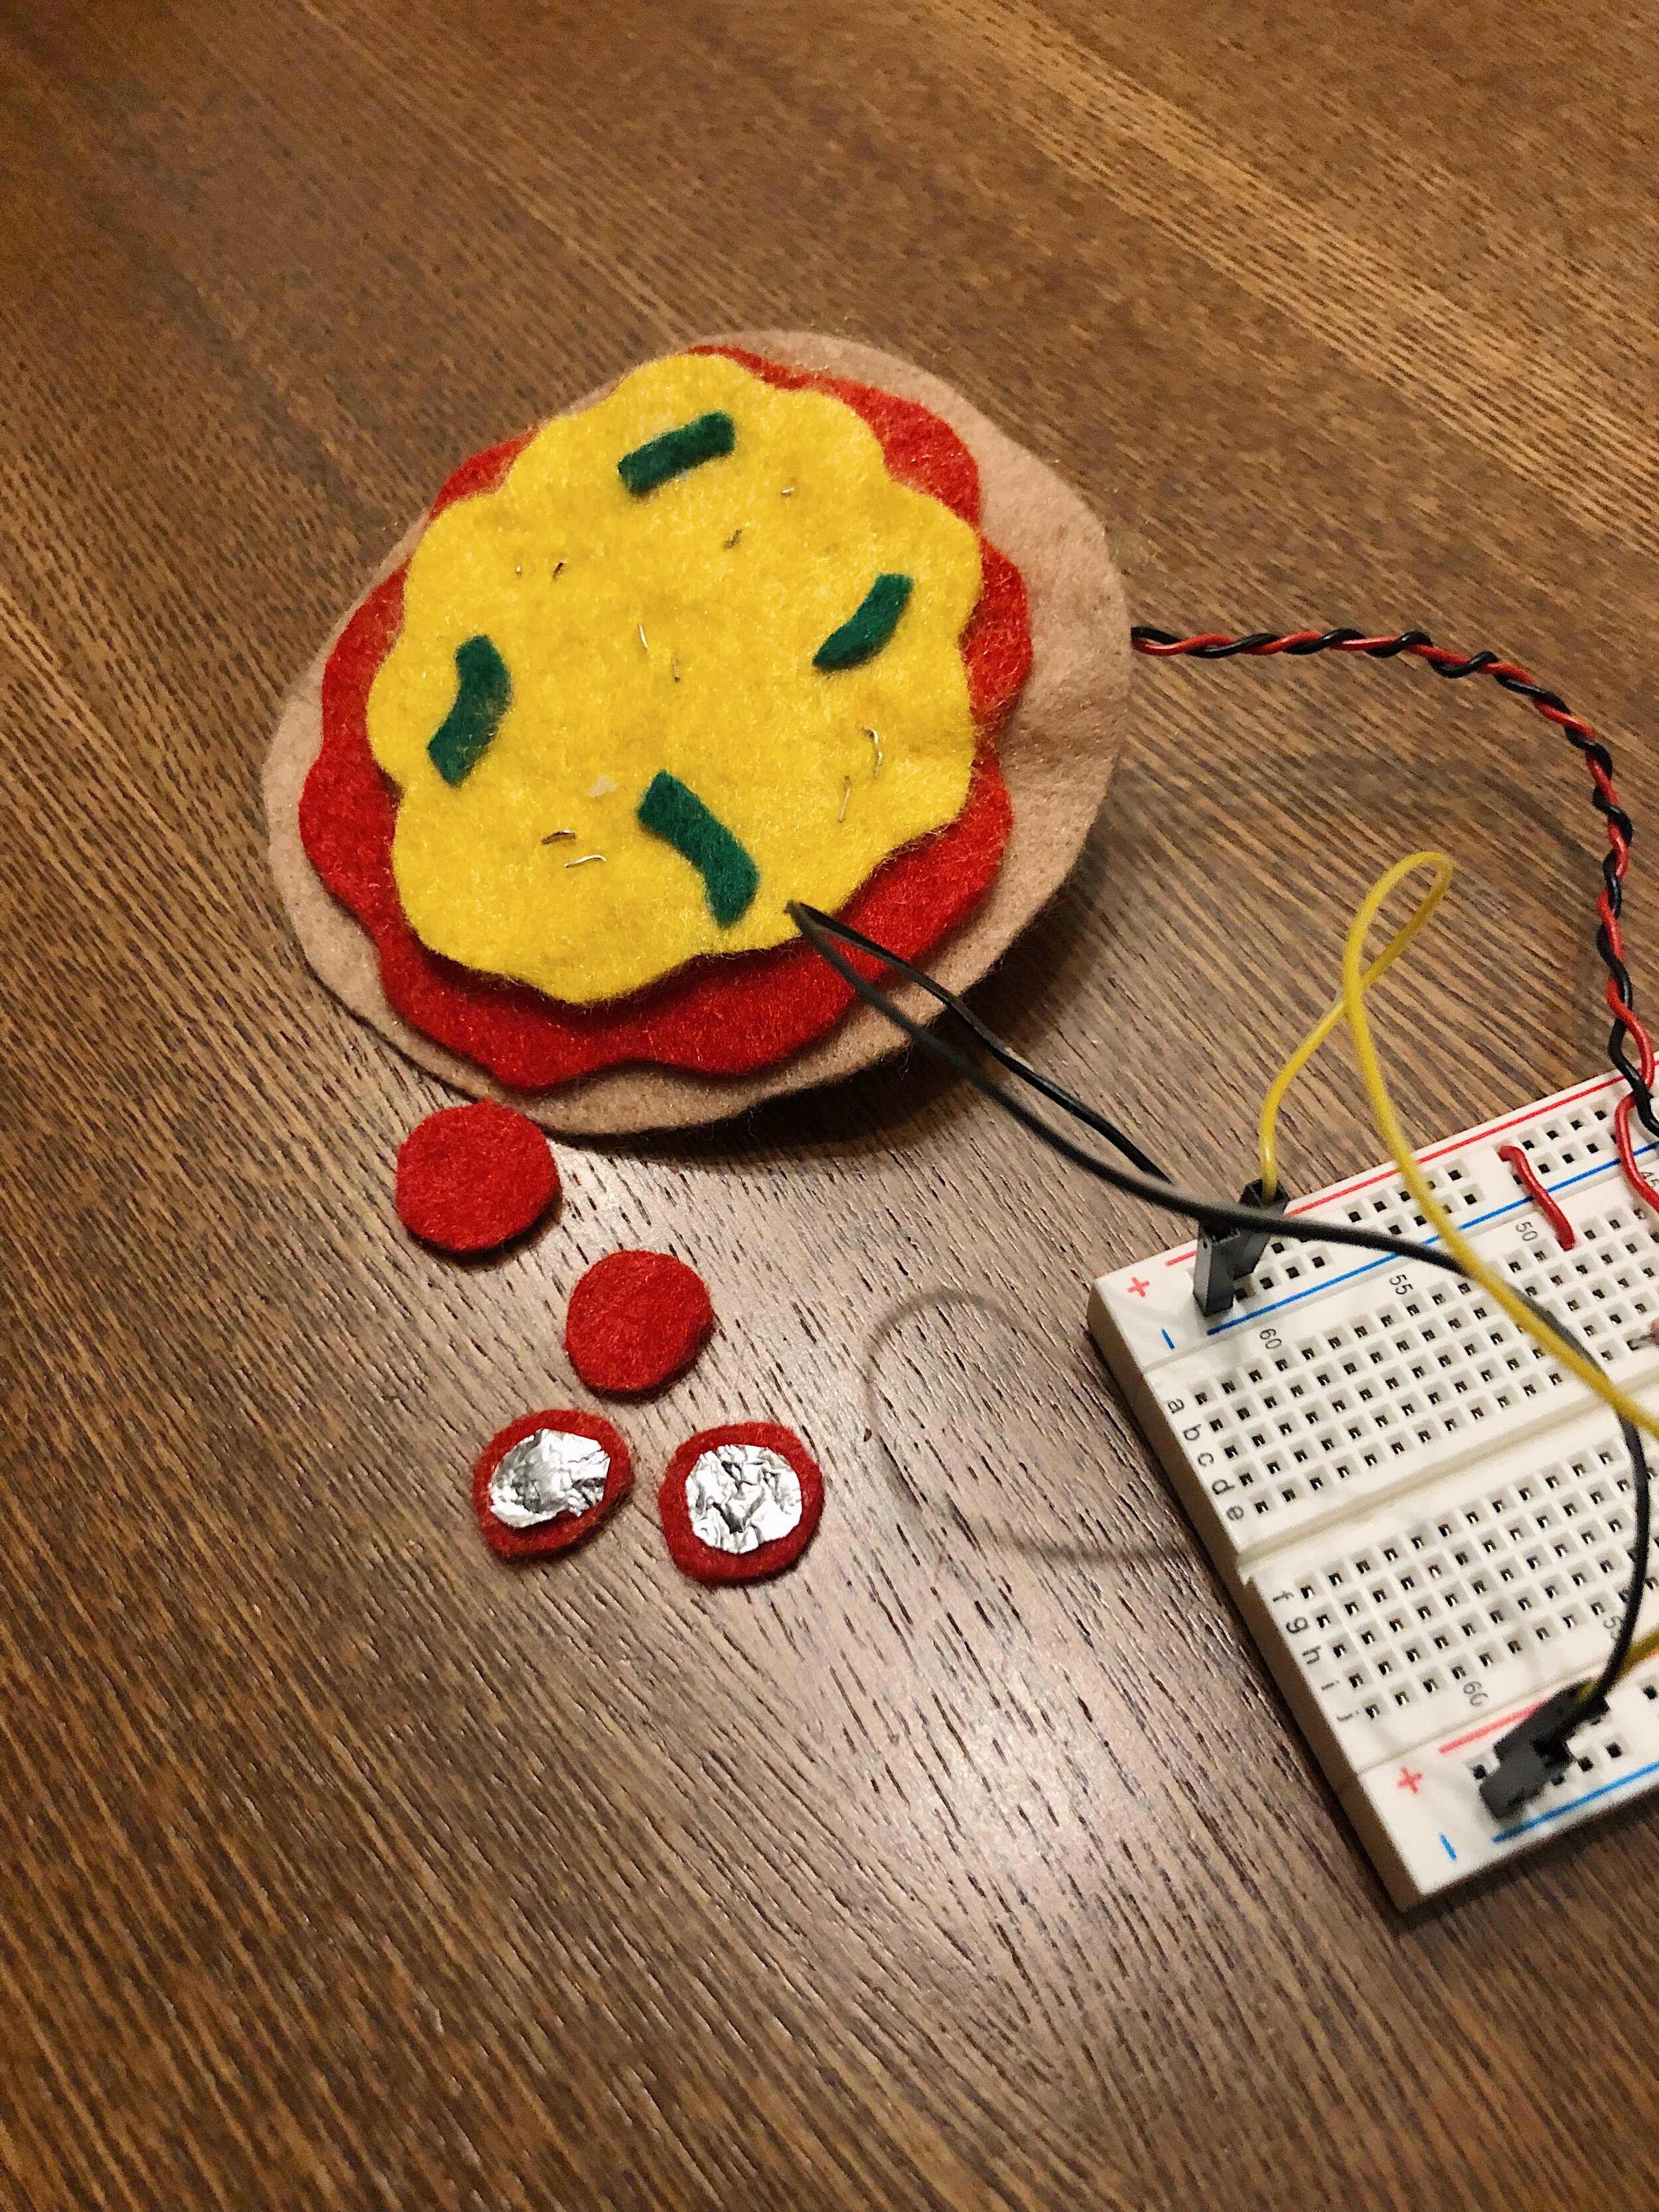
I wanted to experiment with making a puzzle switch, and ended up going with the concept of assembling a pizza to complete a circuit. The idea was to have the pepperoni toppings function as switches by placing the felt pieces (with conductive foil underneath) on top of the wires that were embedded in the felt layer of cheese.
However, after I added in all of the wires, I found out that just placing the five pepperoni switches on top of the pizza did not provide a stable connection for the LED to light up. Because the felt circles are so lightweight, I had to press down firmly on all five pieces in order for the circuit to work. (If I were to make adjustments, I would consider the possibilities of other conductive materials and wiring methods.) I ended up simplifying the design to a single switch, so that laying down a final loose piece of pepperoni closed the circuit instead.
The final touch: placing the last pepperoni lights up the LED.


