Assignment
This week’s assignment: fabricate something using primarily two different materials. The materials cannot be acrylic or plywood.
In all of my fabrication projects, I’ve been drawn to using more natural material sources – wood, wool felt, capiz shells, glass. This week, I wanted to incorporate rattan, particularly the cane webbing and sunburst weave pattern known as “solihiya” in the Philippines. Rattan is an everyday material in the Philippines, and its usage is very iconic in furniture pieces.
While I was repotting some plants over the weekend, there were a few pots I thought about elevating off the ground – but didn’t have any plant stands to set them on. Inspired to meet this need and to continue along my housewares theme, I decided to go for making a plant stand with rattan and wood.
Materials
I’ve been curious about using other kinds of wood, so I went back to Dyke’s Lumber and picked up a few feet of a 2x4 of mahogany. I chose mahogany because I love its reddish-brown tone and wanted to make a reference to "Philippine Mahogany" (while it’s not true mahogany, it’s a term for species of wood native to southeast Asia).
Picking up mahogany from Dyke’s Lumber in Brooklyn.
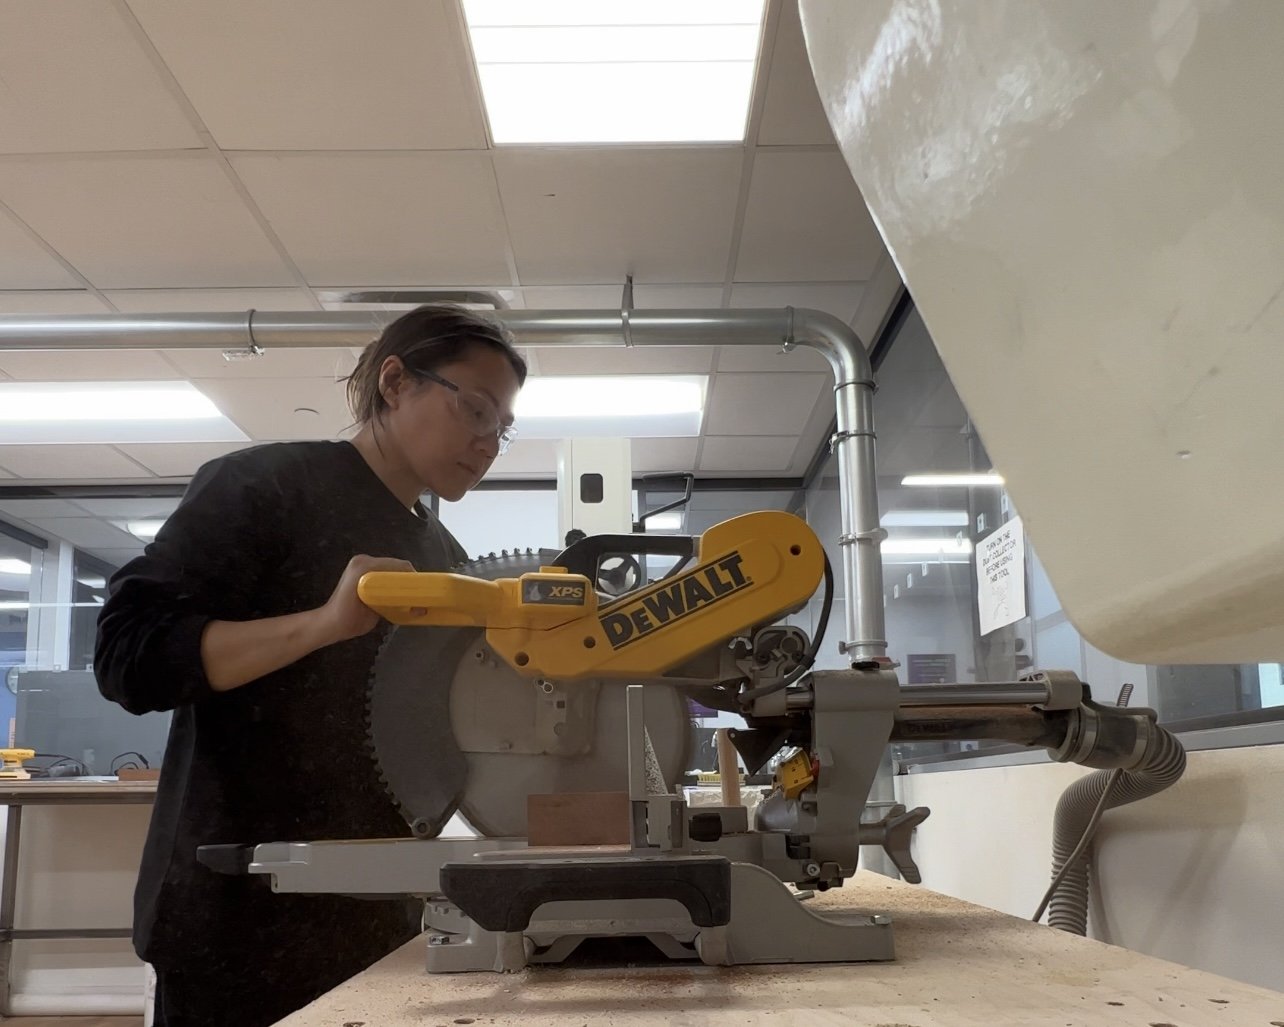
Using a miter saw to cut the 2x4.
Process
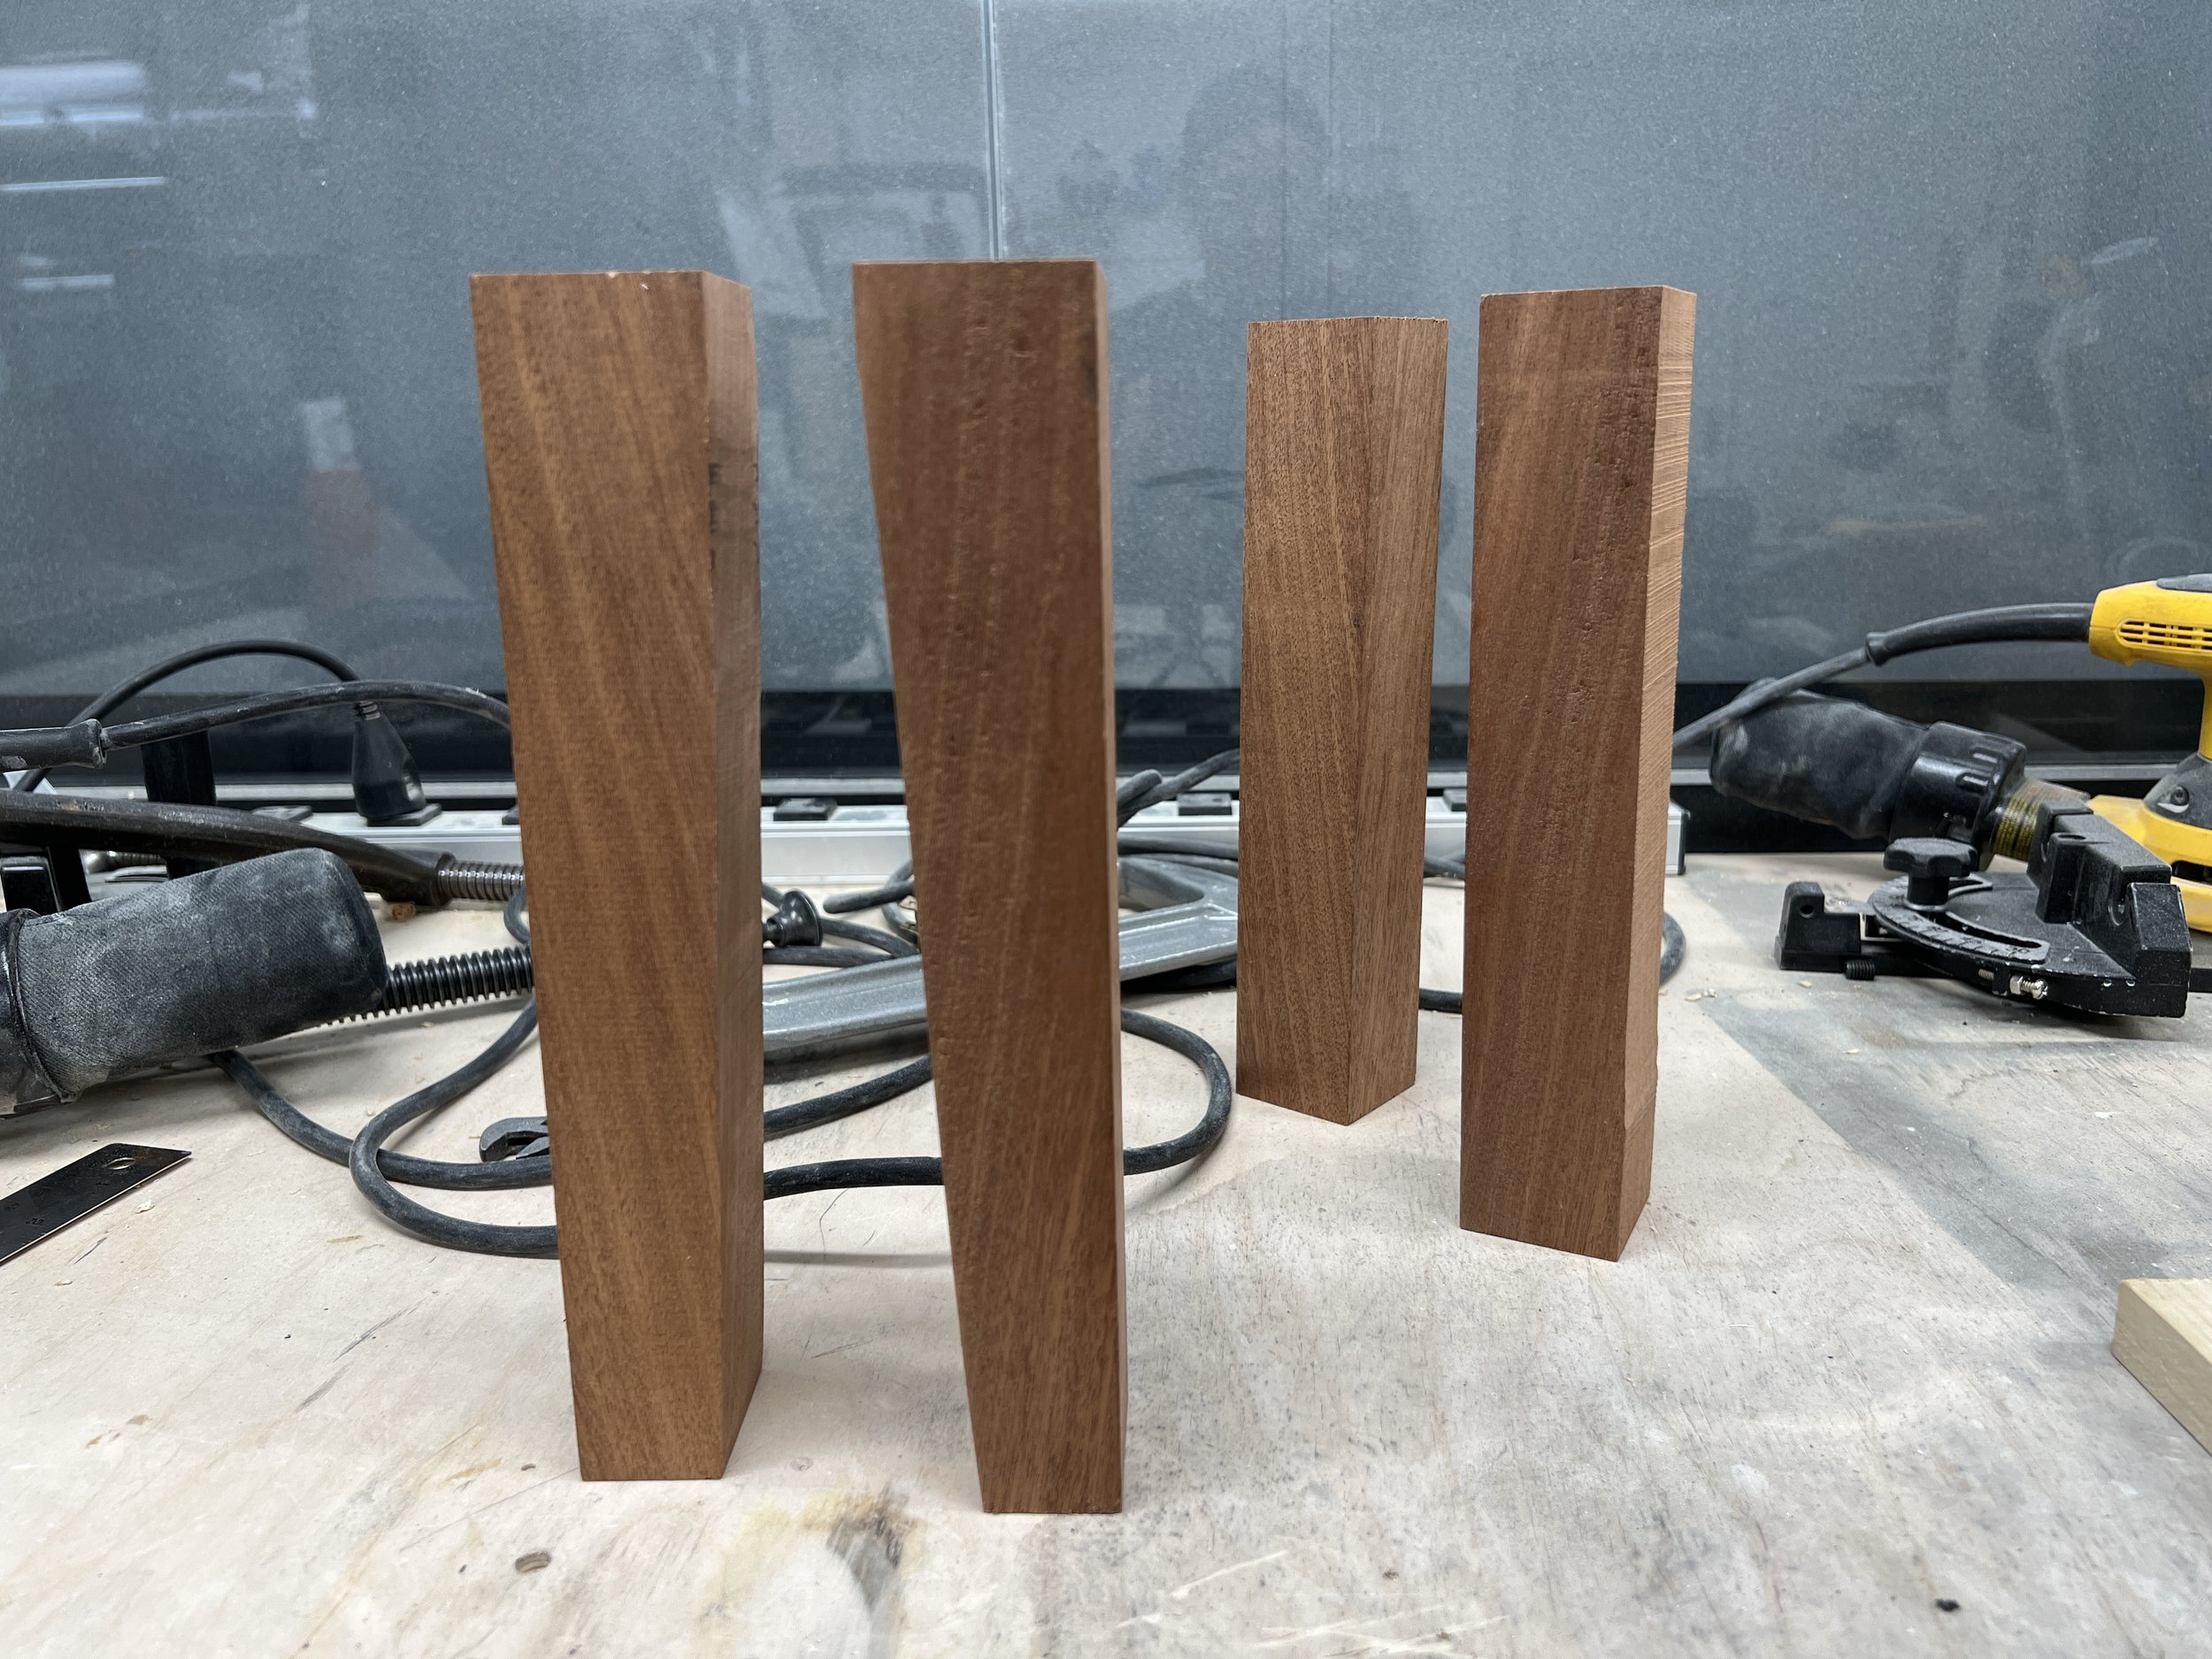
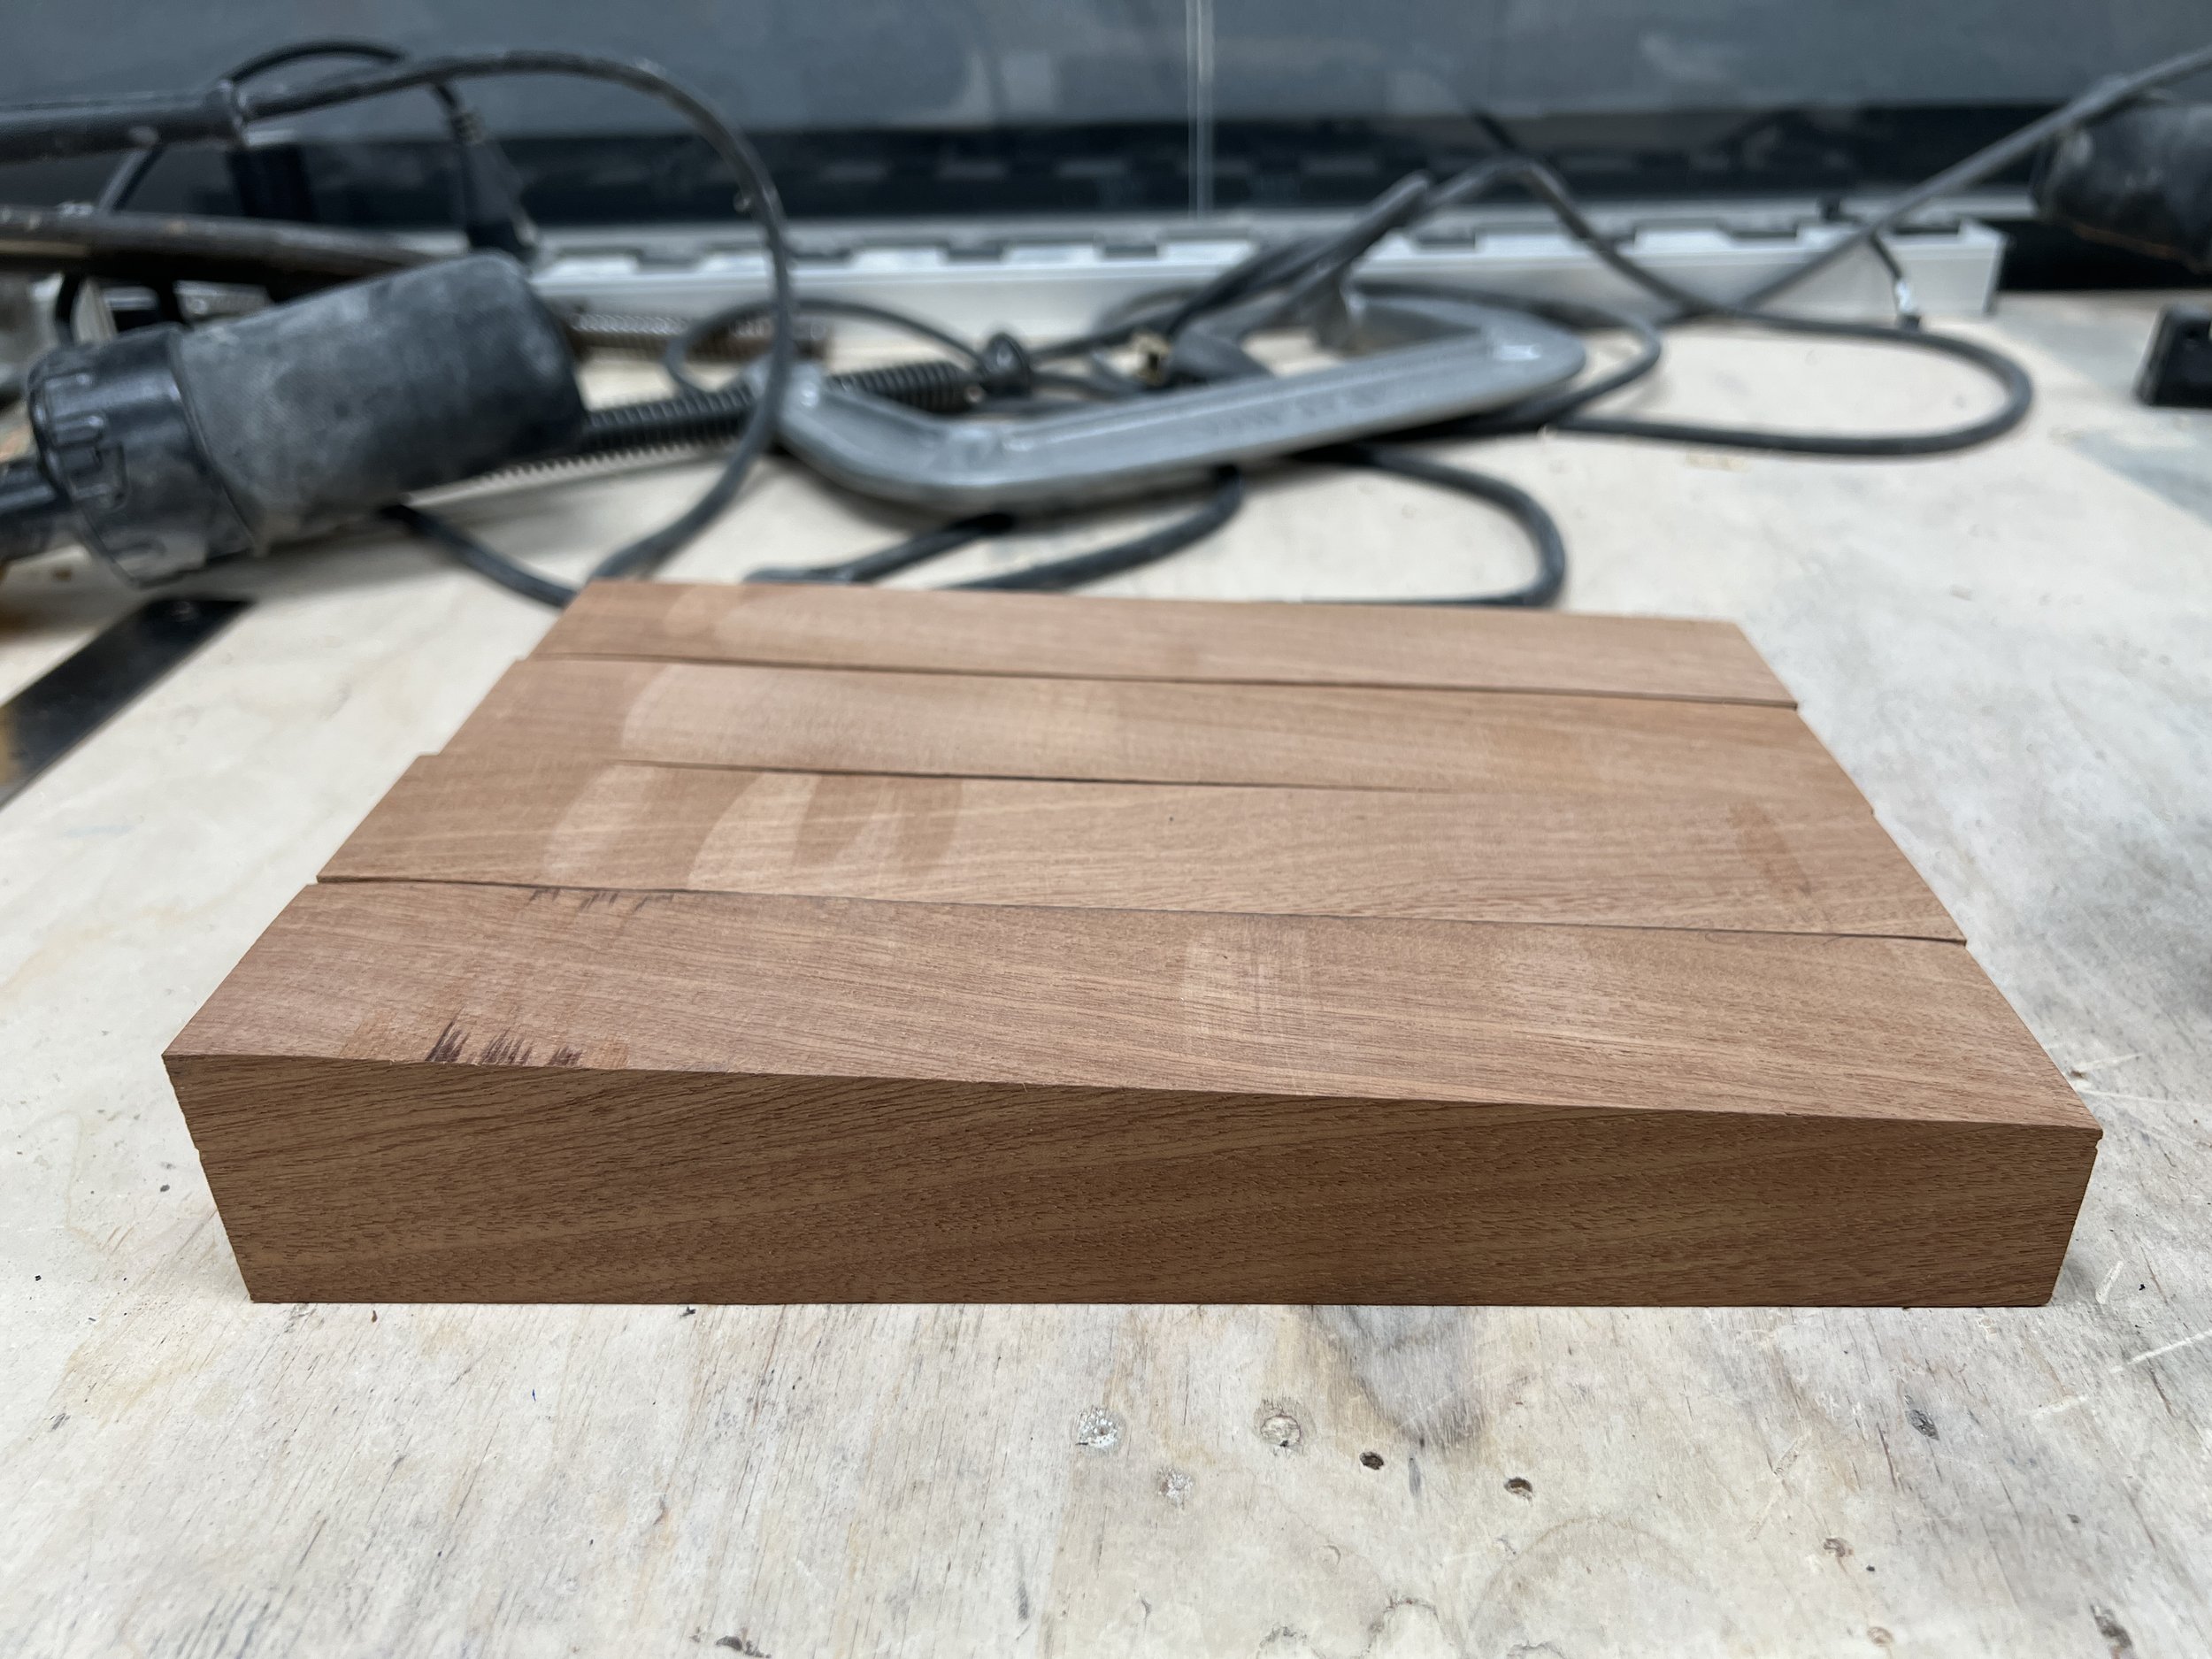
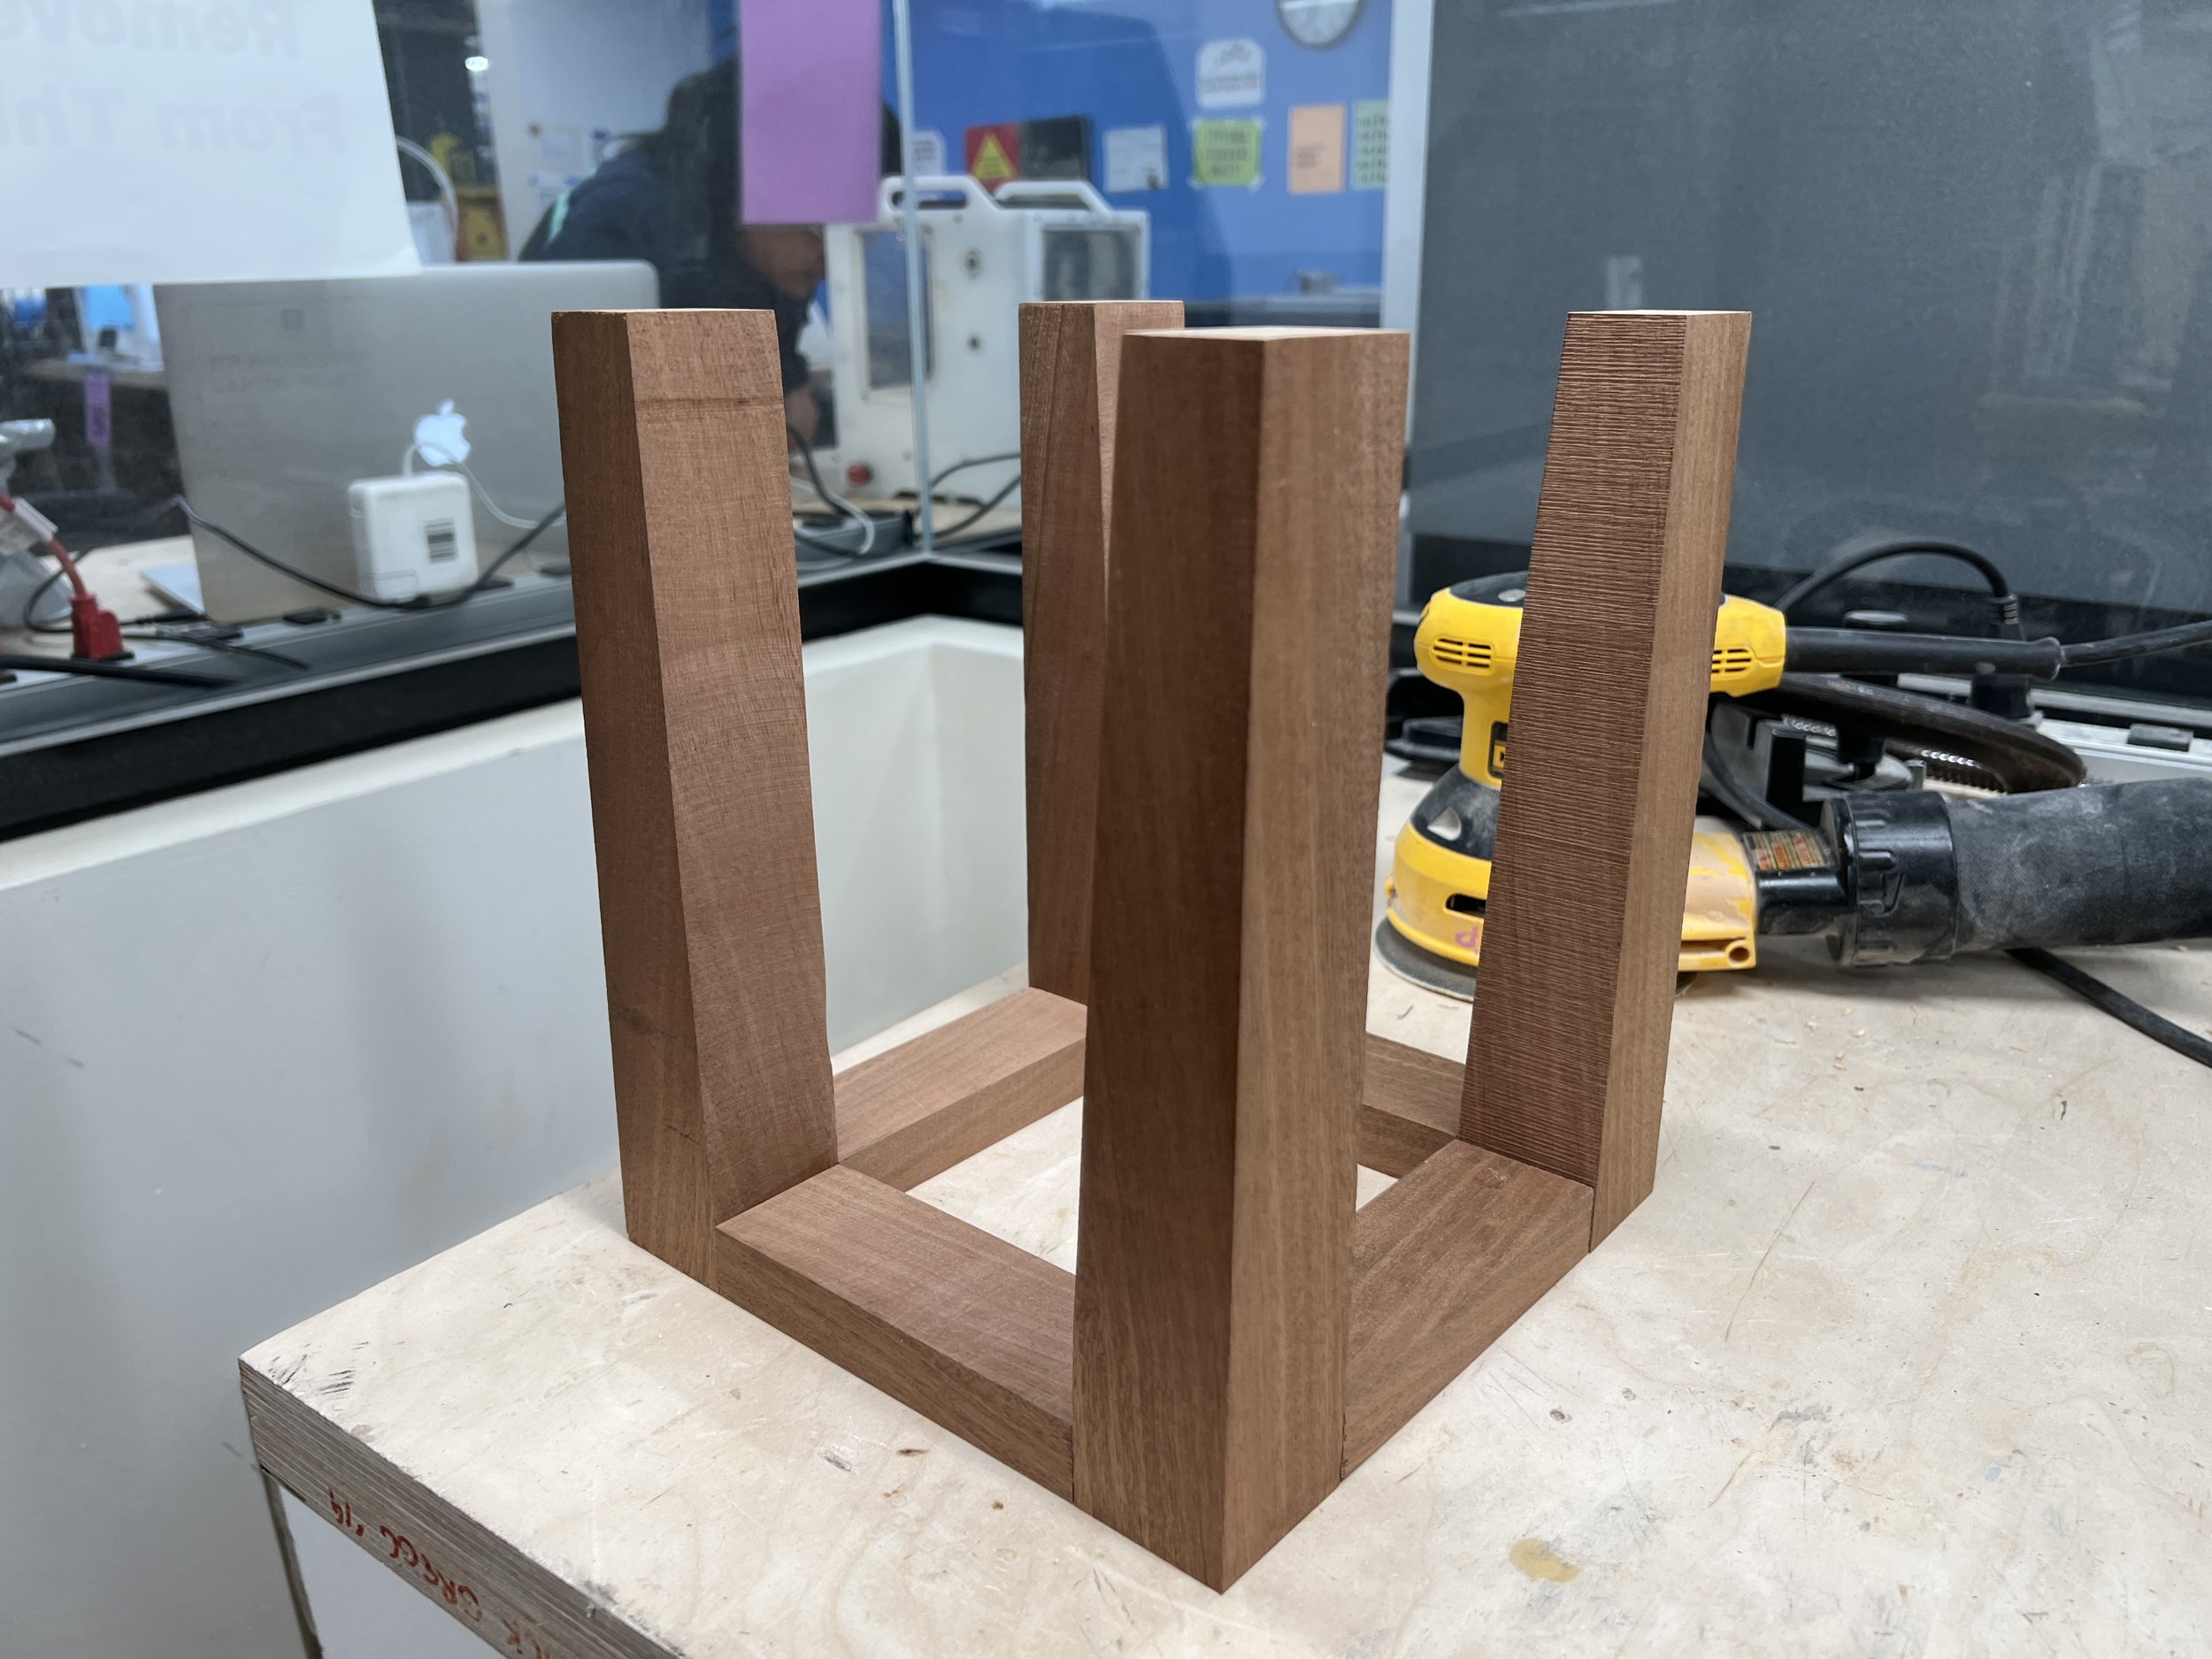
I felt pretty satisfied with my miter saw cuts and band saw work. I cut the 2x4 into two 10-inch pieces, and split those in half with the band saw to make the legs. I wanted to create tapered (slightly angled) legs, but didn’t have a solid jig, so I just freehanded the angle cut. I lined up the legs in a row to see if they were about the same. They weren’t perfect, but overall, not bad. After that, I cut another 5-inch 2x4 piece, which I quartered to create the top frame. I placed all of the pieces together to see if they would fit.
Fasteners
I struggled with the fasteners portion of this project. I picked up dowel pins at the lumber store, and thought this would be how I could attach the pieces without having any visible screws. I found the right drill bit size, attached it to the drill press, made a few holes – but quickly realized how difficult it was to properly align the holes and pins so that all of the edges were flush and the dowels fit tightly.
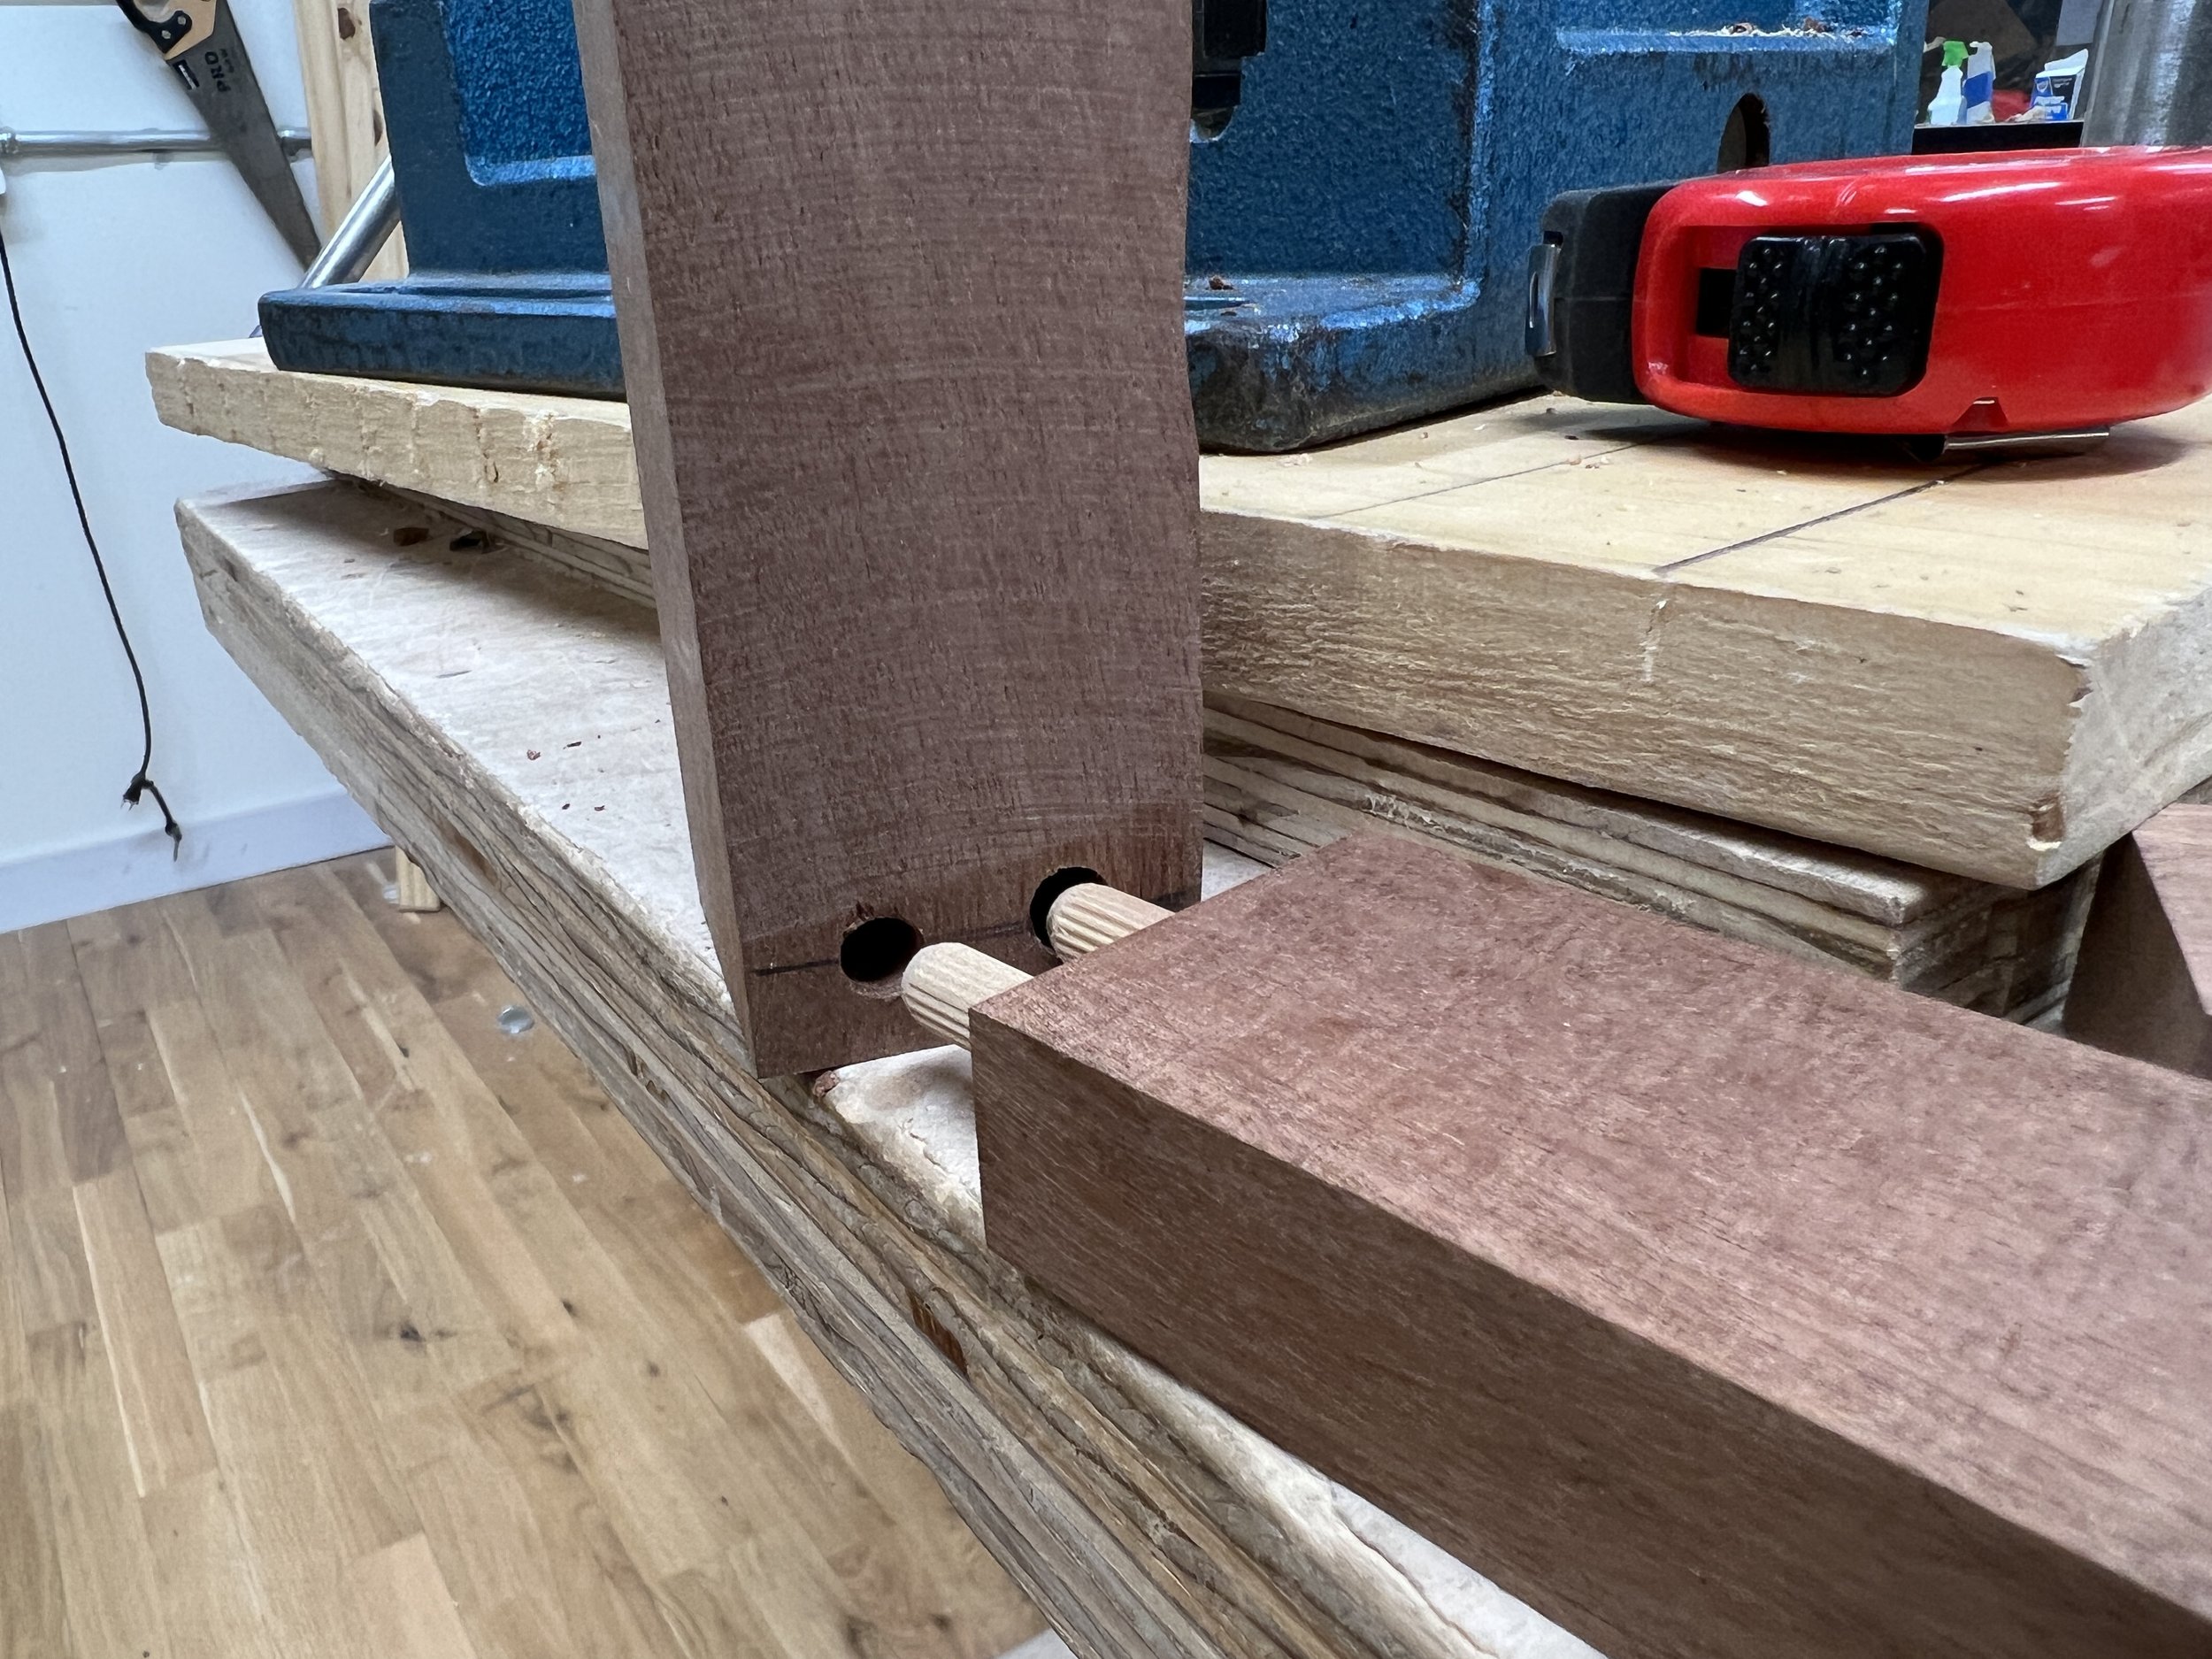
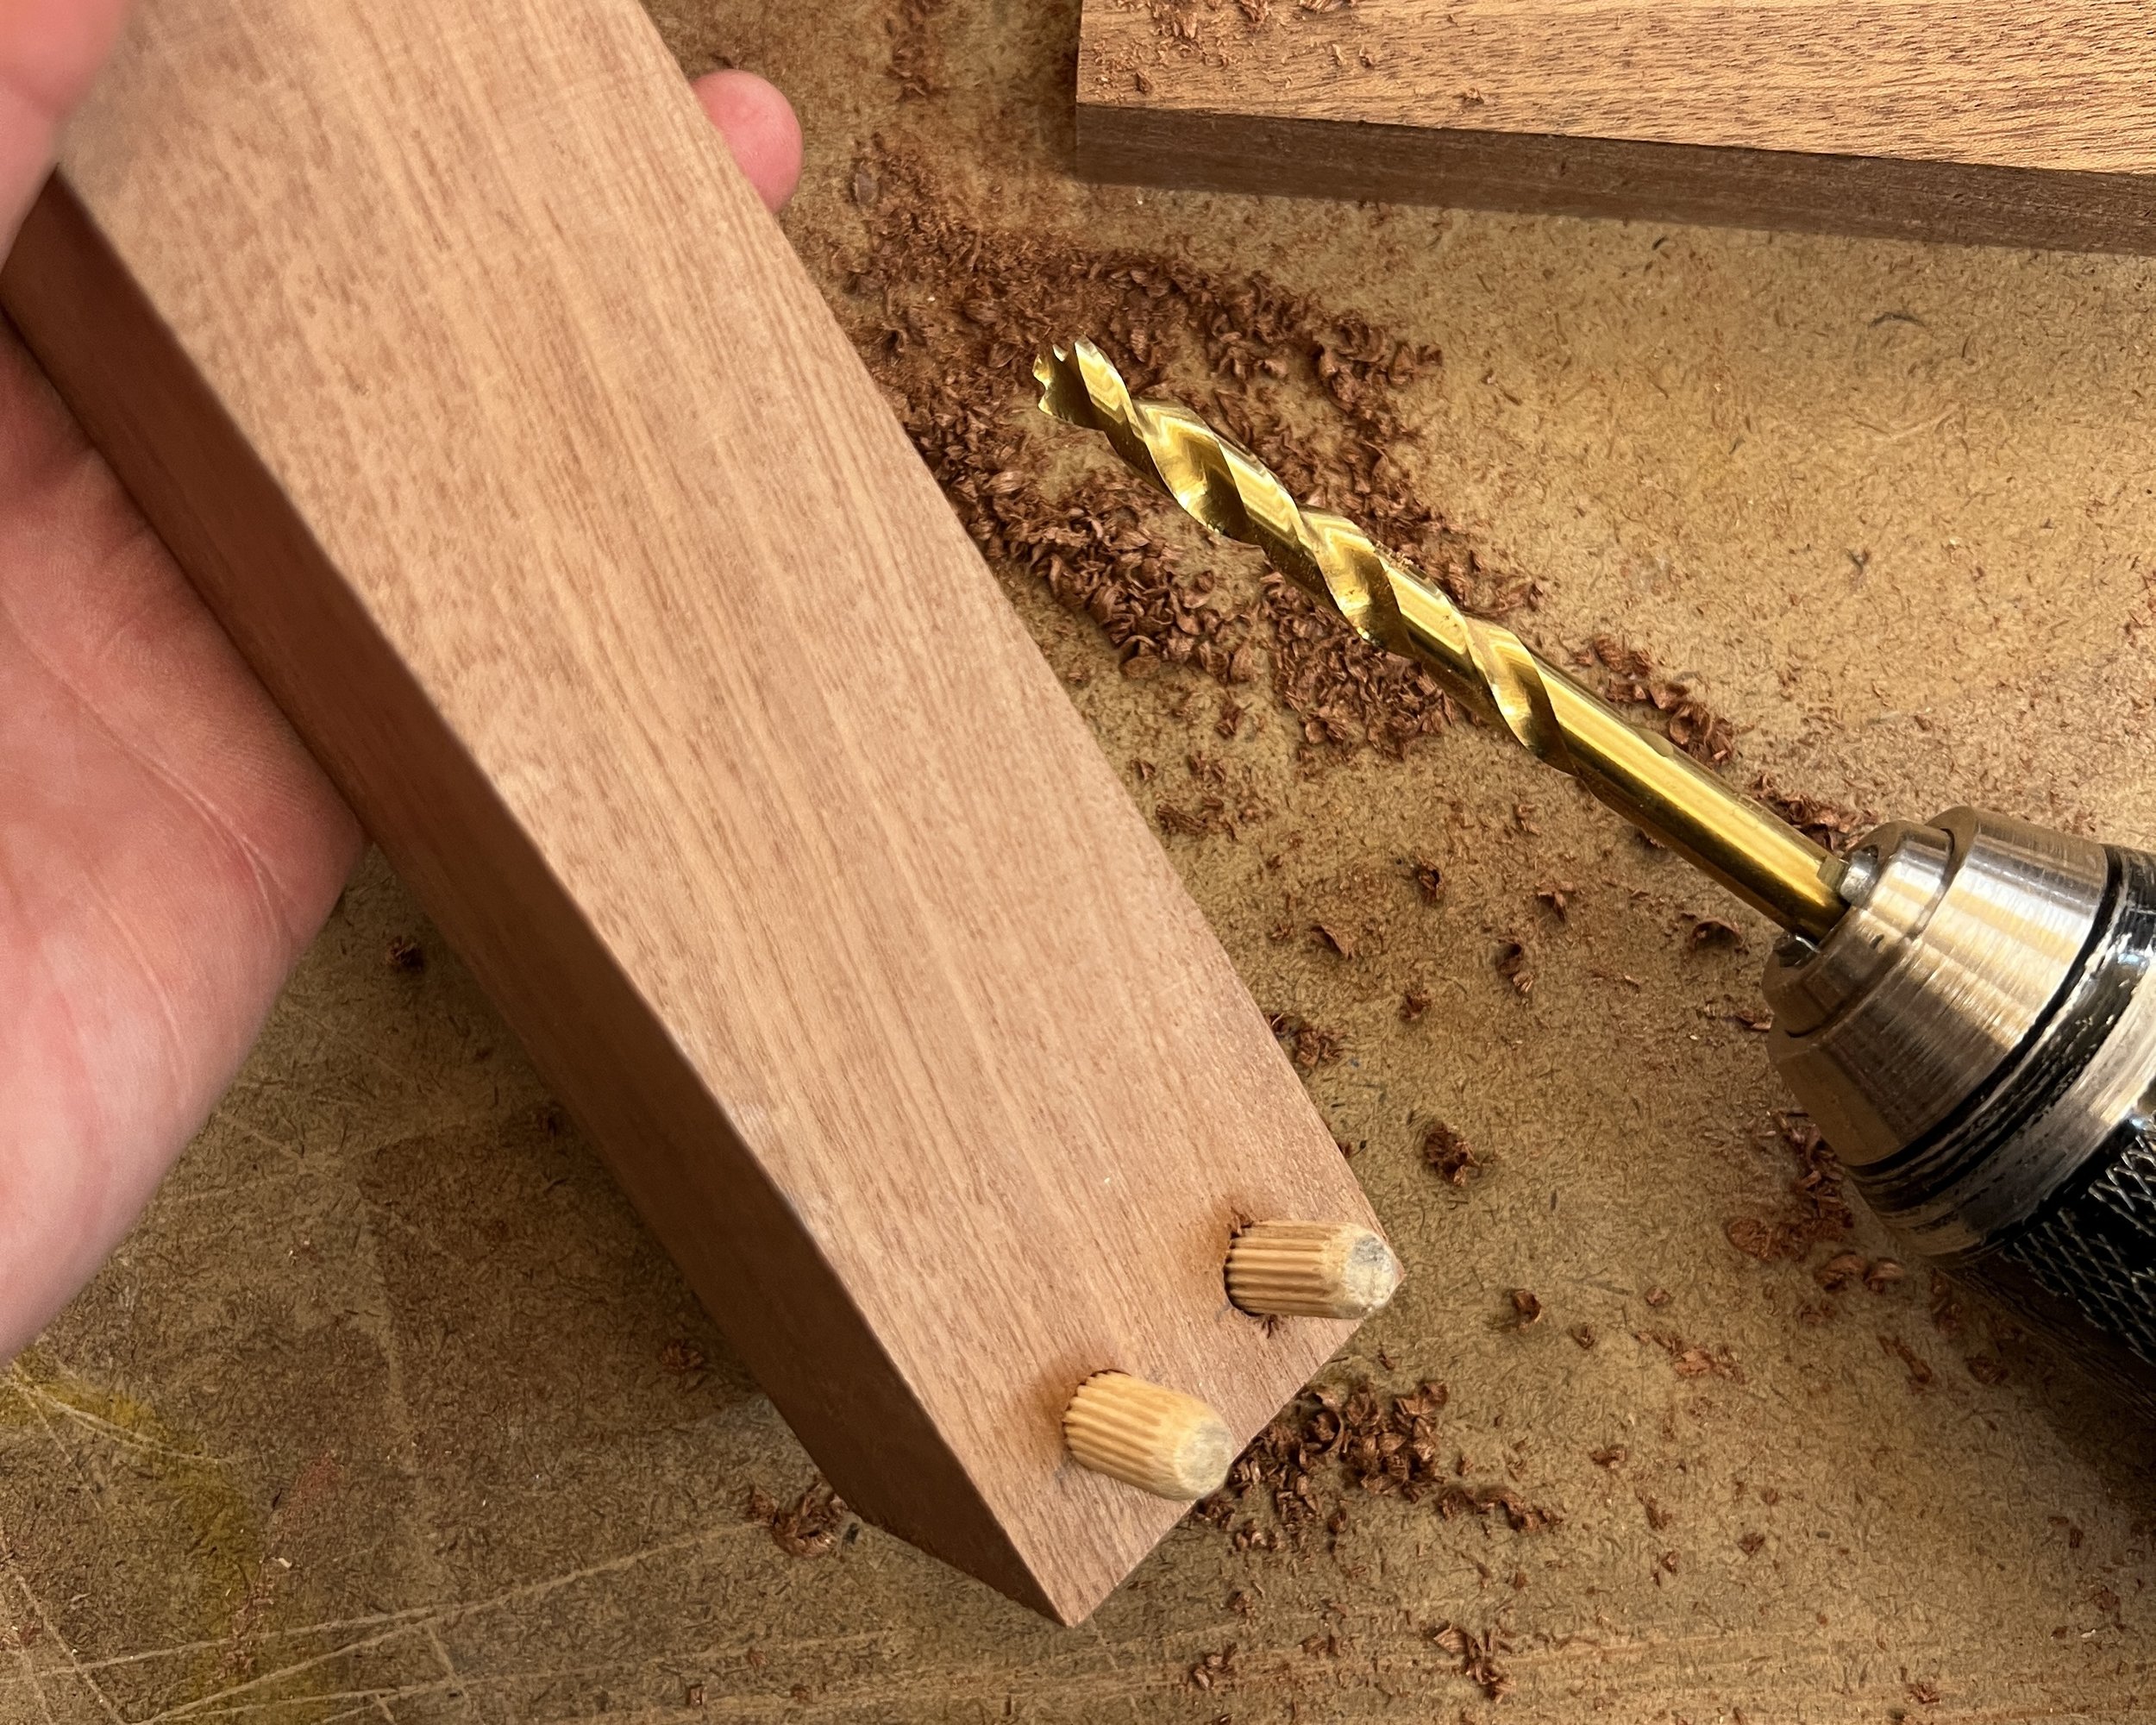
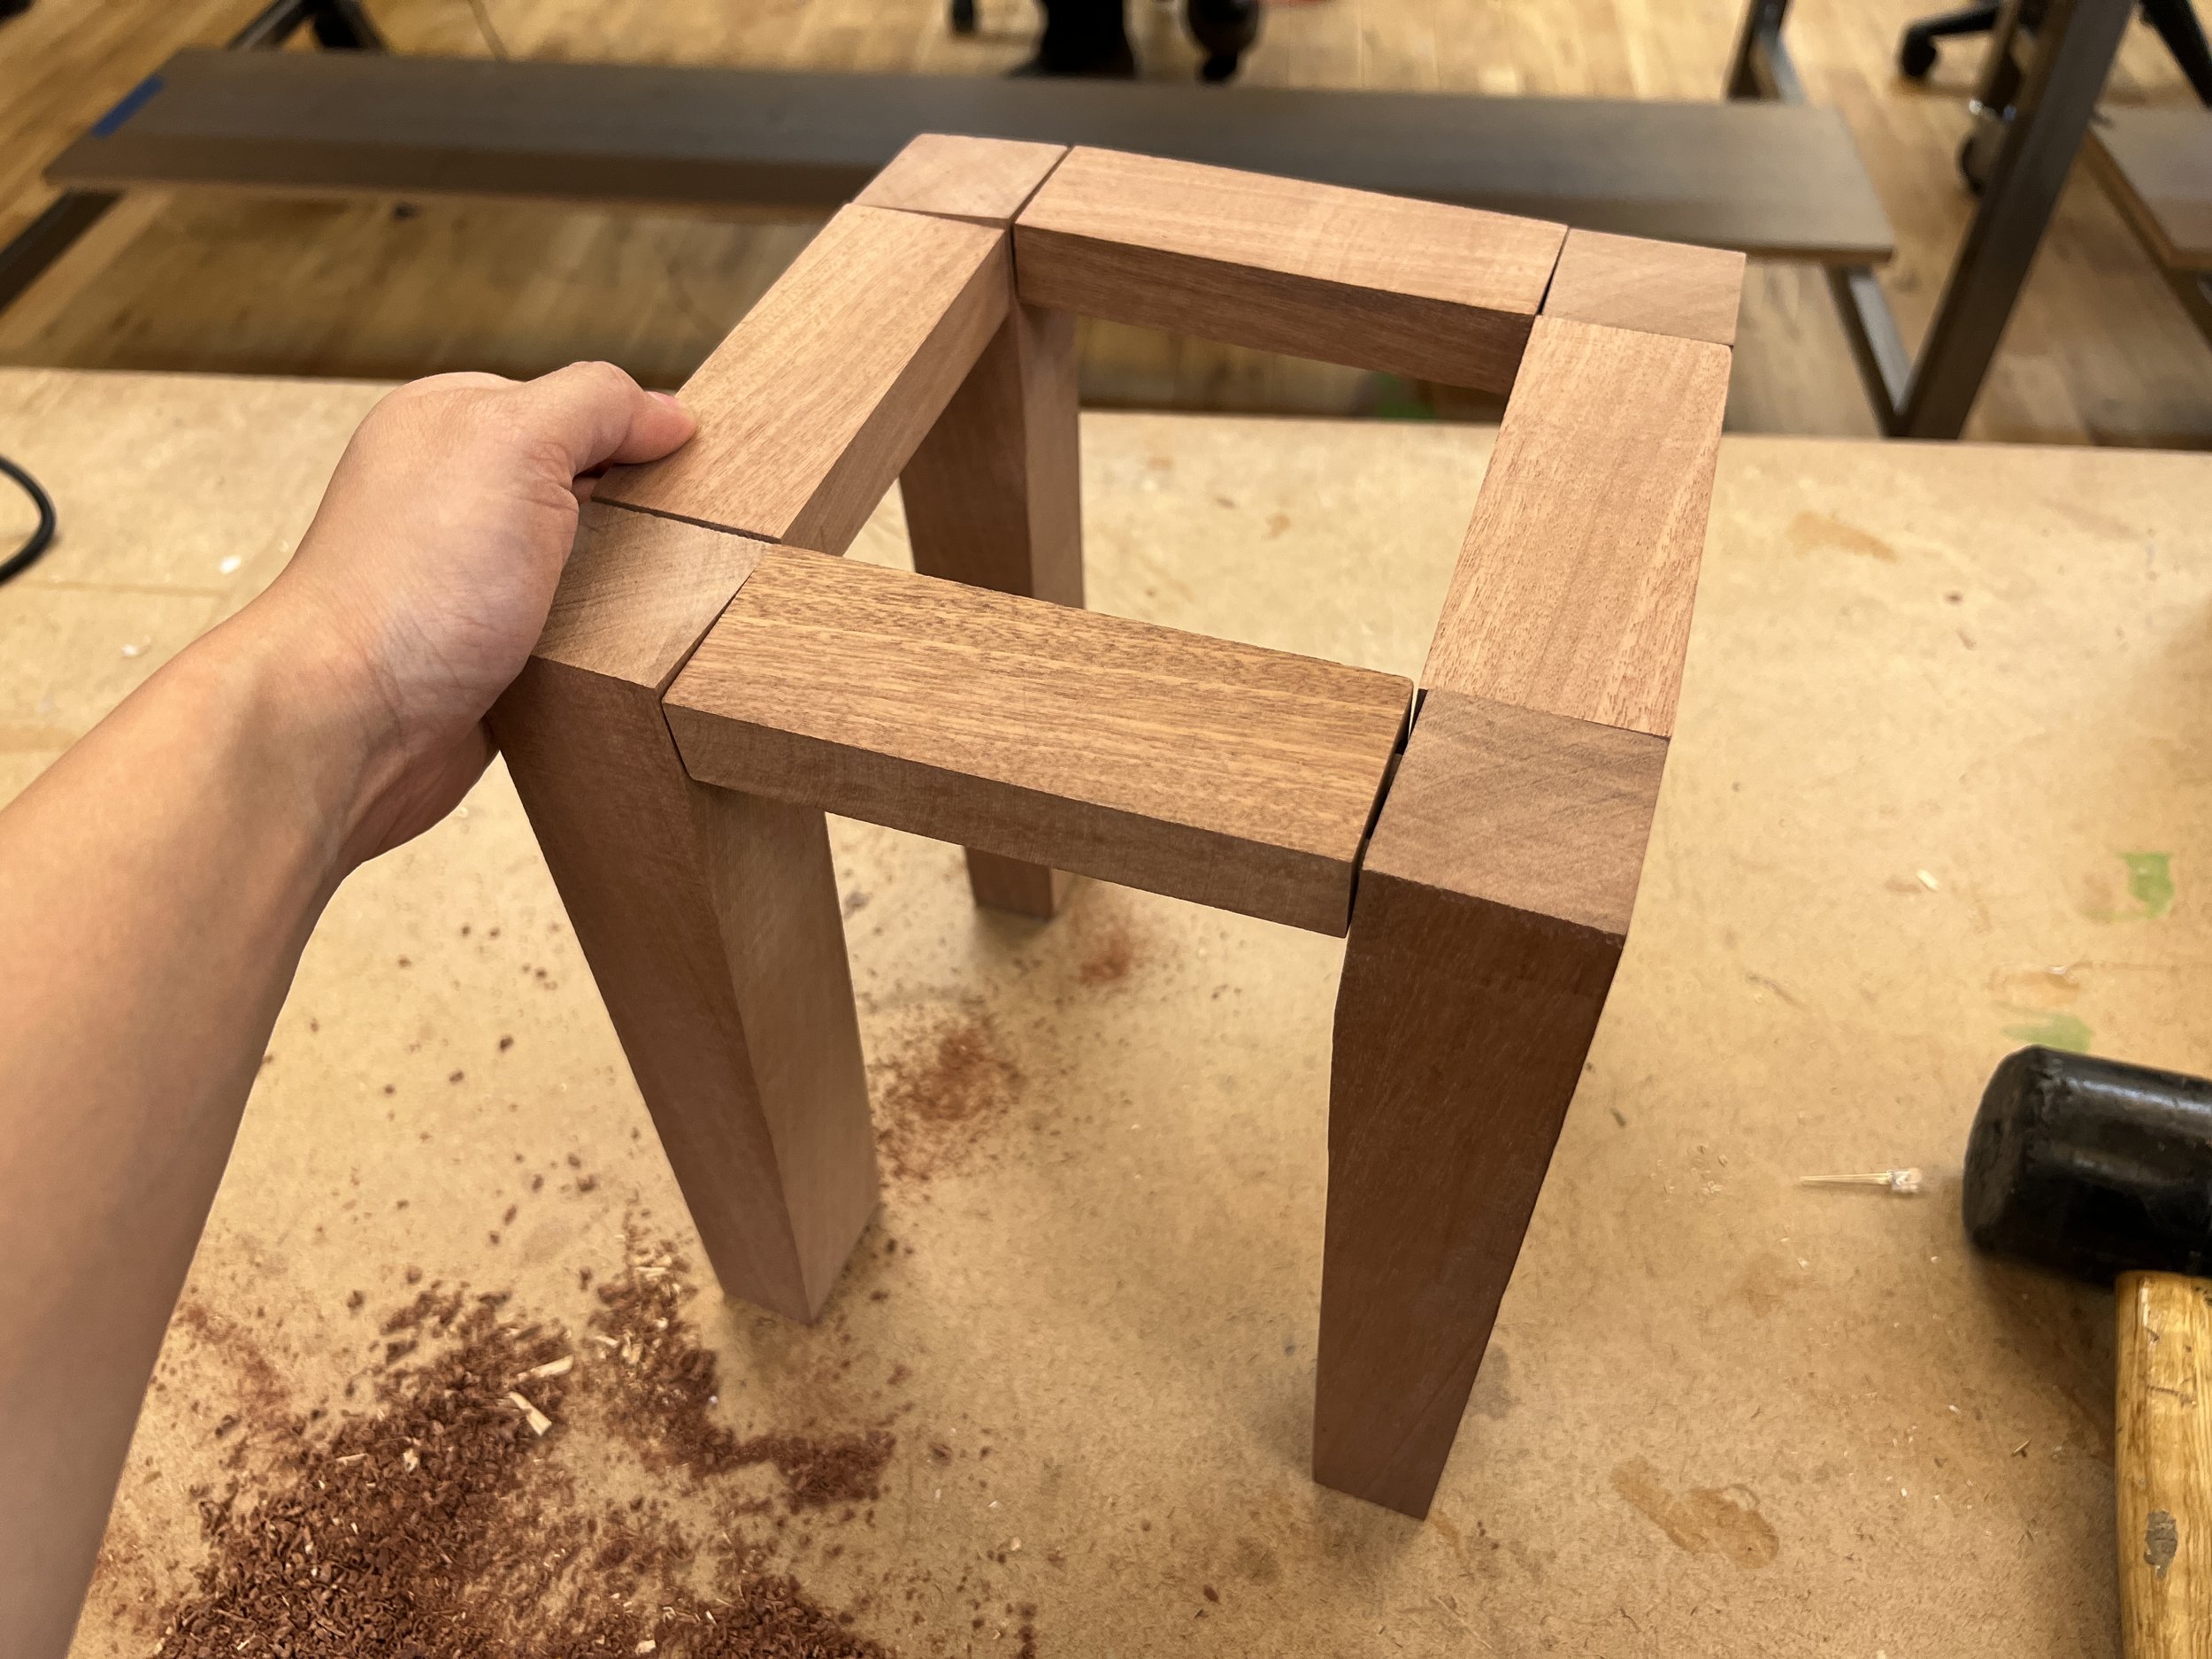
After the first two pins, I was a bit frustrated from this project being much harder than it seemed and looked, and I abandoned using the drill press to create the dowel pin holes. Still wanting to conceal my fasteners, I thought about making the pocket screws we reviewed in class. But even with the assistance of shop staff, I couldn’t find the pocket hole jig. So I decided to try again with the dowel pins, this time using the hand drill.
While I got most of the pieces attached together, it just still wasn’t quite right and I wasn’t happy with how it looked. It would still need wood glue to stay secure, and the pieces of wood weren’t lining up properly – which really bothered me. I decided to scrap the dowels altogether and resorted to gluing all of the joints together instead. I haven’t done any wood gluing with clamps yet, so this was a good exercise in technique and patience. I experimented with making my own wood filler with my pile of sawdust to close up the small gaps between the joints.
Result
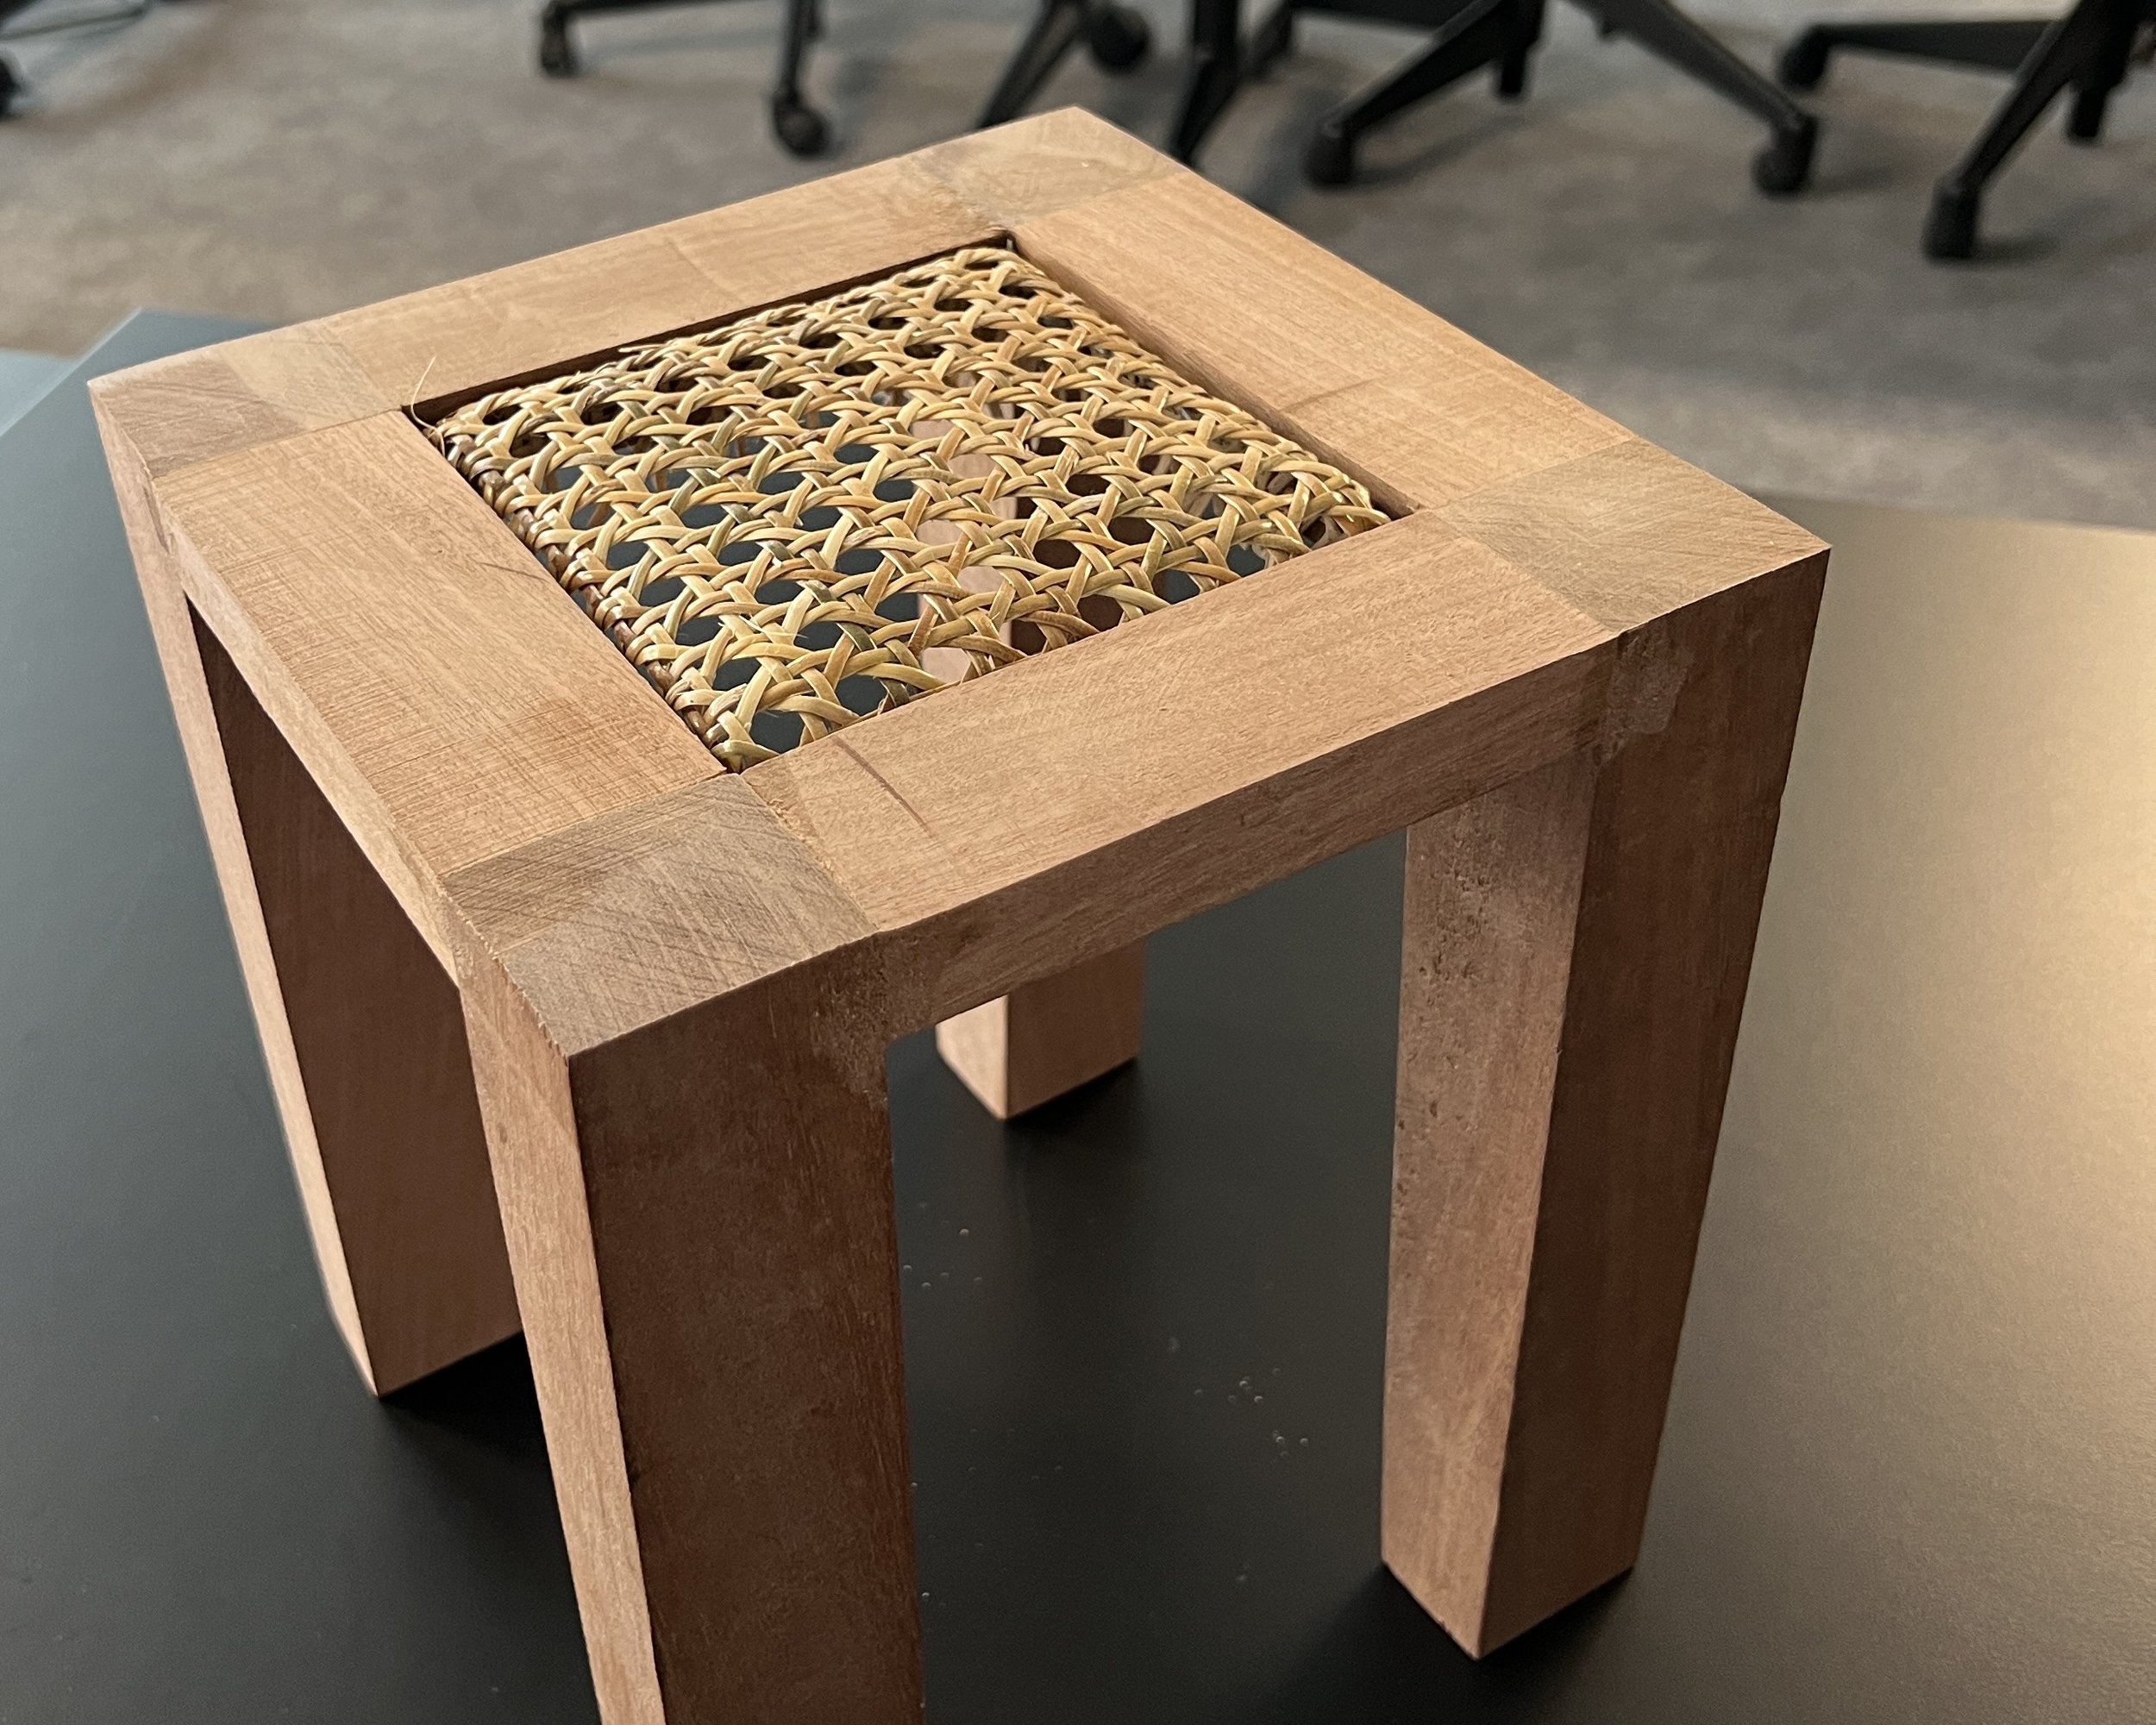
The plant stand (or perhaps a stool or side table?) ended up feeling like a fairly solid piece after the glue dried. The next step was to add my rattan cane webbing as my second material. I cut a piece that would the square opening and soaked it in lukewarm water for about an hour to soften the rattan and make it pliable. As I fit the piece into the frame, I used a staple gun to fasten the rattan to the wood.
Fitting the rattan cane webbing into the wooden frame.
The plant stand as presented in class.
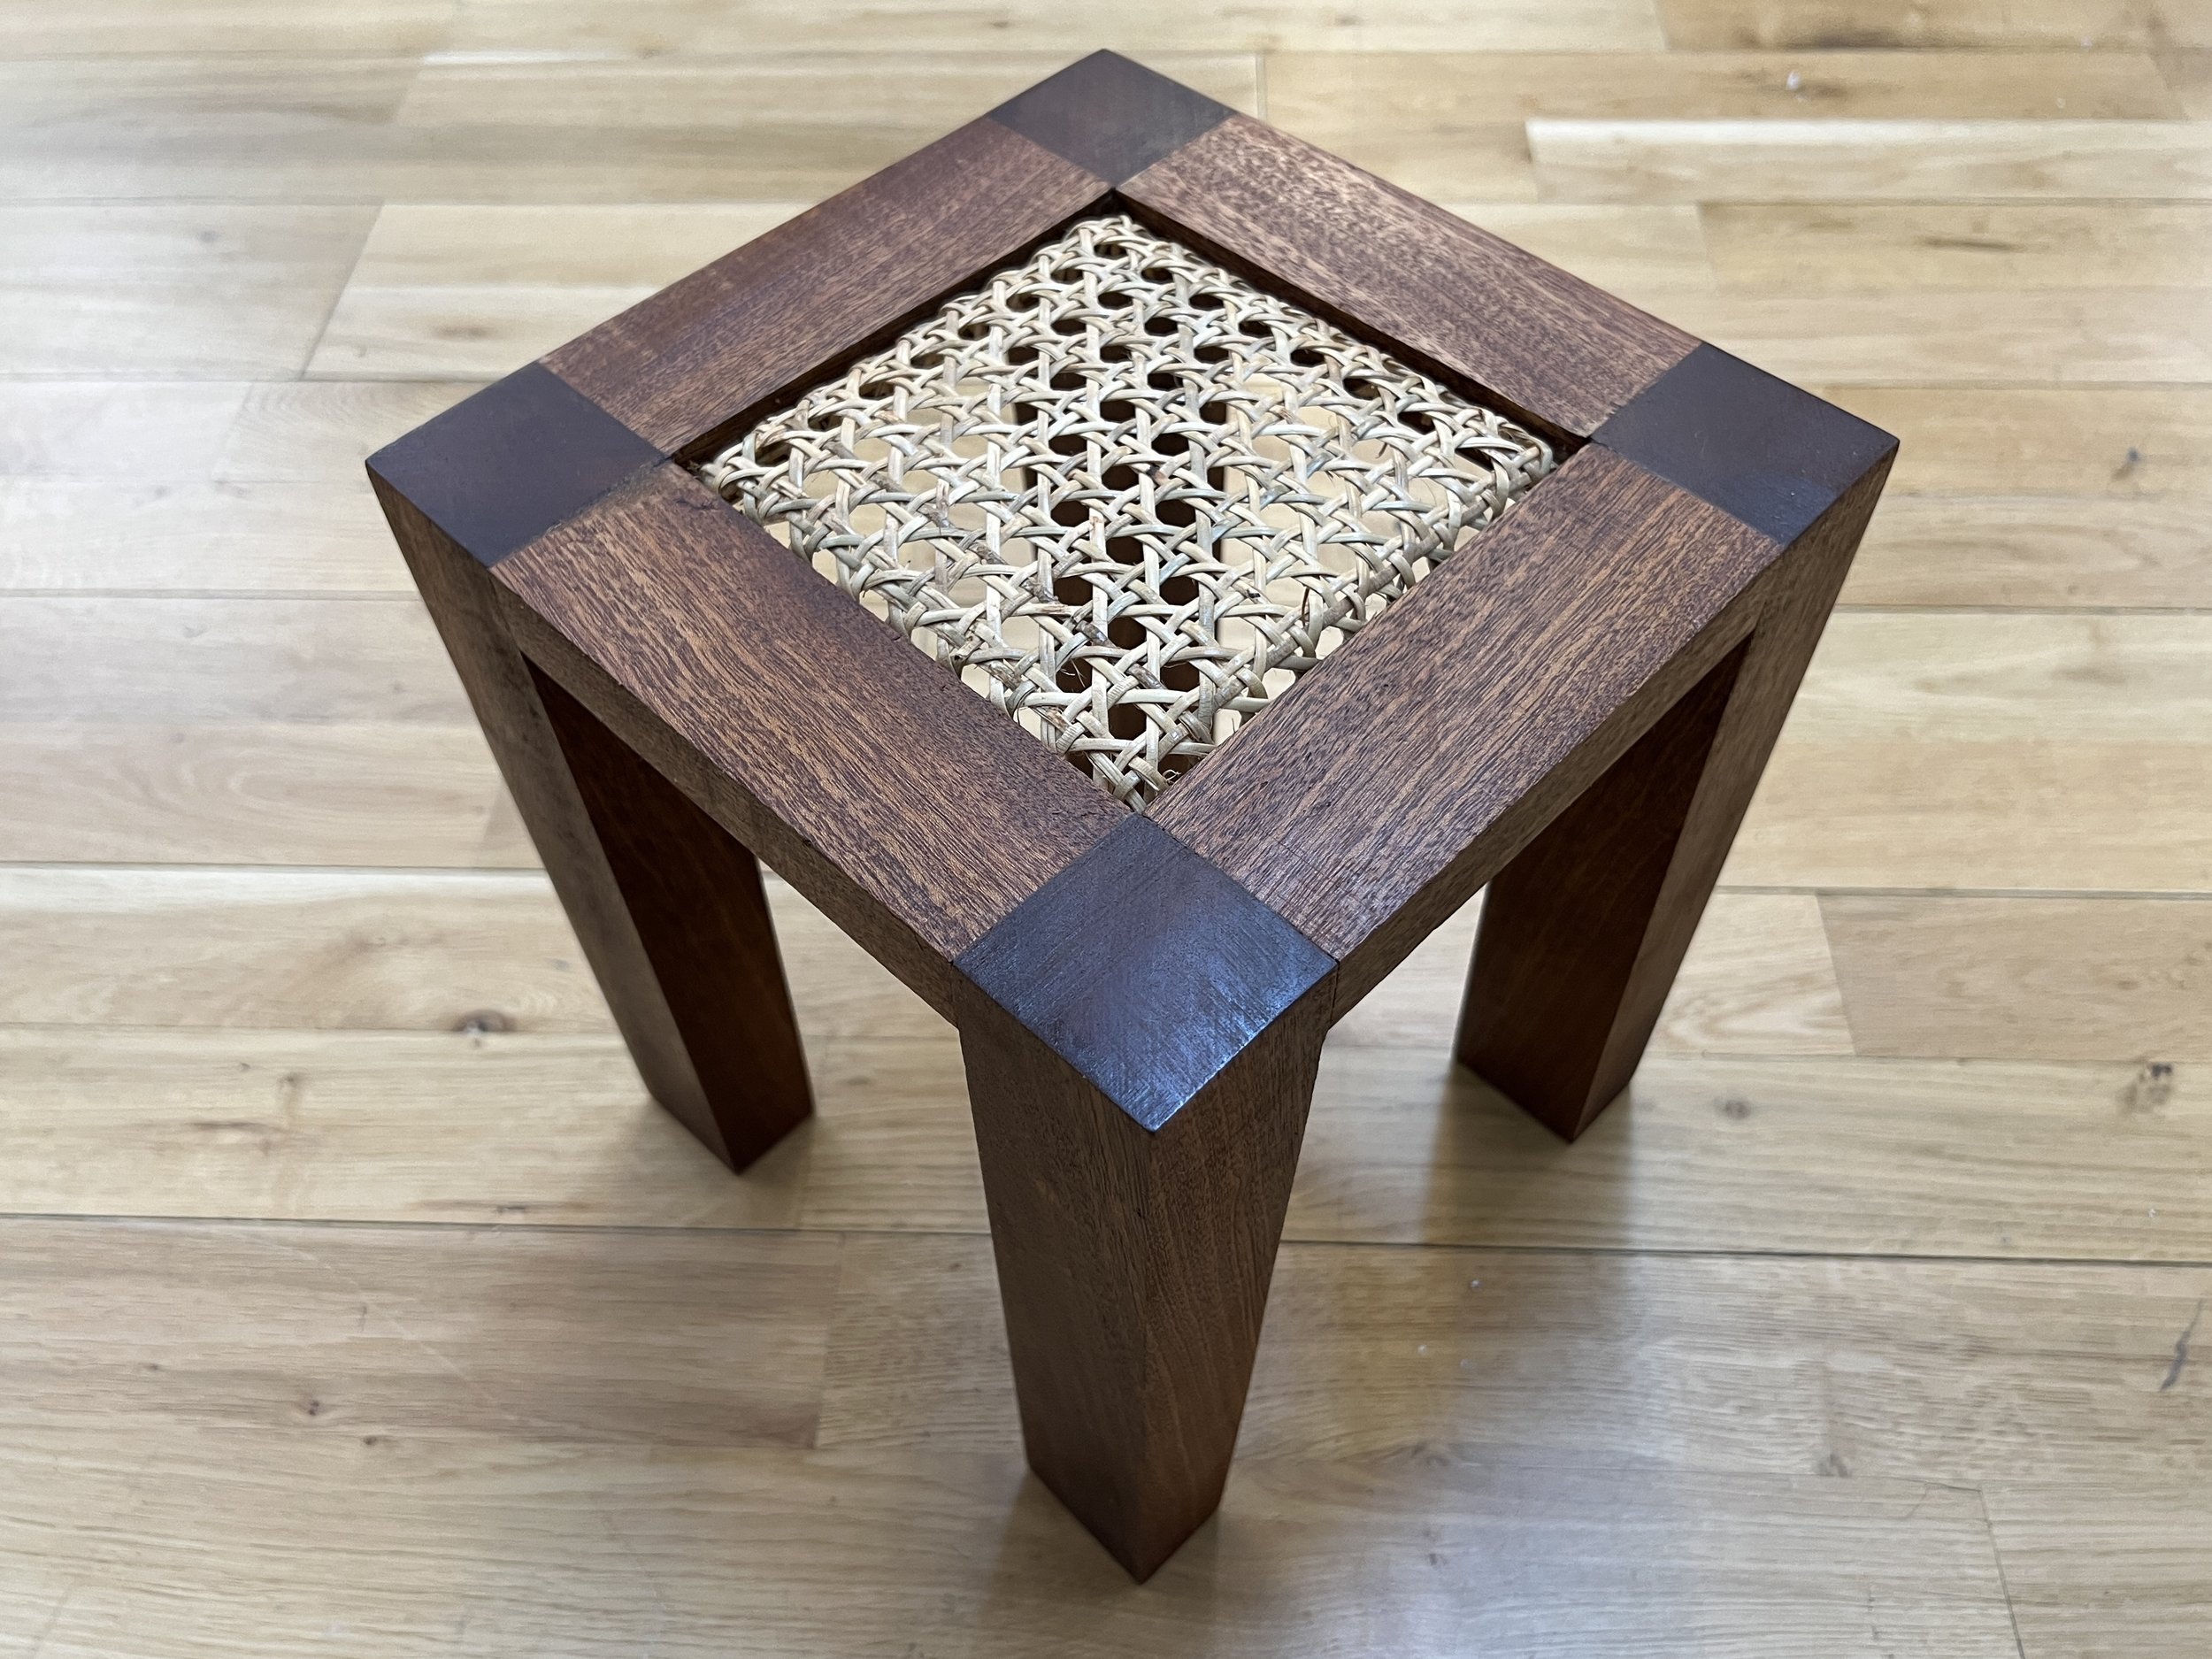
After showing the almost finished piece in class, I went back to the shop for the last bit of sanding and finishing. I smoothed out some uneven parts and worked my way through the sandpaper grits, up to 400. I used a utility knife blade to scrape off the excess dried glue. Finally, I wiped on linseed oil, which turned the wood into a dark and rich mahogany color. I’ll probably take some reed spline to fill in the edges as the final touch. Overall, I’m very satisfied with this piece, even with its imperfections and the moments of failure that I experienced while making this. I would definitely look into creating a template for myself to produce more of these more efficiently.

