Fabrication

Intro to Fabrication: Week 5

Assignment

This week’s assignment: fabricate something using primarily two different materials. The materials cannot be acrylic or plywood.

In all of my fabrication projects, I’ve been drawn to using more natural material sources – wood, wool felt, capiz shells, glass. This week, I wanted to incorporate rattan, particularly the cane webbing and sunburst weave pattern known as “solihiya” in the Philippines. Rattan is an everyday material in the Philippines, and its usage is very iconic in furniture pieces.

While I was repotting some plants over the weekend, there were a few pots I thought about elevating off the ground – but didn’t have any plant stands to set them on. Inspired to meet this need and to continue along my housewares theme, I decided to go for making a plant stand with rattan and wood.

Materials

I’ve been curious about using other kinds of wood, so I went back to Dyke’s Lumber and picked up a few feet of a 2x4 of mahogany. I chose mahogany because I love its reddish-brown tone and wanted to make a reference to "Philippine Mahogany" (while it’s not true mahogany, it’s a term for species of wood native to southeast Asia).

Picking up mahogany from Dyke’s Lumber in Brooklyn.

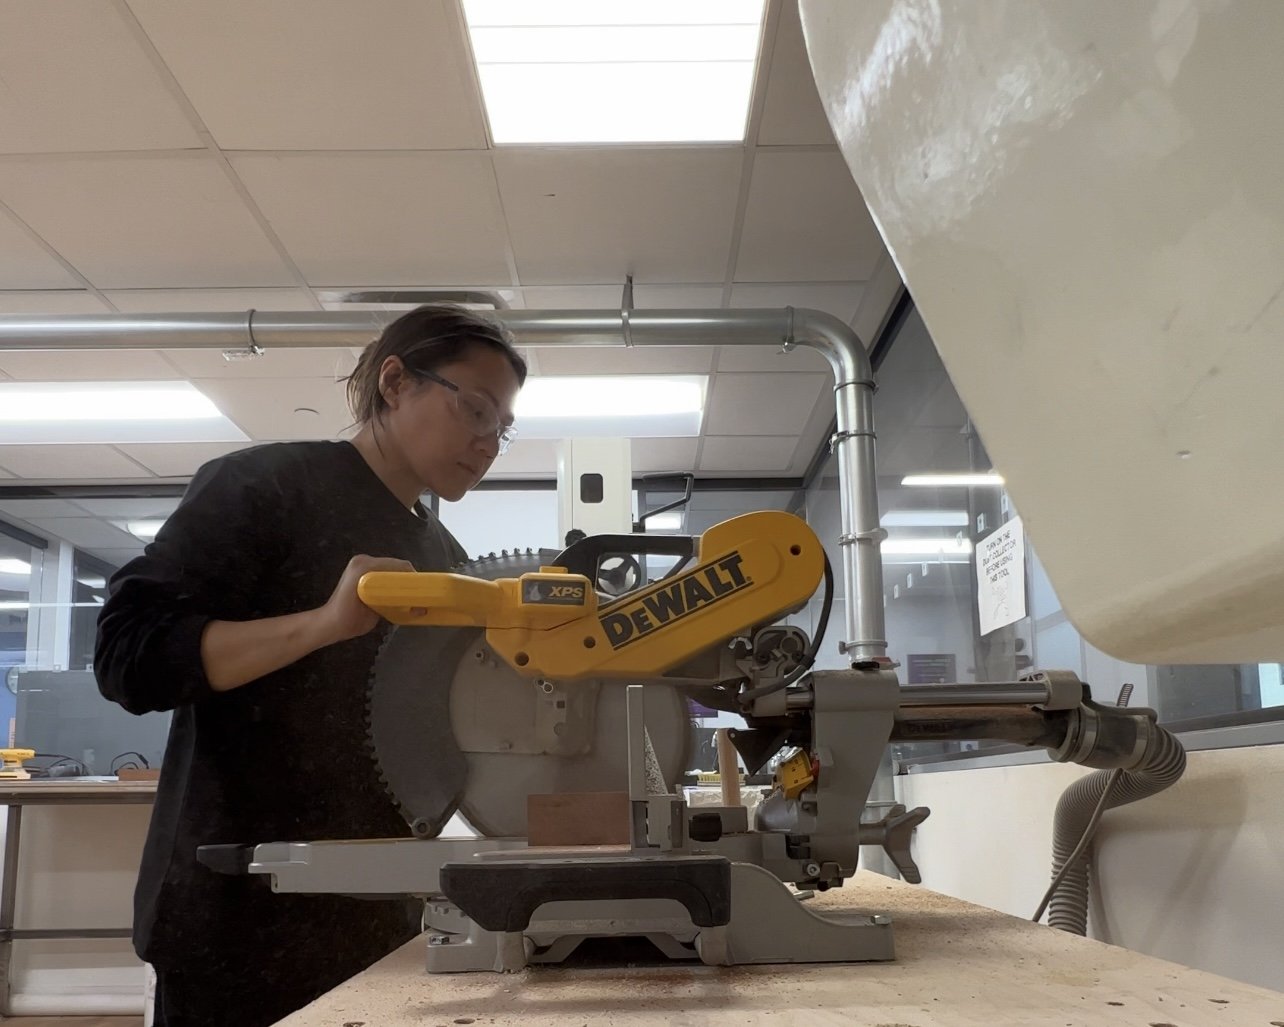
Using a miter saw to cut the 2x4.

Process

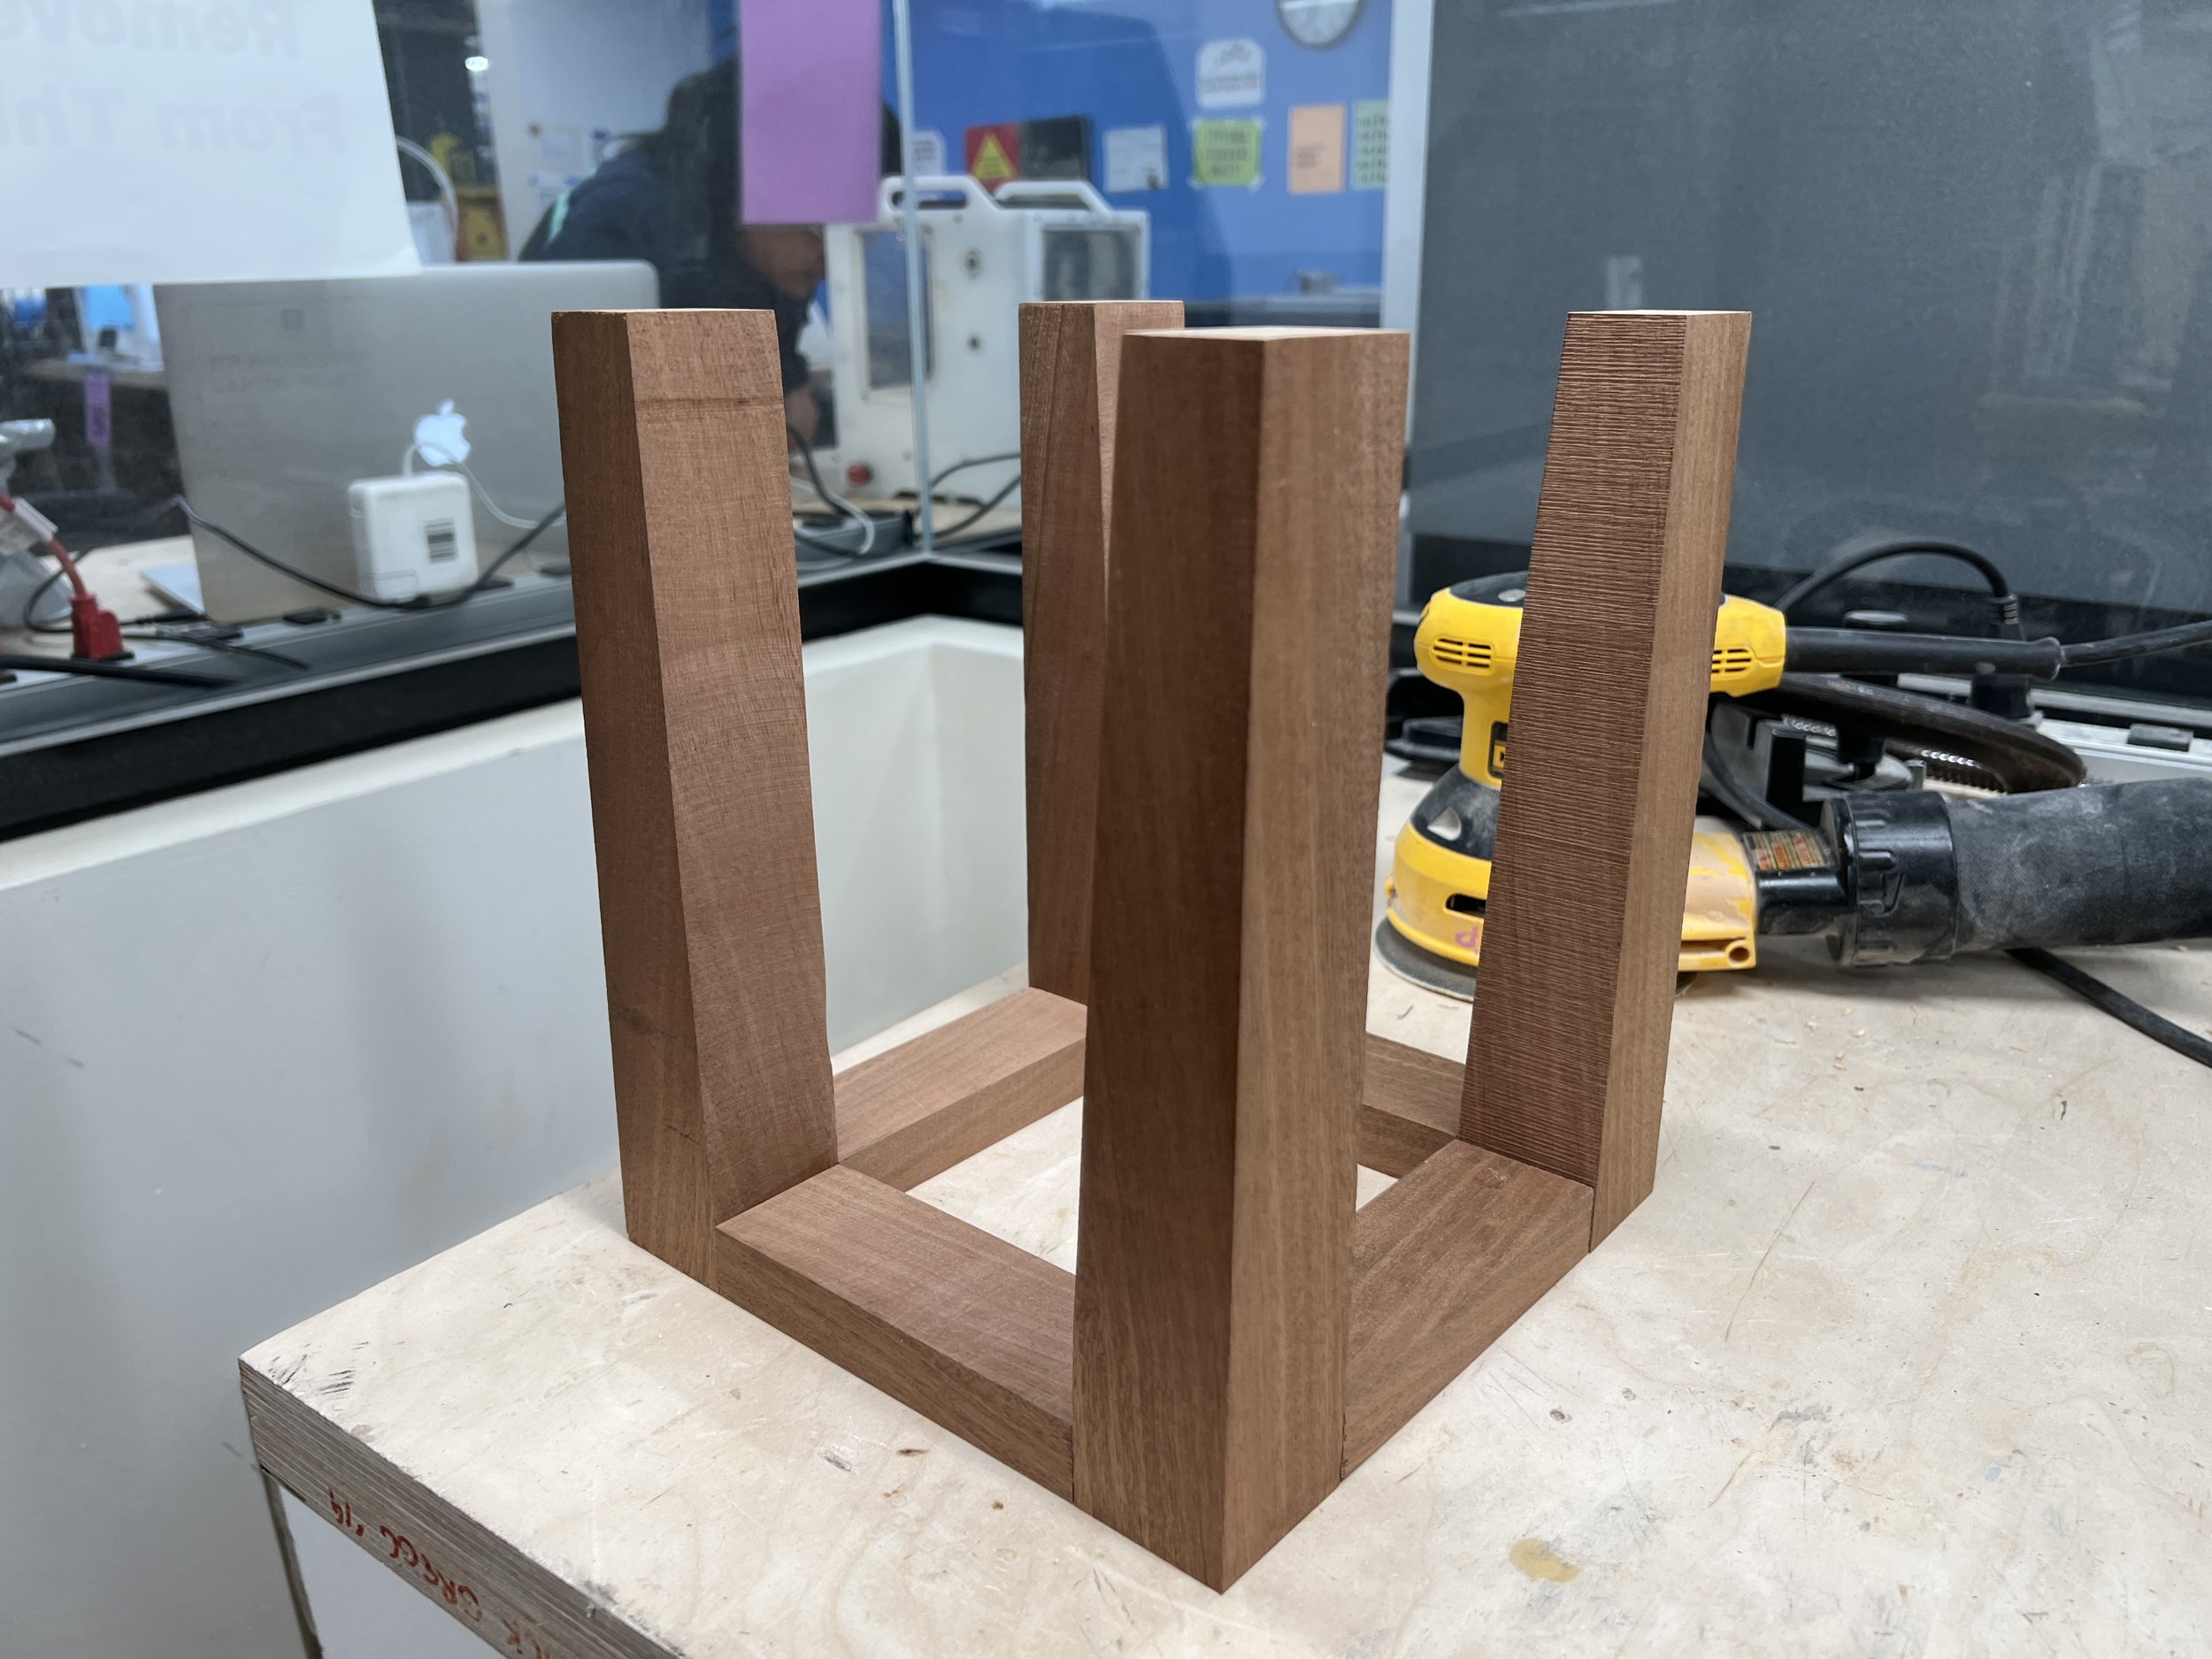
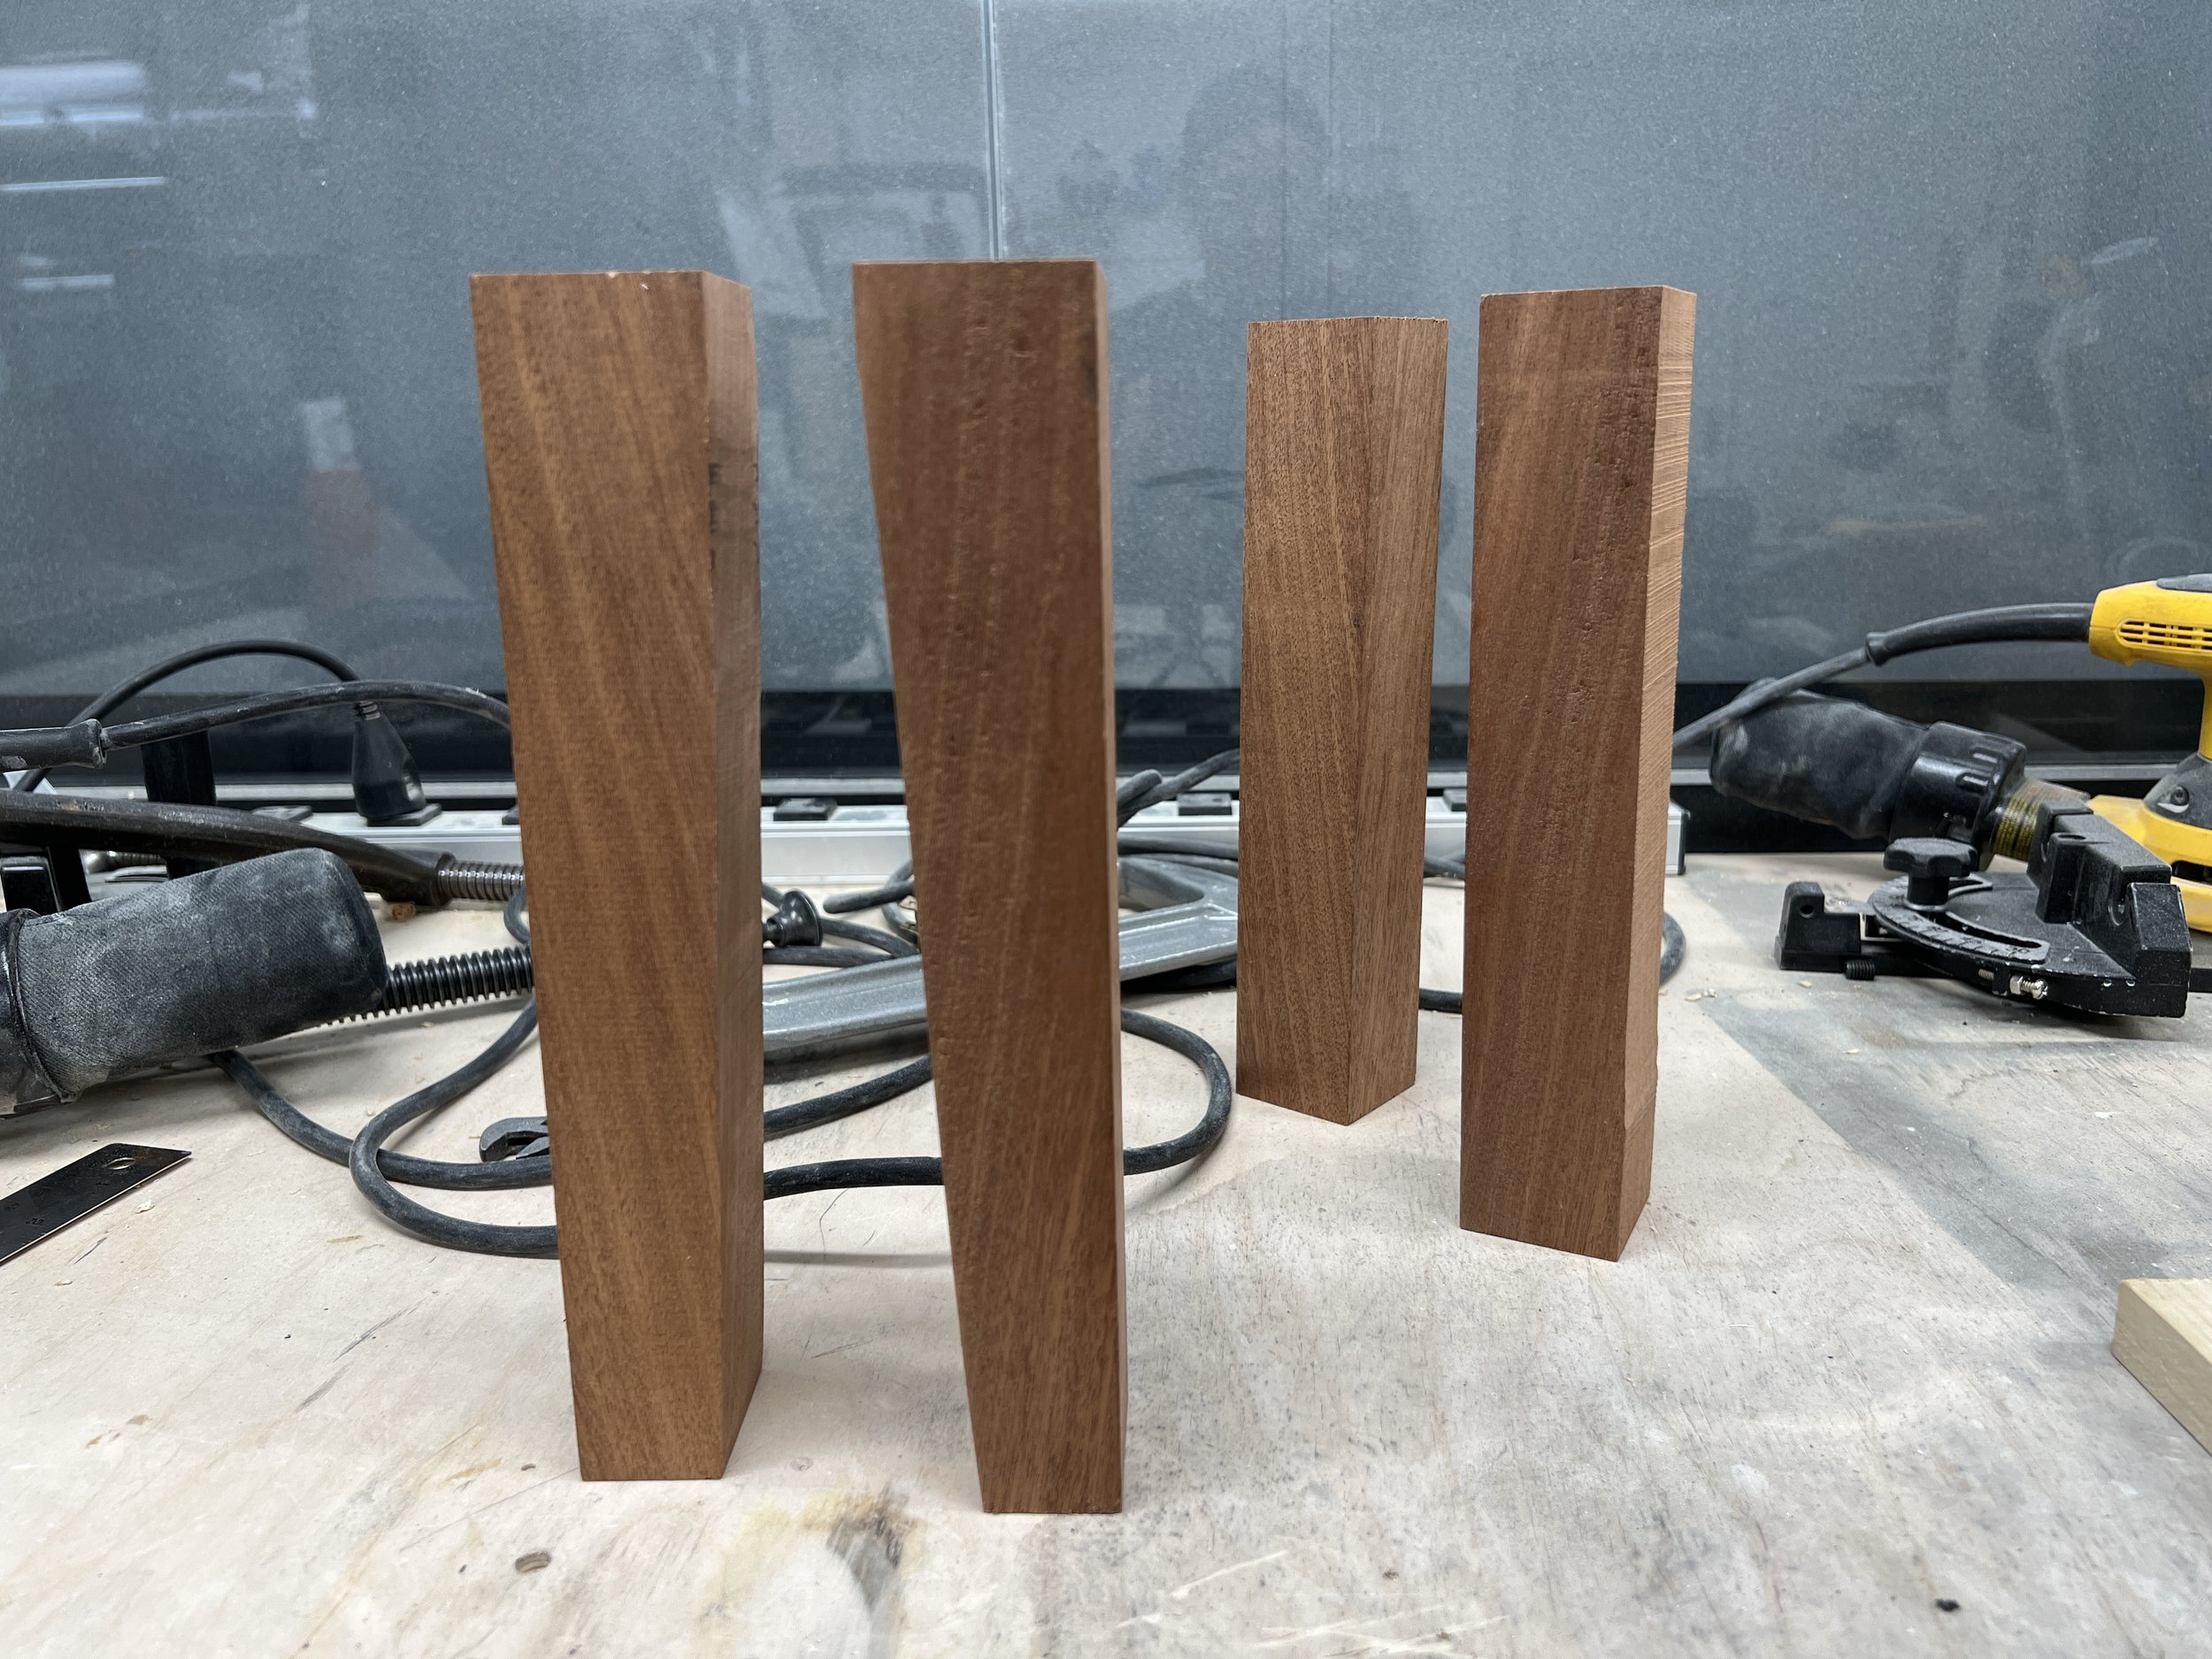
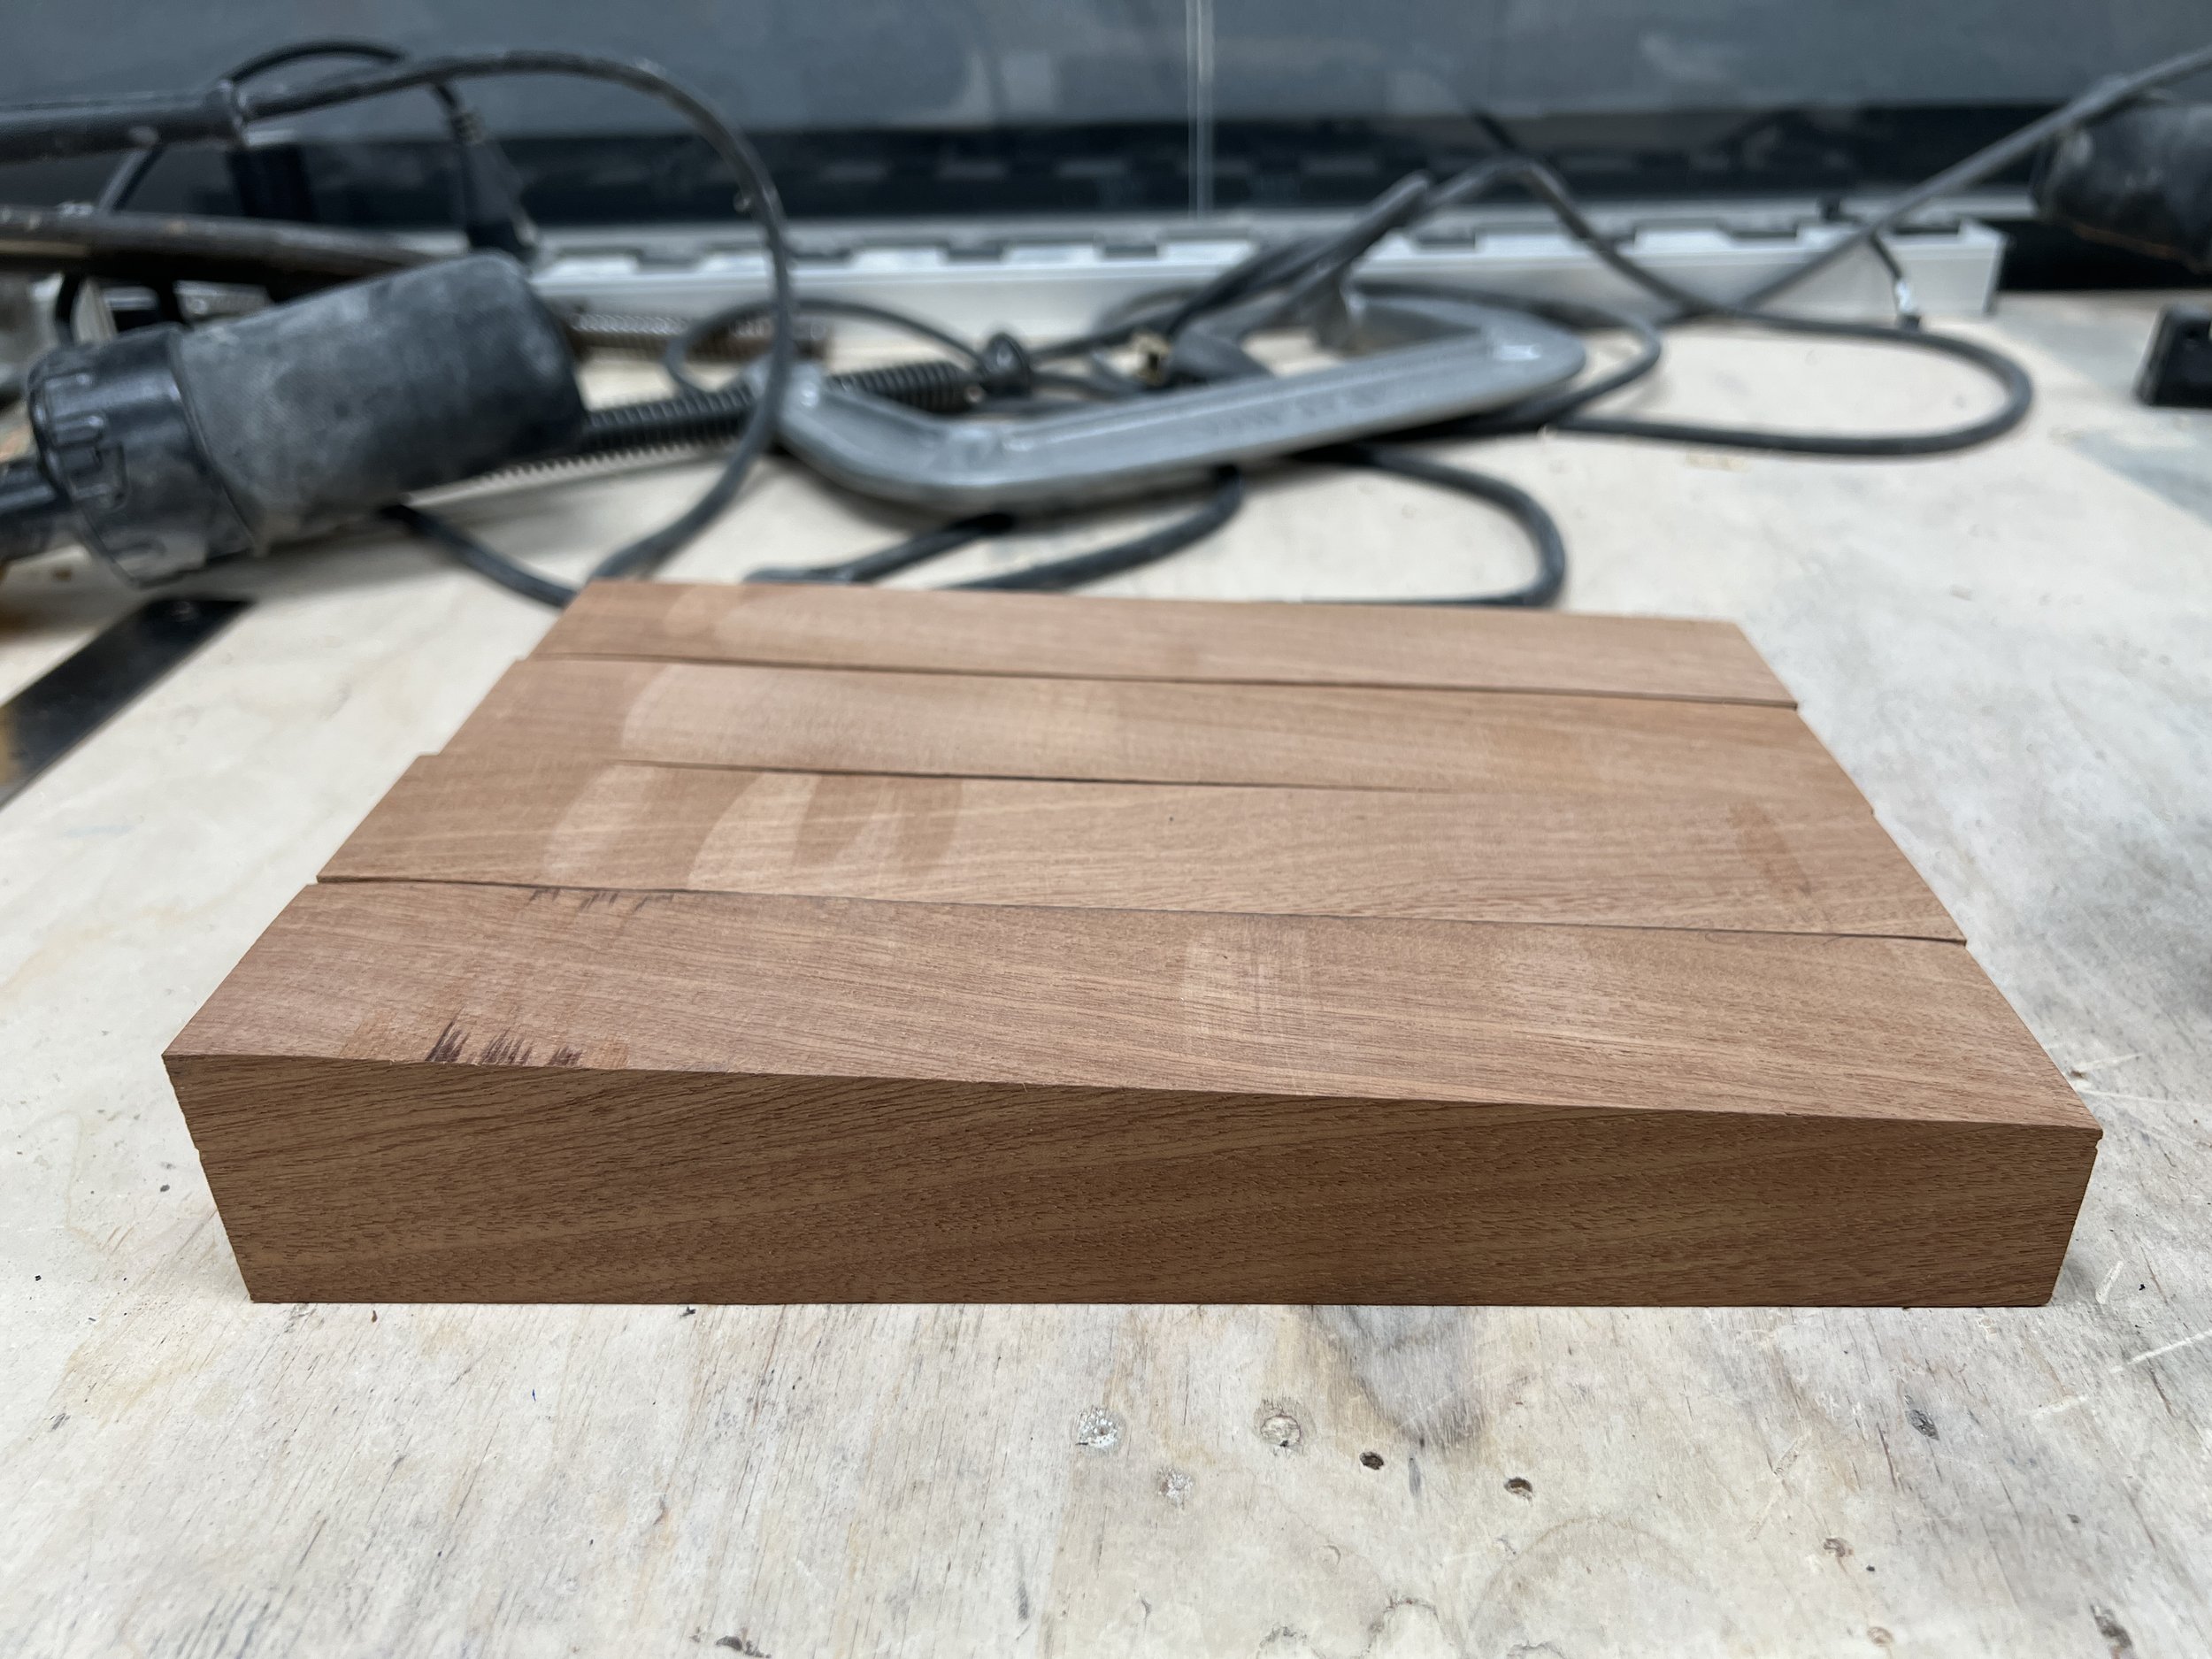
I felt pretty satisfied with my miter saw cuts and band saw work. I cut the 2x4 into two 10-inch pieces, and split those in half with the band saw to make the legs. I wanted to create tapered (slightly angled) legs, but didn’t have a solid jig, so I just freehanded the angle cut. I lined up the legs in a row to see if they were about the same. They weren’t perfect, but overall, not bad. After that, I cut another 5-inch 2x4 piece, which I quartered to create the top frame. I placed all of the pieces together to see if they would fit.
Fasteners

I struggled with the fasteners portion of this project. I picked up dowel pins at the lumber store, and thought this would be how I could attach the pieces without having any visible screws. I found the right drill bit size, attached it to the drill press, made a few holes – but quickly realized how difficult it was to properly align the holes and pins so that all of the edges were flush and the dowels fit tightly.
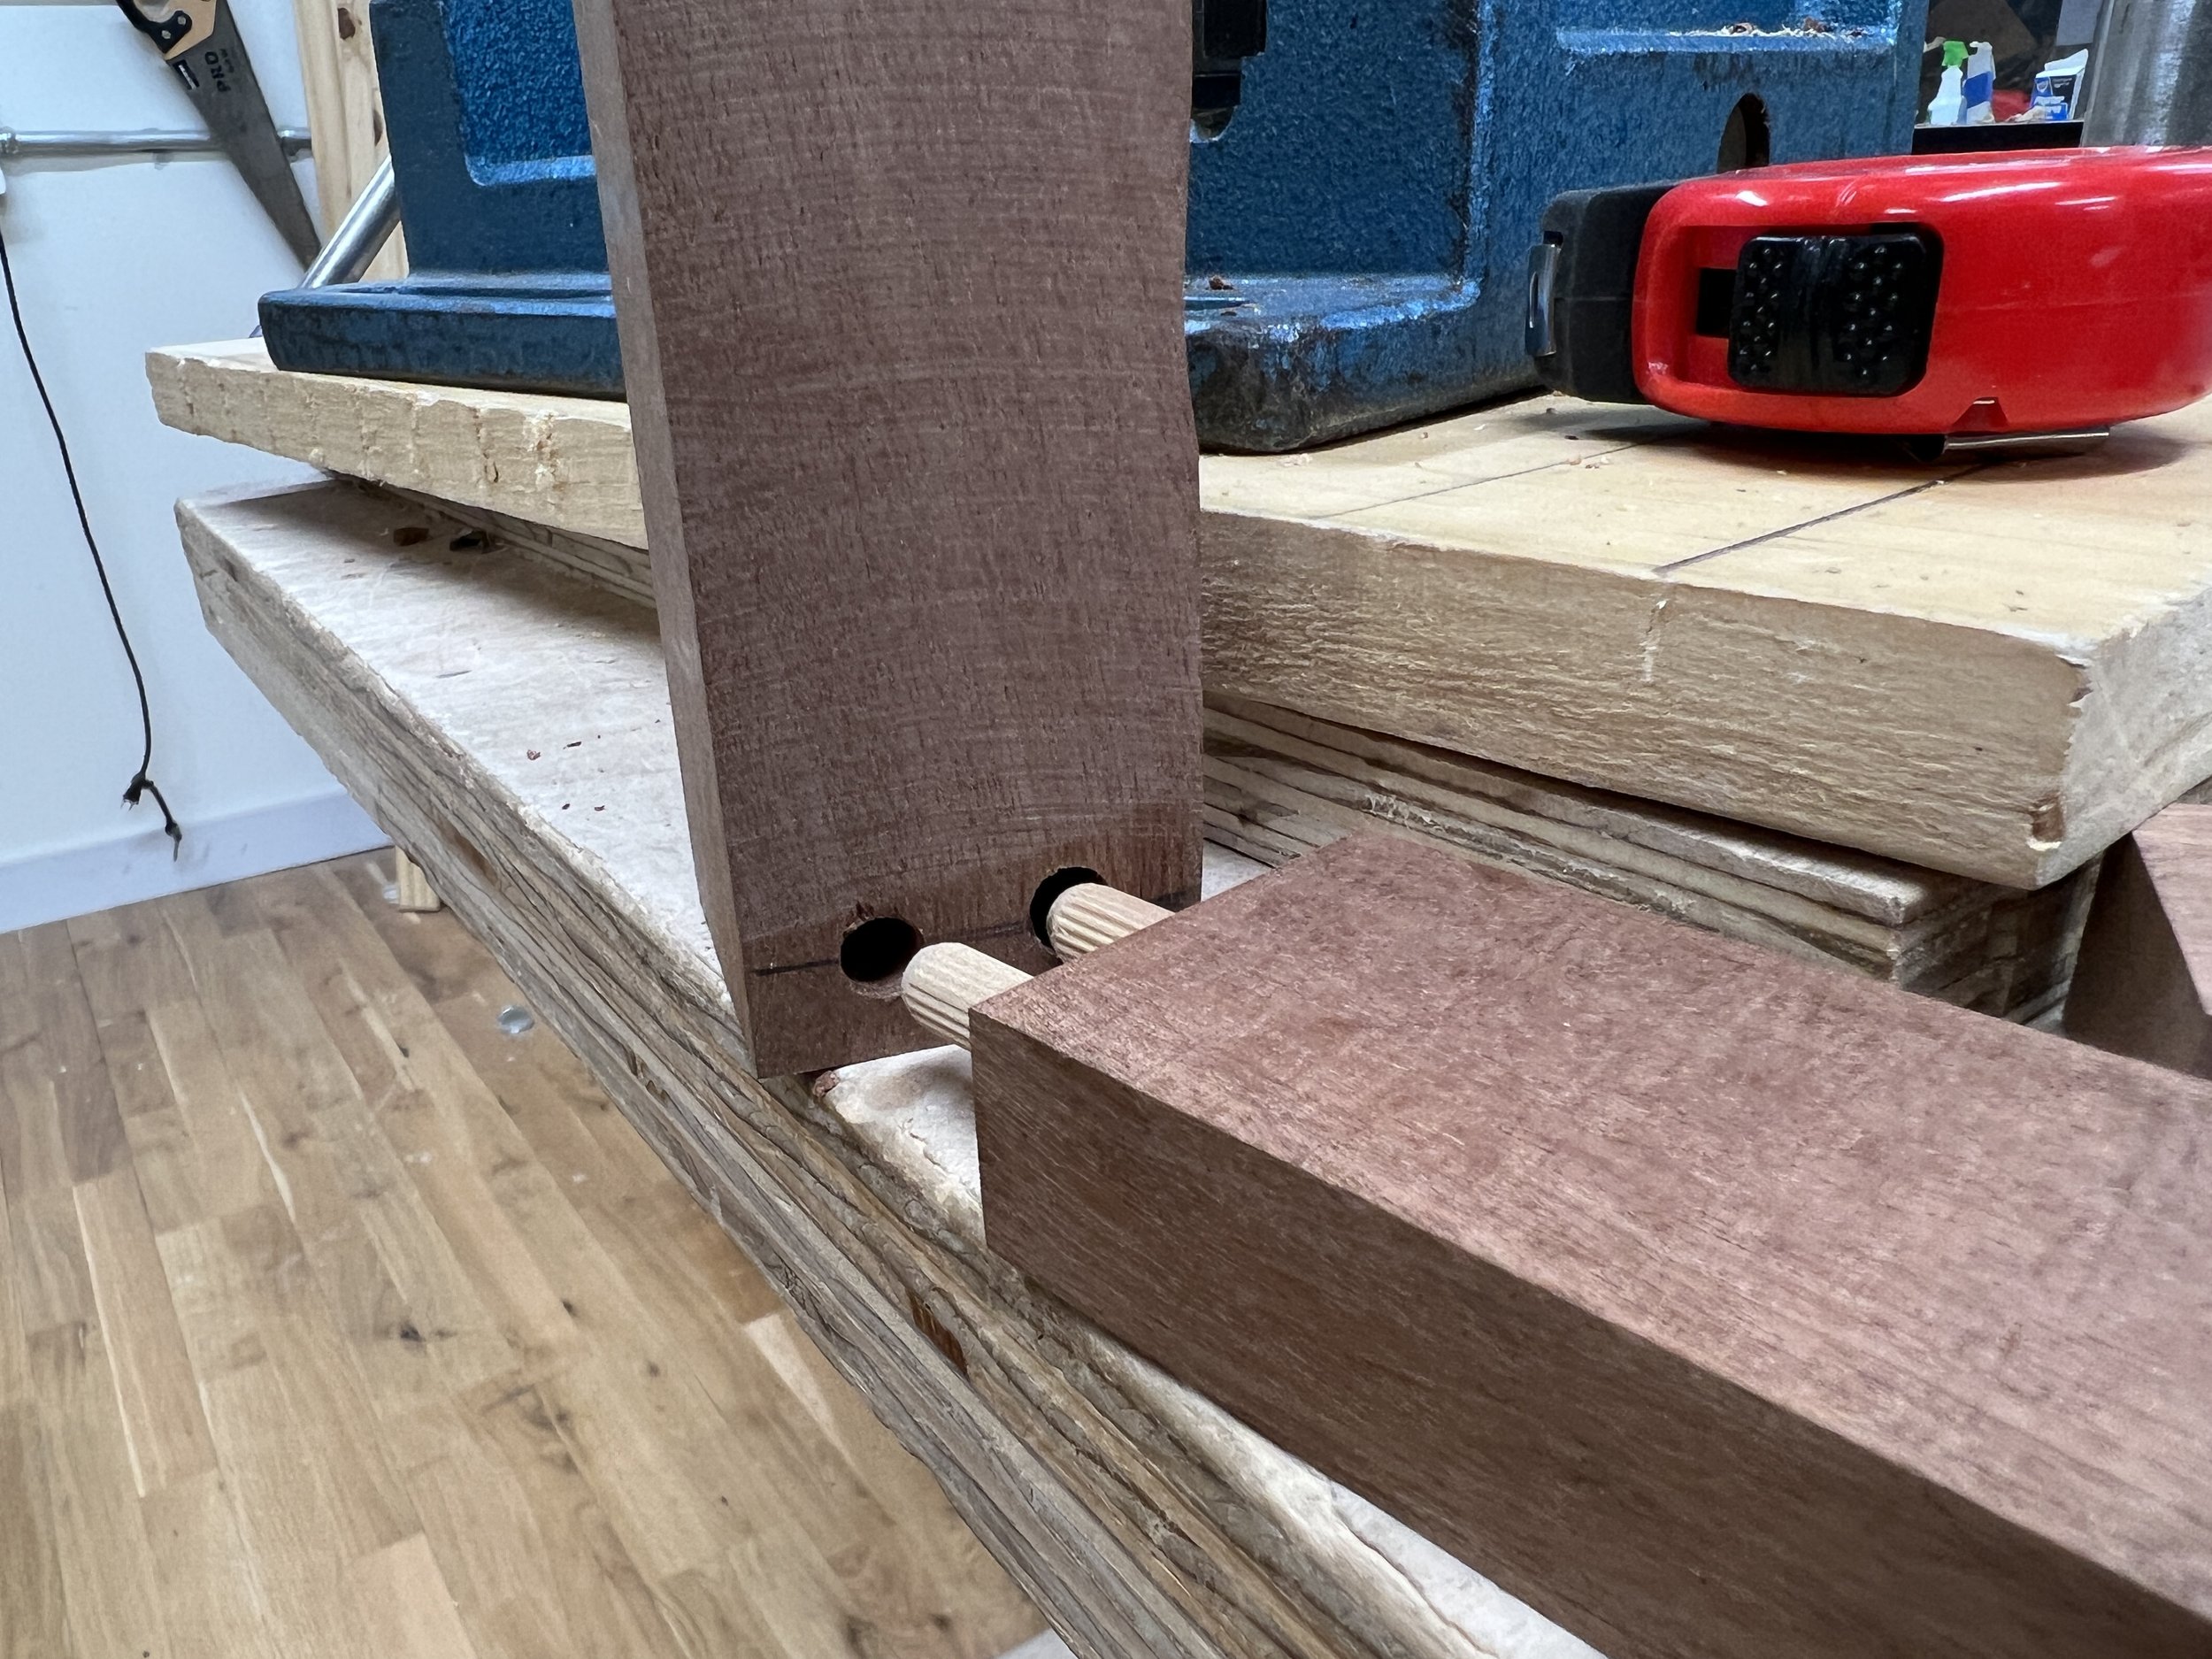
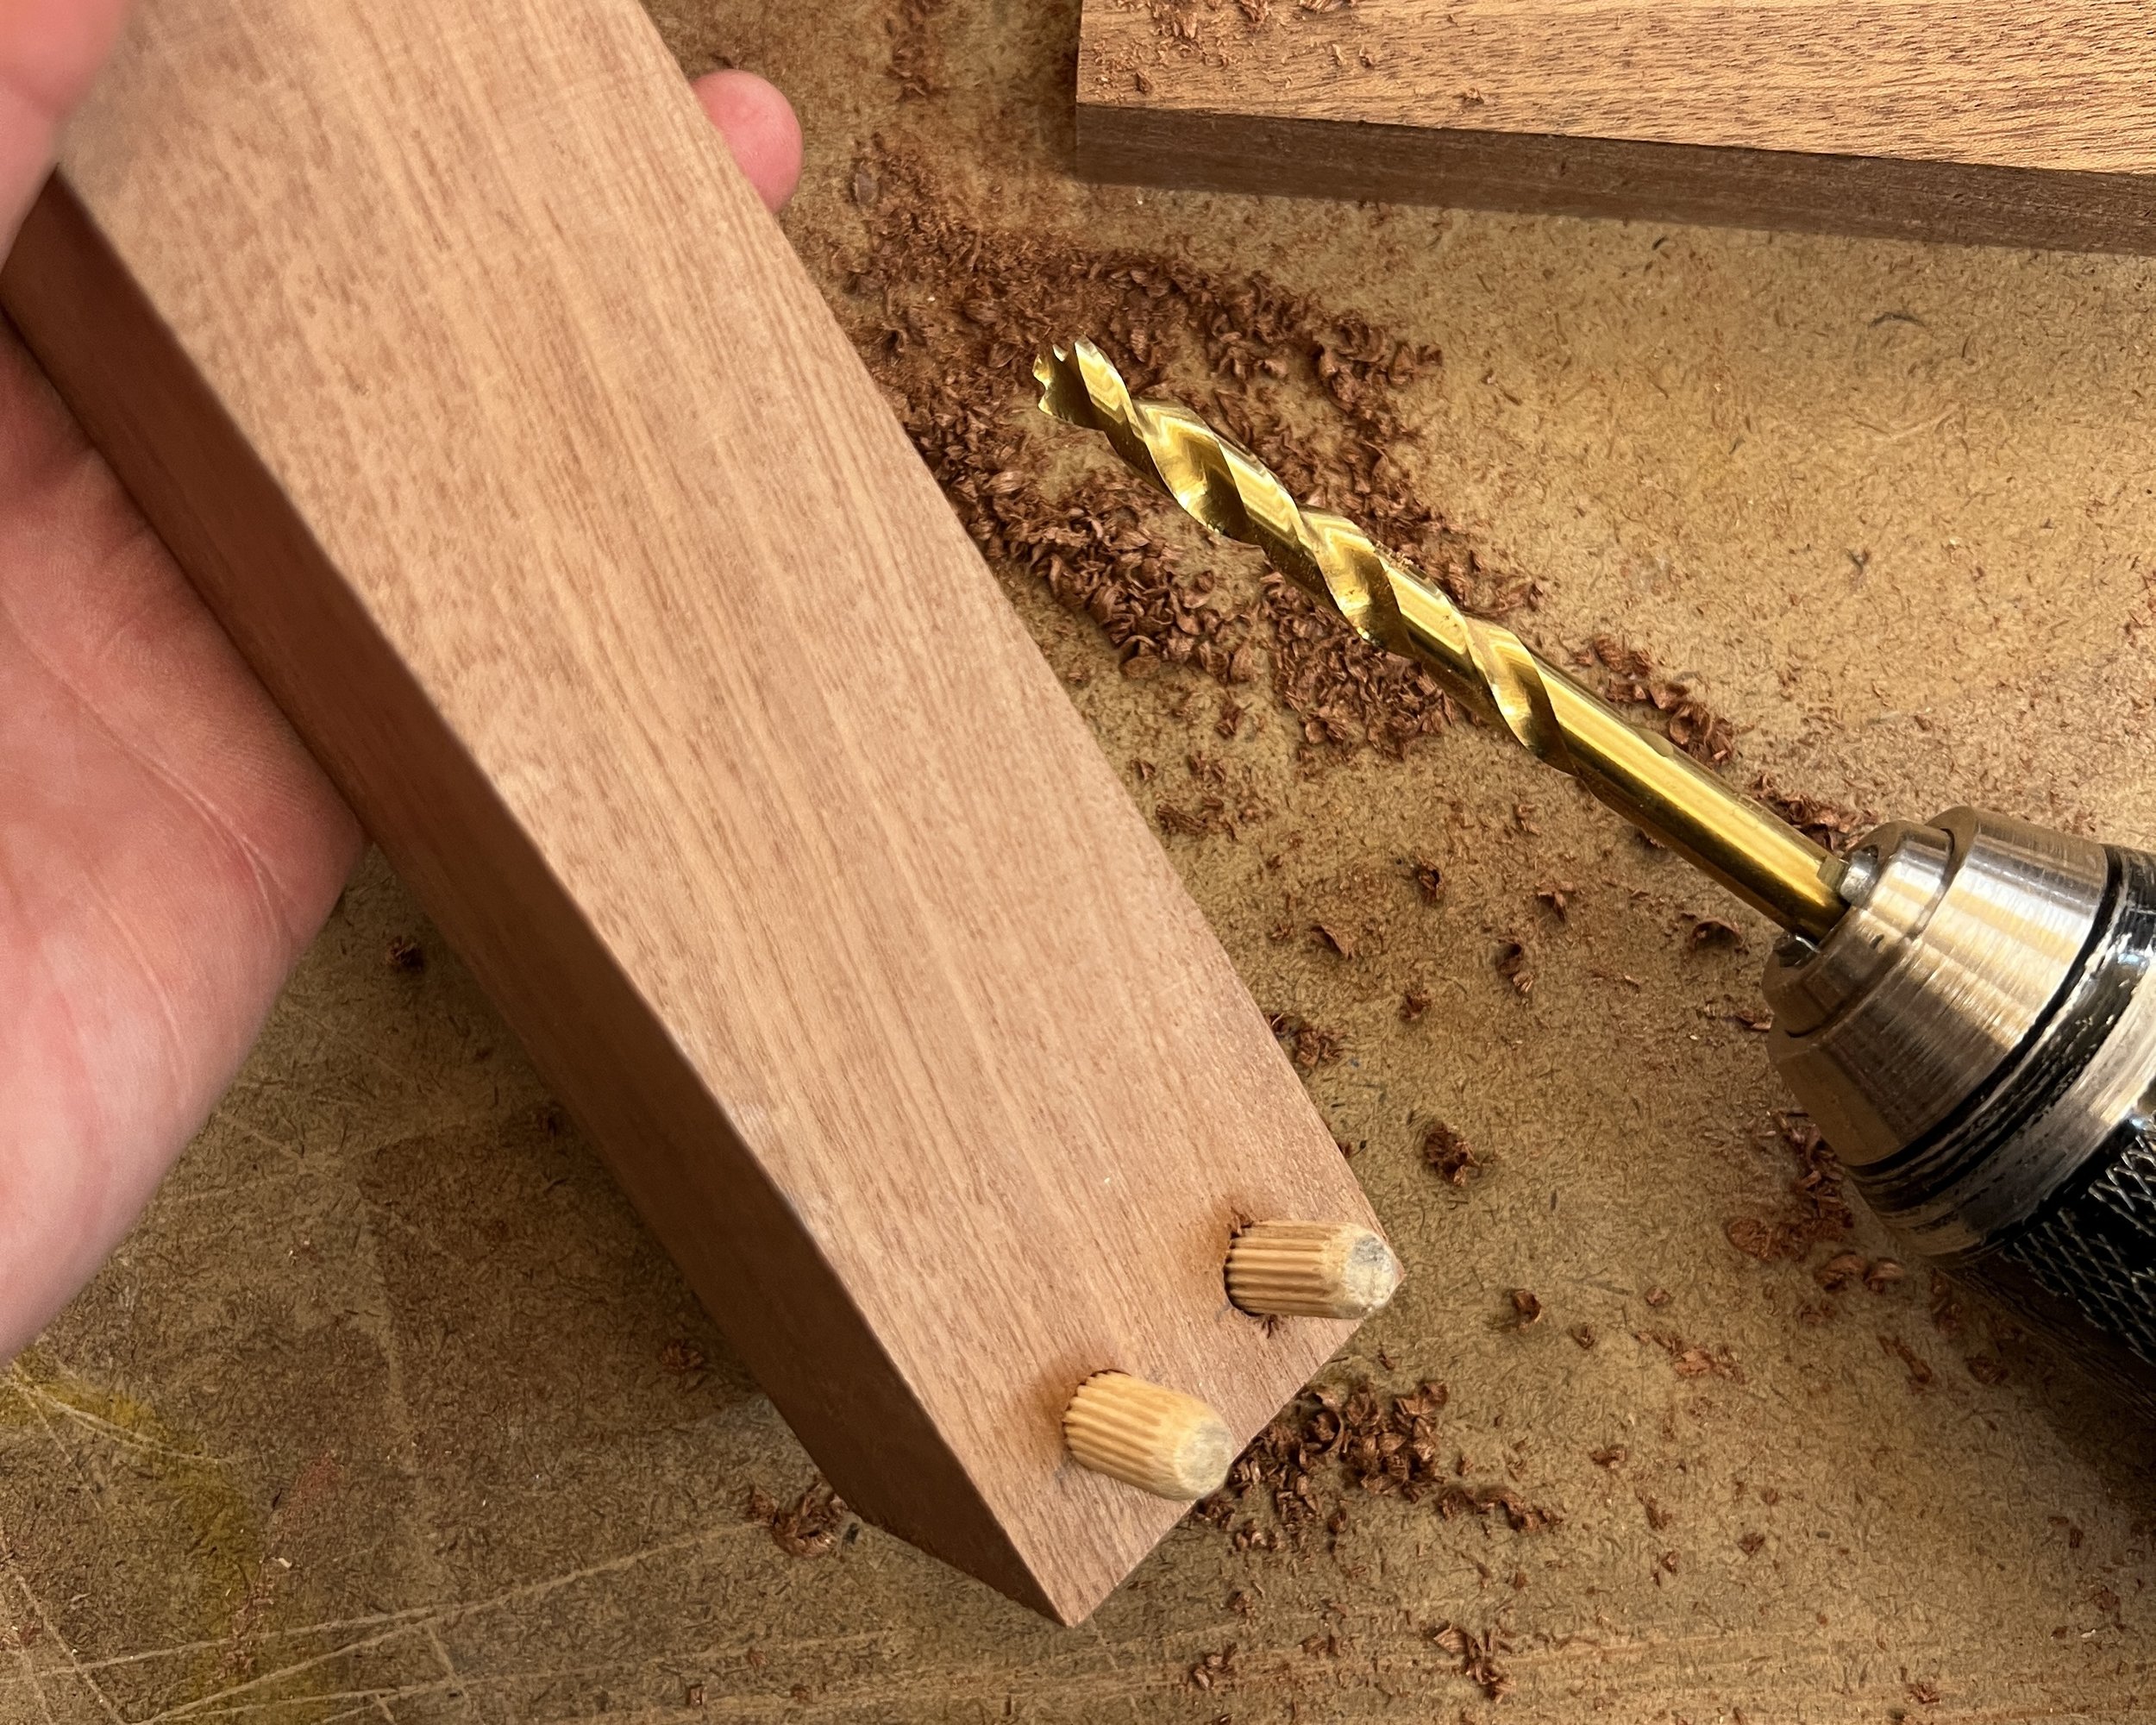
After the first two pins, I was a bit frustrated from this project being much harder than it seemed and looked, and I abandoned using the drill press to create the dowel pin holes. Still wanting to conceal my fasteners, I thought about making the pocket screws we reviewed in class. But even with the assistance of shop staff, I couldn’t find the pocket hole jig. So I decided to try again with the dowel pins, this time using the hand drill.

While I got most of the pieces attached together, it just still wasn’t quite right and I wasn’t happy with how it looked. It would still need wood glue to stay secure, and the pieces of wood weren’t lining up properly – which really bothered me. I decided to scrap the dowels altogether and resorted to gluing all of the joints together instead. I haven’t done any wood gluing with clamps yet, so this was a good exercise in technique and patience. I experimented with making my own wood filler with my pile of sawdust to close up the small gaps between the joints.

Result

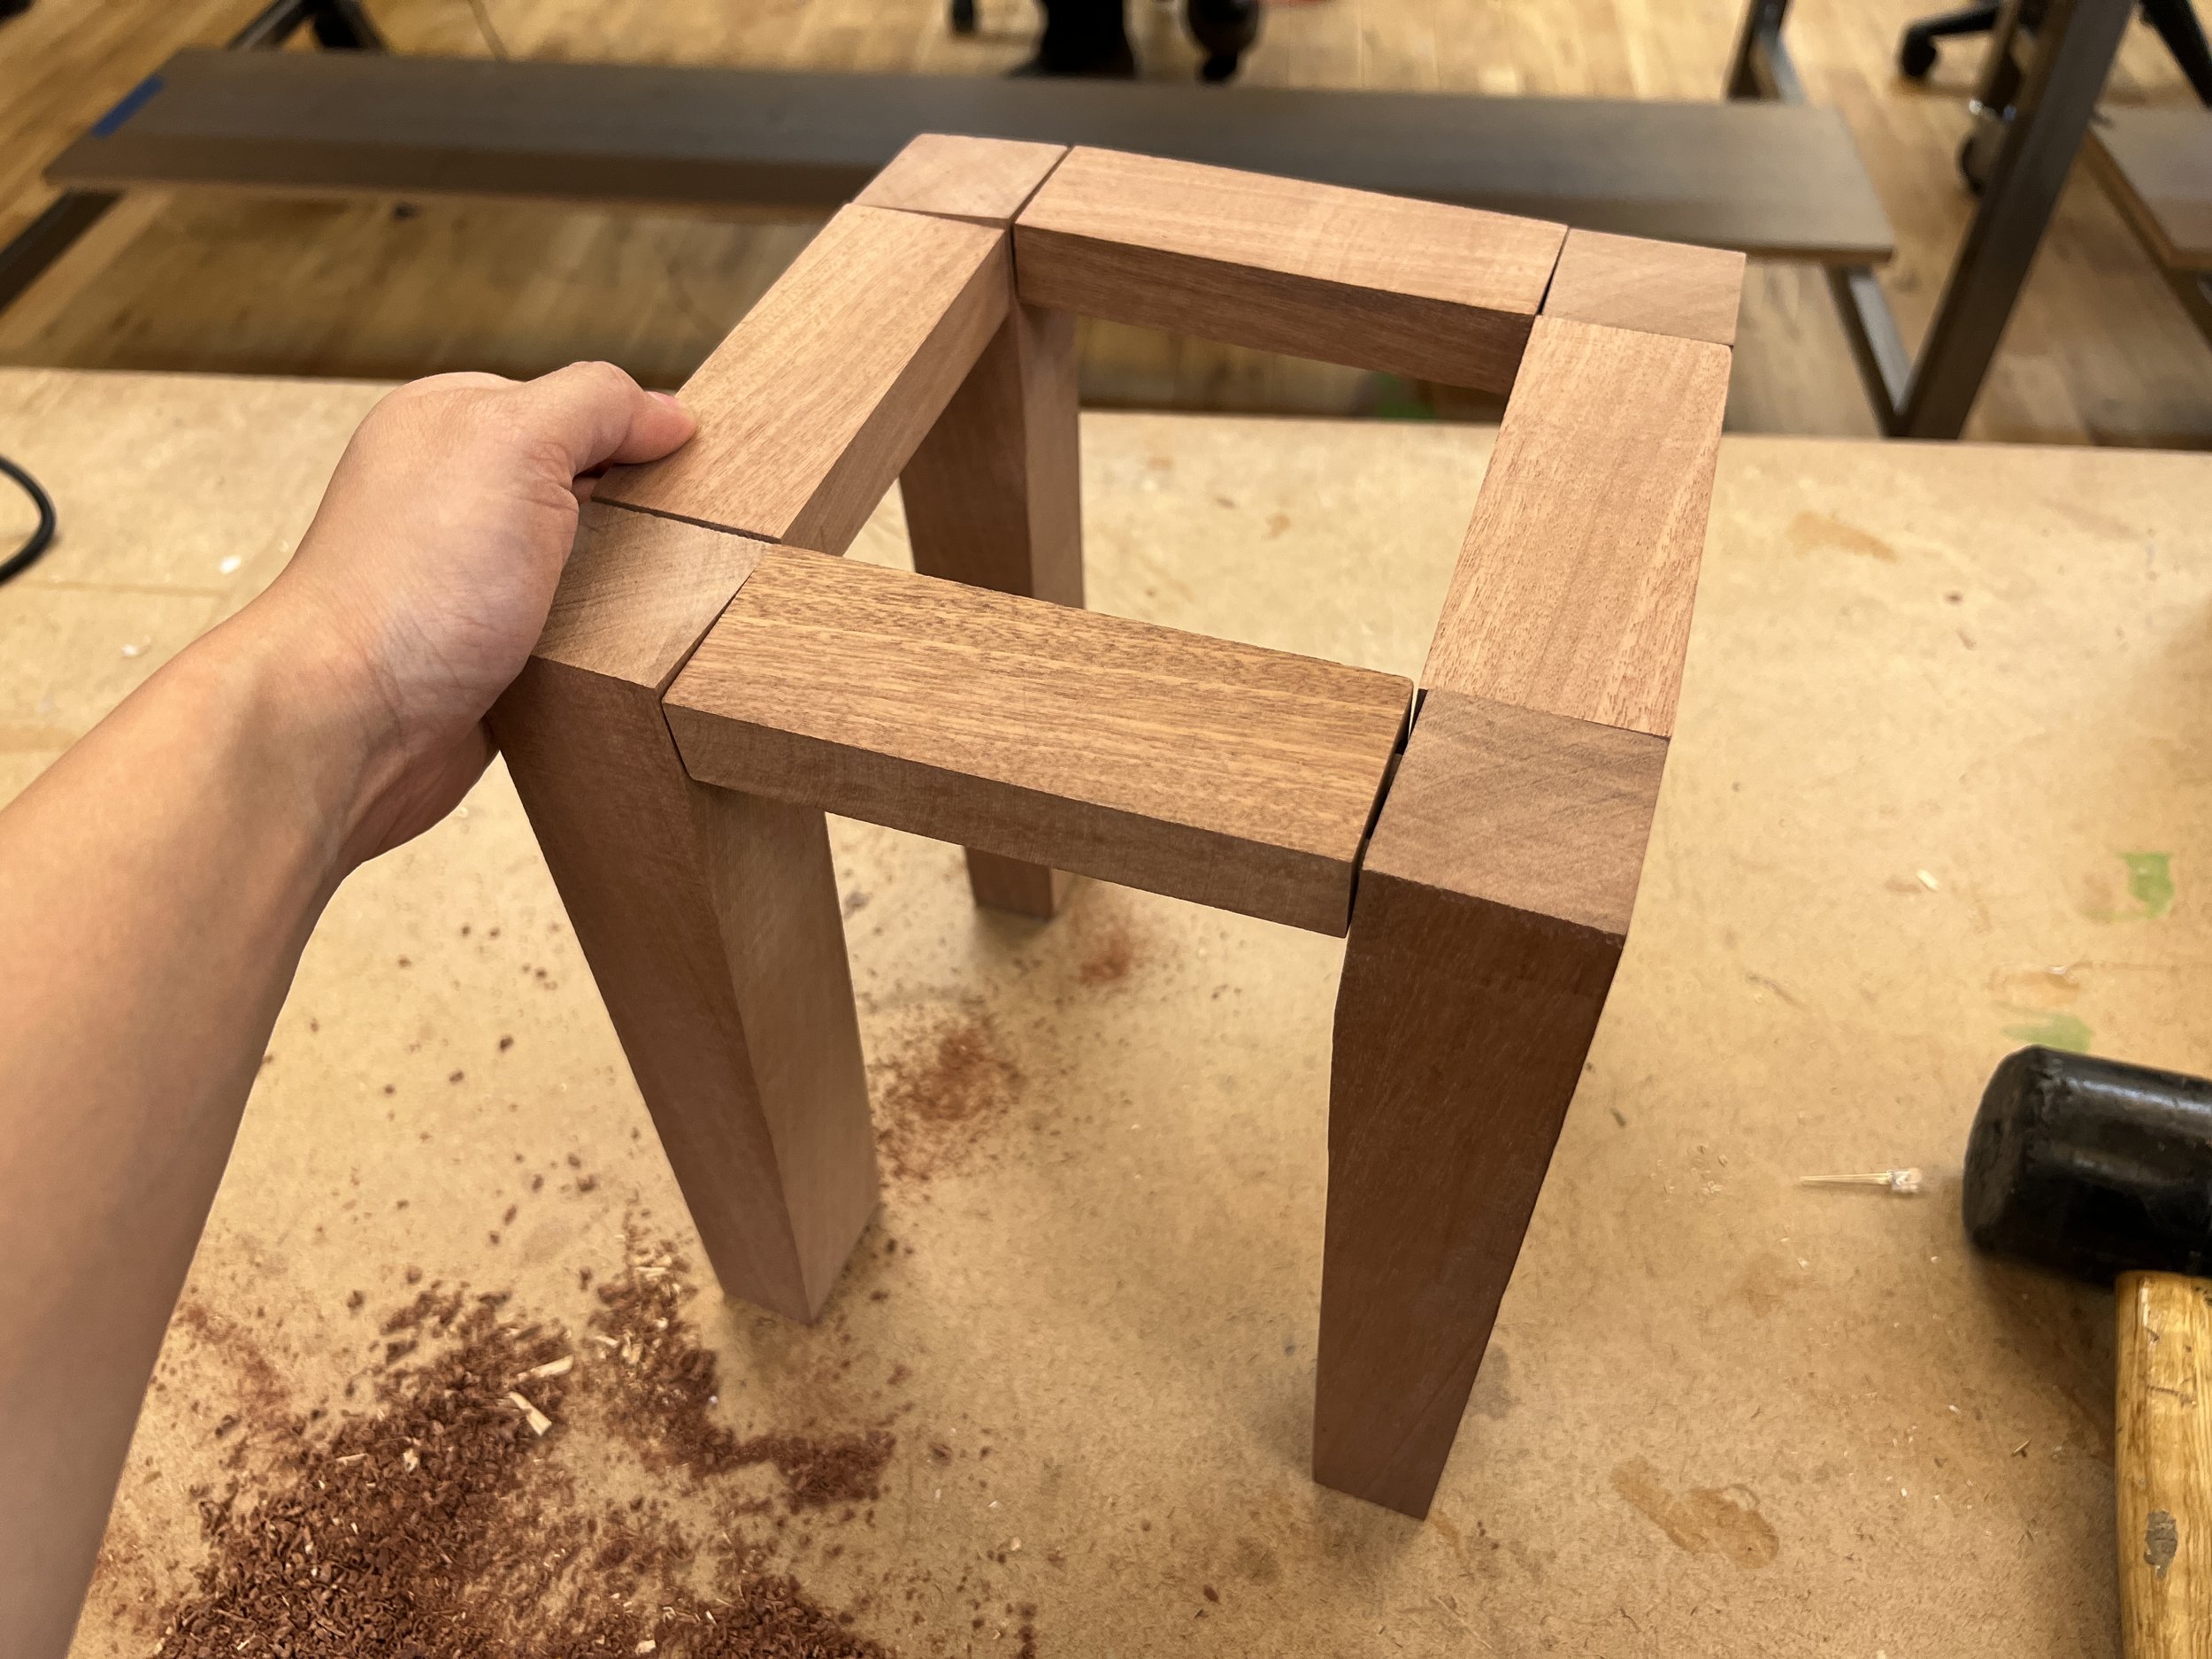
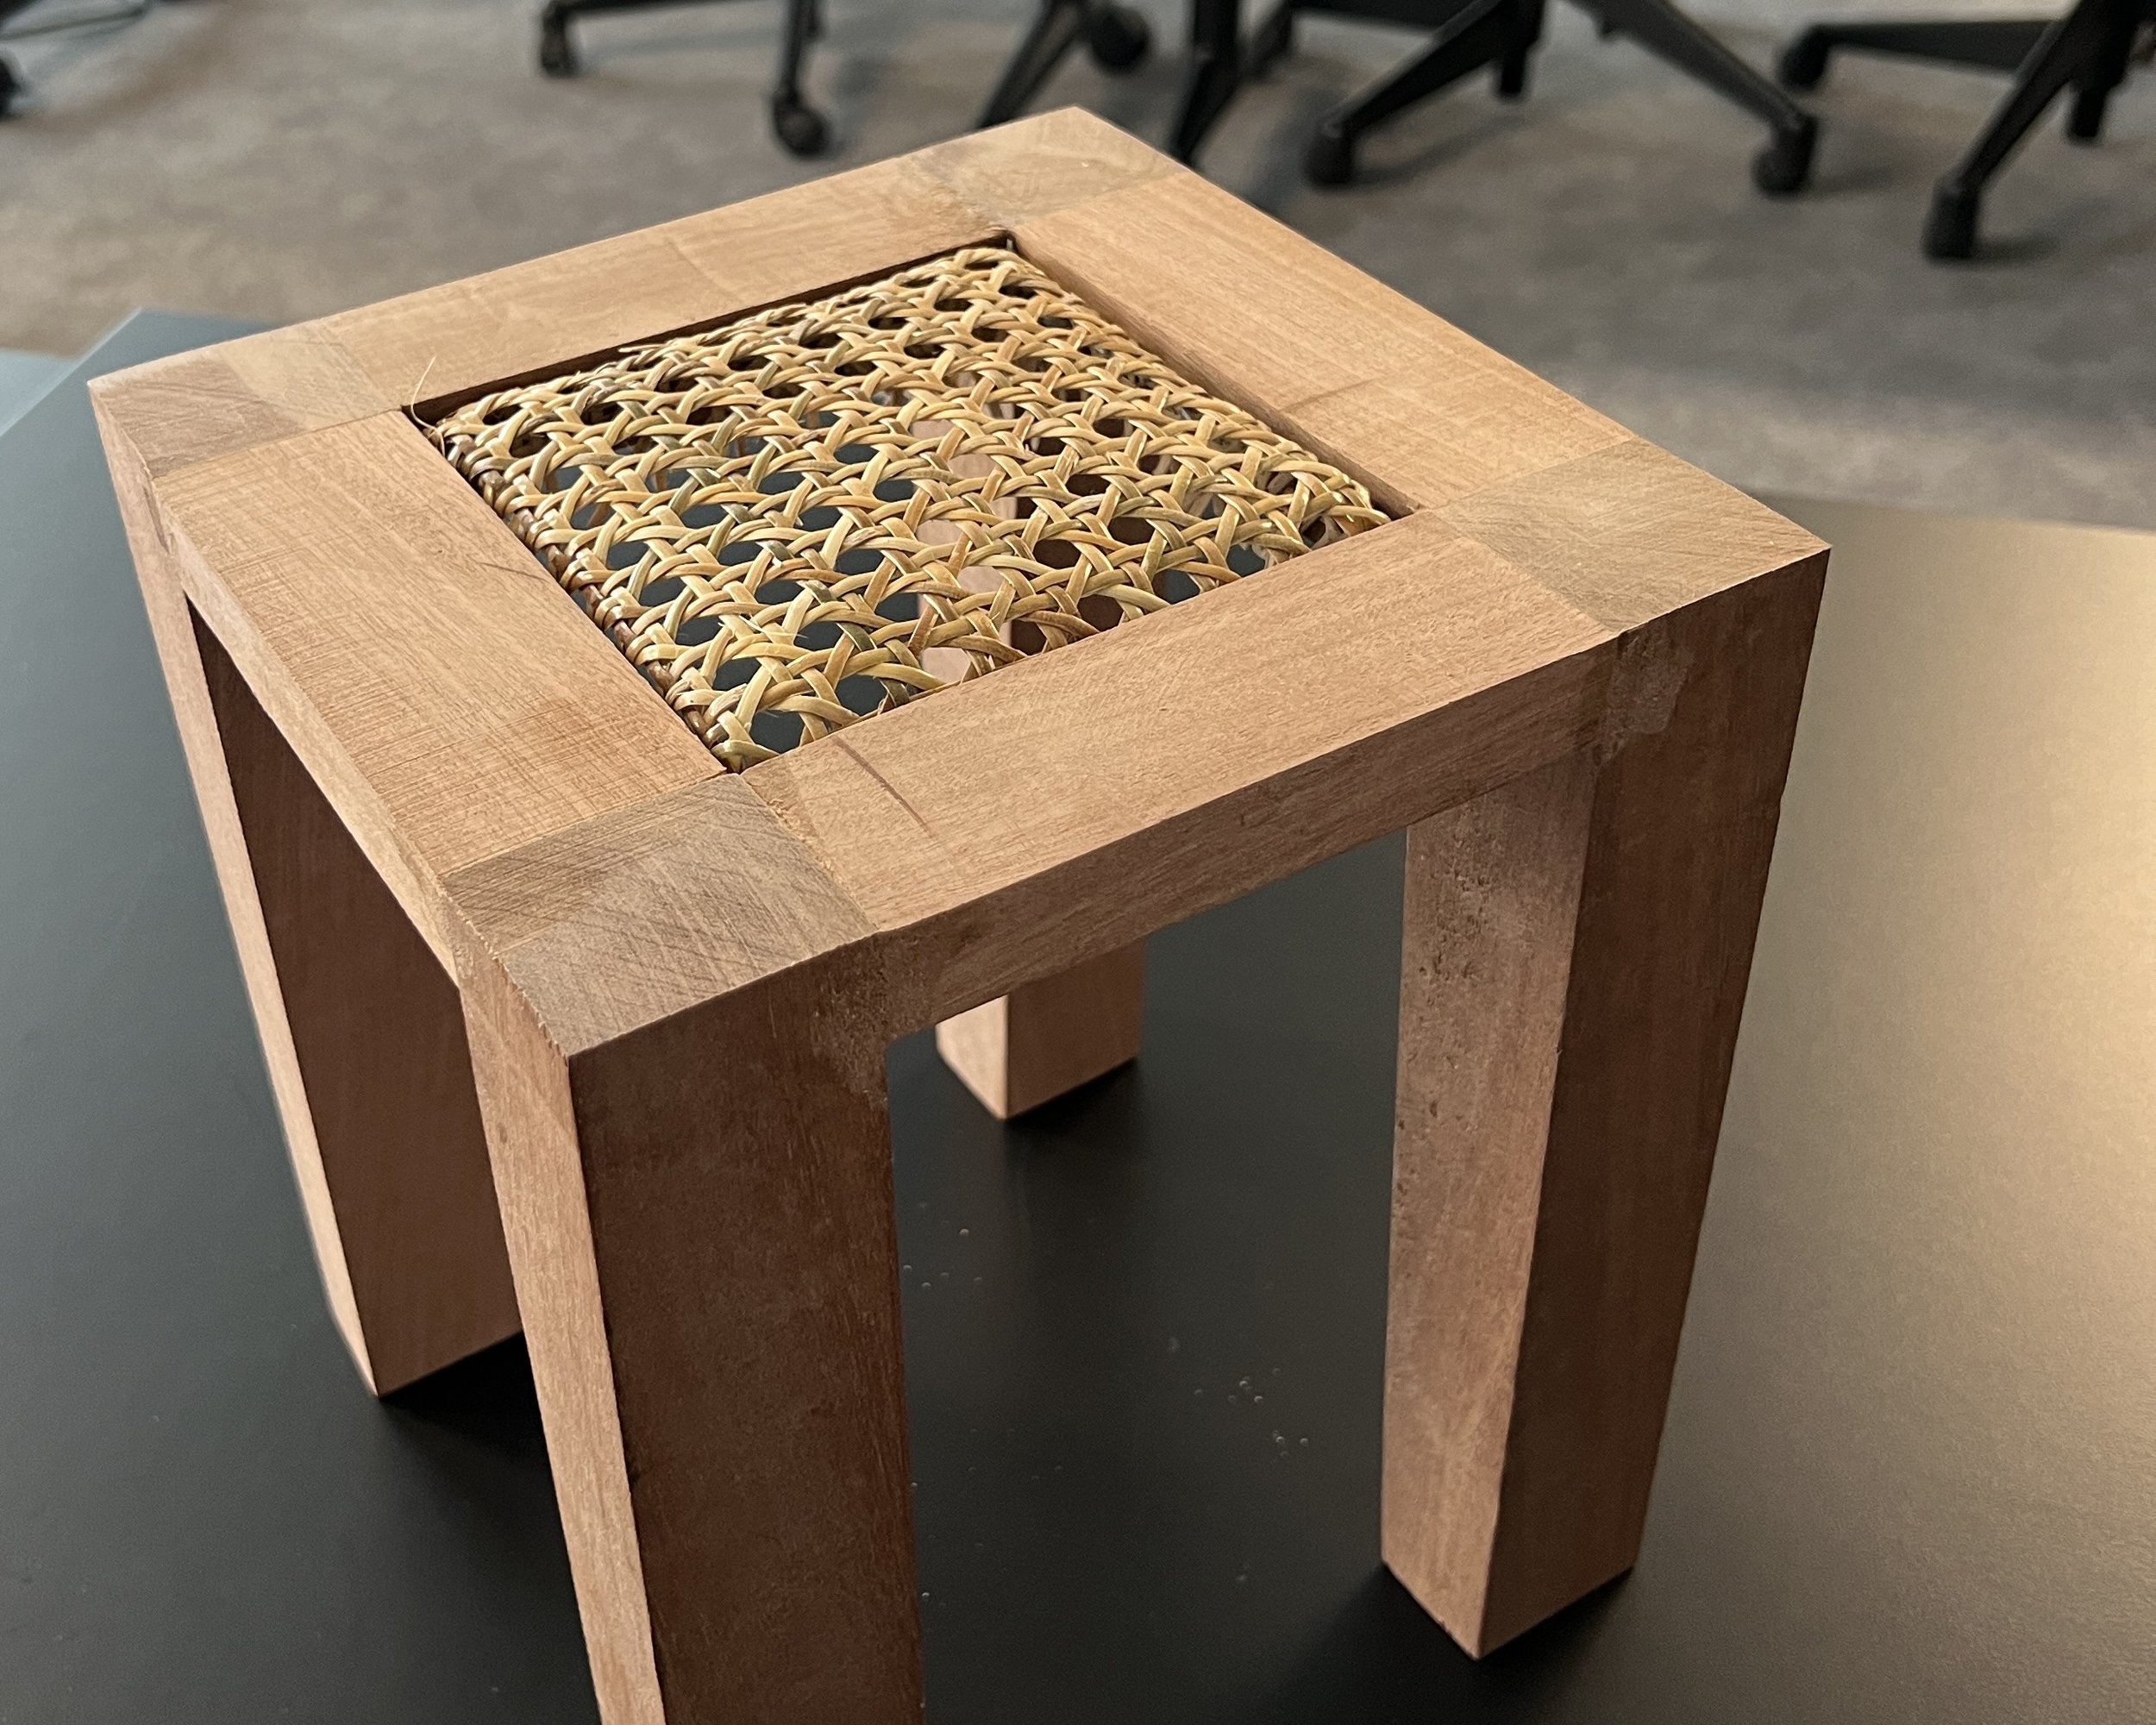
The plant stand (or perhaps a stool or side table?) ended up feeling like a fairly solid piece after the glue dried. The next step was to add my rattan cane webbing as my second material. I cut a piece that would the square opening and soaked it in lukewarm water for about an hour to soften the rattan and make it pliable. As I fit the piece into the frame, I used a staple gun to fasten the rattan to the wood.

Fitting the rattan cane webbing into the wooden frame.

The plant stand as presented in class.

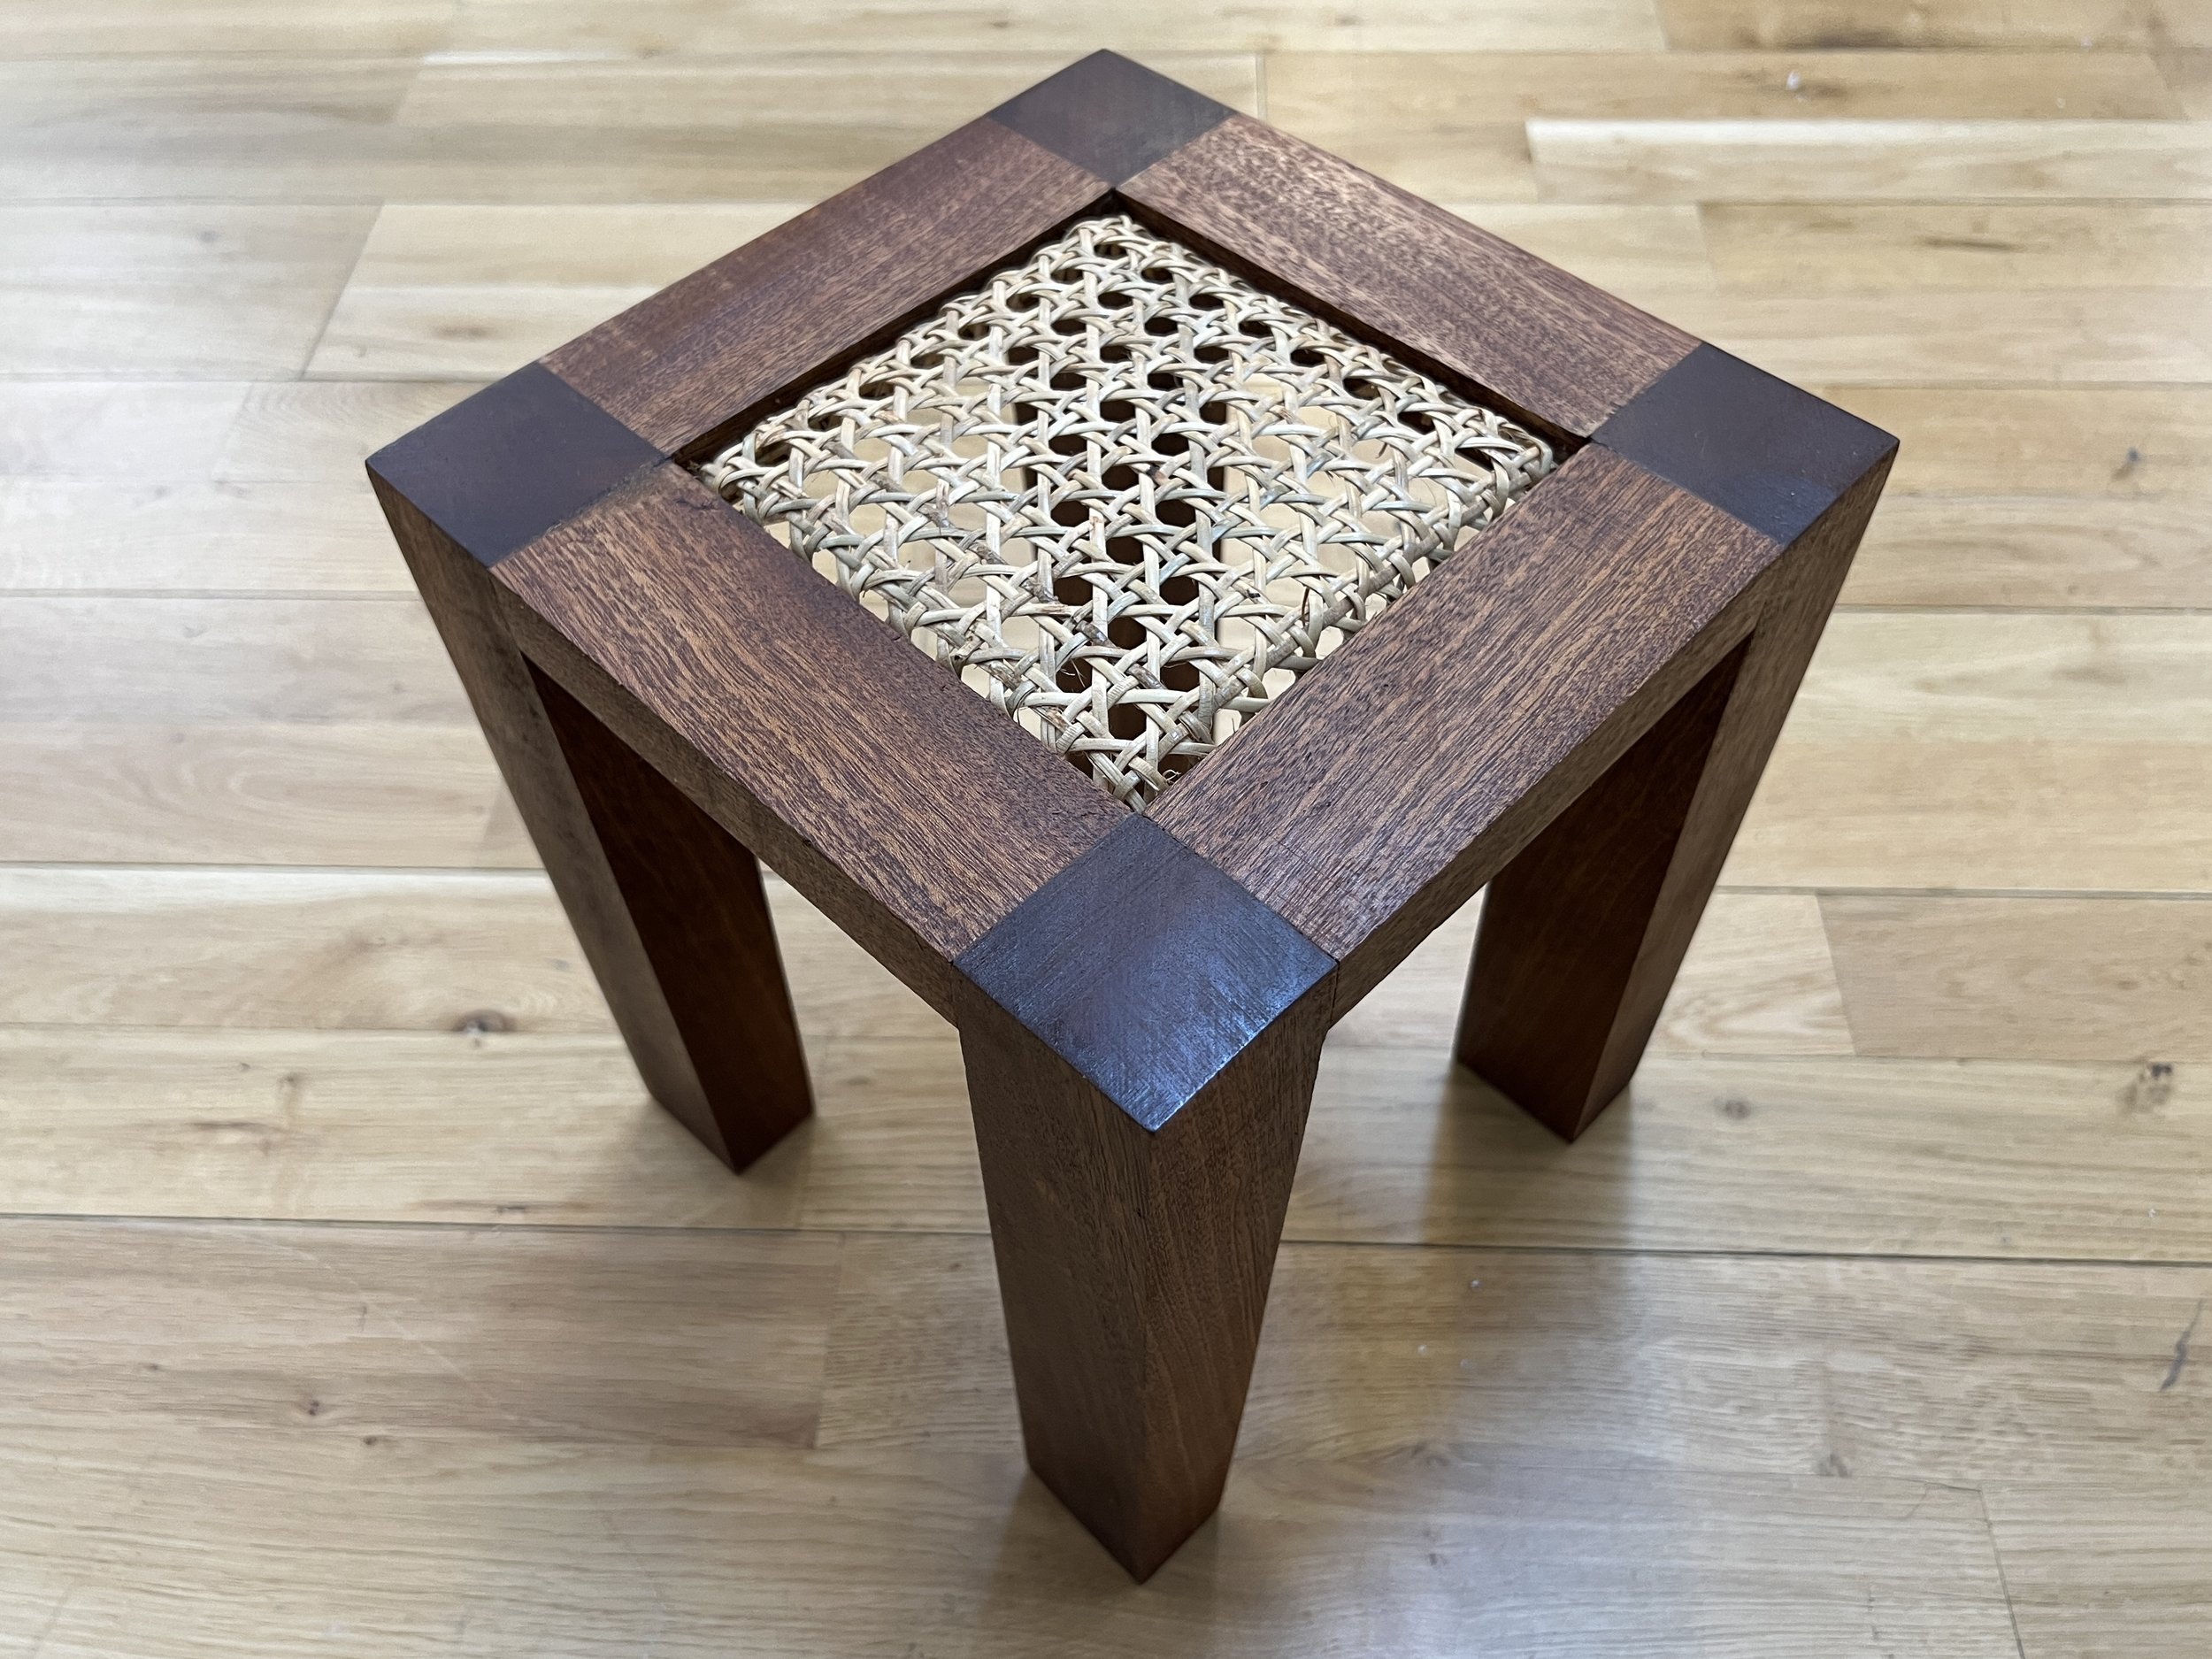
After showing the almost finished piece in class, I went back to the shop for the last bit of sanding and finishing. I smoothed out some uneven parts and worked my way through the sandpaper grits, up to 400. I used a utility knife blade to scrape off the excess dried glue. Finally, I wiped on linseed oil, which turned the wood into a dark and rich mahogany color. I’ll probably take some reed spline to fill in the edges as the final touch. Overall, I’m very satisfied with this piece, even with its imperfections and the moments of failure that I experienced while making this. I would definitely look into creating a template for myself to produce more of these more efficiently.

Intro to Fabrication: Week 4

Assignment

This week’s assignment: create an enclosure surrounding something. I made a lamp – an enclosure surrounding a light bulb.

Thinking about my Philippine heritage theme for fabrication, I was inspired by Filipino parols, which are star lanterns commonly displayed throughout the Philippines during the Christmas season, and capiz shells, used to make parols but are also often part of windows, doors, and other decorative products. I’ve also been following a secondary theme of making housewares, so I felt that making a lamp would fit right into my object family.

Materials and Process

I knew I wanted to utilize an exposed light bulb and a pack of square-cut capiz shells. I ordered a wiring kit for the bulb socket and utilized another part of the remaining poplar wood I have in the shop. I started out by making a square base from the 2x4 piece, but later, I cut the corners at an angle to create an octagon shape. I made sure to test out different bit sizes with the drill press to ensure that I had a good fit for the black plastic socket shell pieces – even making sure that I cut into the wood at different levels for the change in widths.

However, I didn’t realize I was fitting the shell into the base upside down until I started wiring the socket. This definitely served me a lesson in order of operations. I should've tried to assemble the wiring kit together before making the very thing that would enclose it.

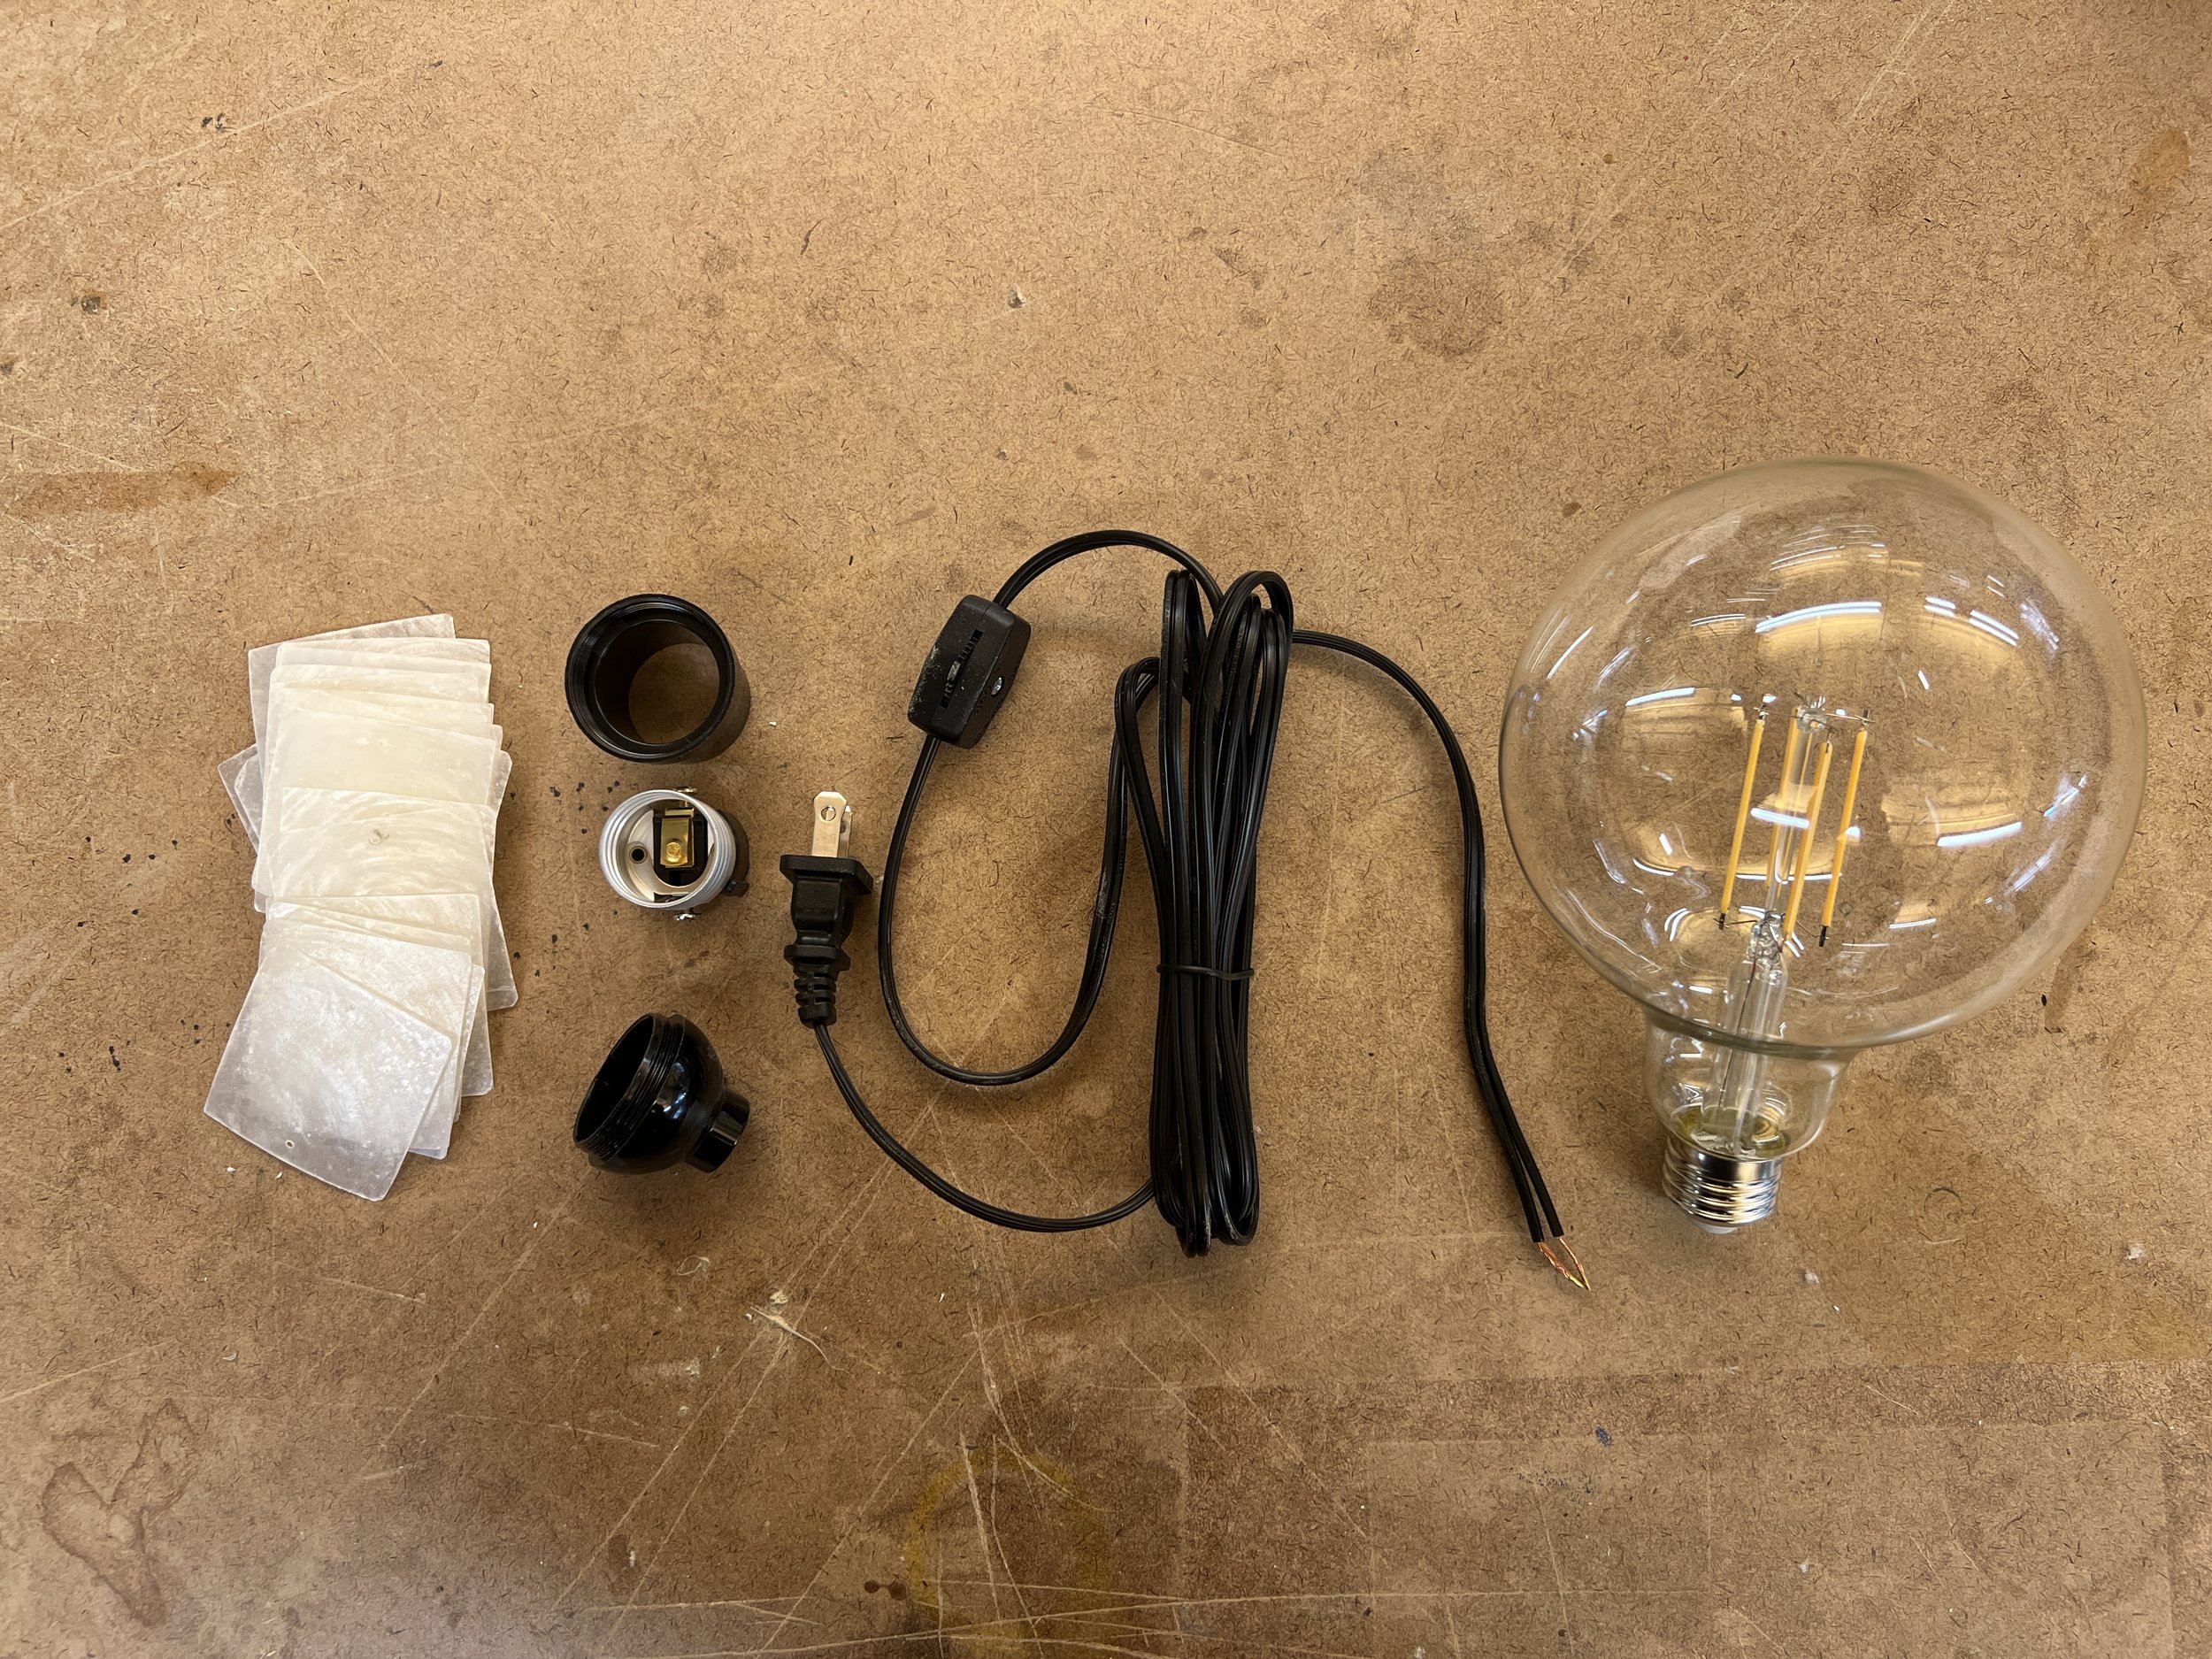
From left to right: square capiz shells, a lamp wiring kit, and a vintage style LED bulb.

Testing out the size of the drill bit with the plastic bulb socket shell.

A photo of the lamp base with the bulb socket inserted as I thought it would fit – before I started wiring it and realized I had it upside down.

A close-up of the square-cut capiz shells to see their translucent texture.

Result

To my relief, the light bulb and switch itself all worked fine. However, the way I ended up positioning the bulb socket in the base meant that instead of the pieces fitting perfectly flush inside, it all stuck out. The light bulb wasn’t sitting securely in the opening. It was at this point that I began sketching out how I could attempt to make this base again. The lamp works and is fine for now, but there are some modifications and next steps that I want to get to:

  1. Fabricate a new base that will house the entire bulb socket. This may require gluing two pieces of wood together.

  2. Laser cut the capiz shells into small subway tiles and apply them to the base as a finish.

  3. Change the rotary switch or add a dimmer to reduce the bulb’s brightness. (I also need to figure out how to restore the glass after getting a few scratches and too many of my fingerprints.)

Going back to the drawing board. When I realized the correct orientation for the socket, I tried to get a grasp of how I would have to drill the wood on my next attempt so that the light bulb could sit flush inside the base.

Let there be light – for now! My current lamp as is.

Intro to Fabrication: Week 3

Assignment

This week’s assignment: laser cut two of the same thing:

  1. One must be small

  2. One must be big (1 ft. x 1 ft.)

Materials

I’ve already laser cut acrylic, wood, and cardboard for previous projects, so I wanted to try using a new material. Inspired by thick felt trivets I’ve seen online, I wanted to experiment with making my own. I purchased a piece of 5mm thick merino wool felt from a shop on Etsy and figured I could cut a coaster as my smaller piece, and a trivet as my larger piece.

As for the design of the vector cut itself, I thought of this project as a chance to prototype and make my own interpretation of an idea my mom has shared with me – making a trivet in the shape of the Philippines. What I envisioned: create a whole set of trivets in the shape of individual islands of the Philippines that could be the base for a whole spread of dishes on a table. (And if I were to take this idea even further, I’d put a regional dish on that island’s trivet.)

Process

For this assignment, I chose to work with the shape of Leyte, the island in the Visayas region of the Philippines where my maternal grandparents are from. I tested out the scale of the island as a trivet and coaster with cardboard, and from there, moved on to attempting the cut on the wool felt. It was tougher than I thought. I had to do multiple passes with the laser cutter, and most of the thick felt still wasn’t cut all the way through. The edges were also darkening and the felt was developing a burnt hair scent. I ended up having to cut parts of the outline with a utility knife and cleaned up some portions with scissors.

The cardboard pieces I laser cut to test out the size.

Cutting the wool felt with the laser.

Result

I would really love to nail the settings for the wool. I still have some wool left over to experiment and figure out the right power and speed settings that ideally would not burn the felt. The other thing I need to resolve about these pieces is the smell. I might try putting these in the freezer to remove the odor.

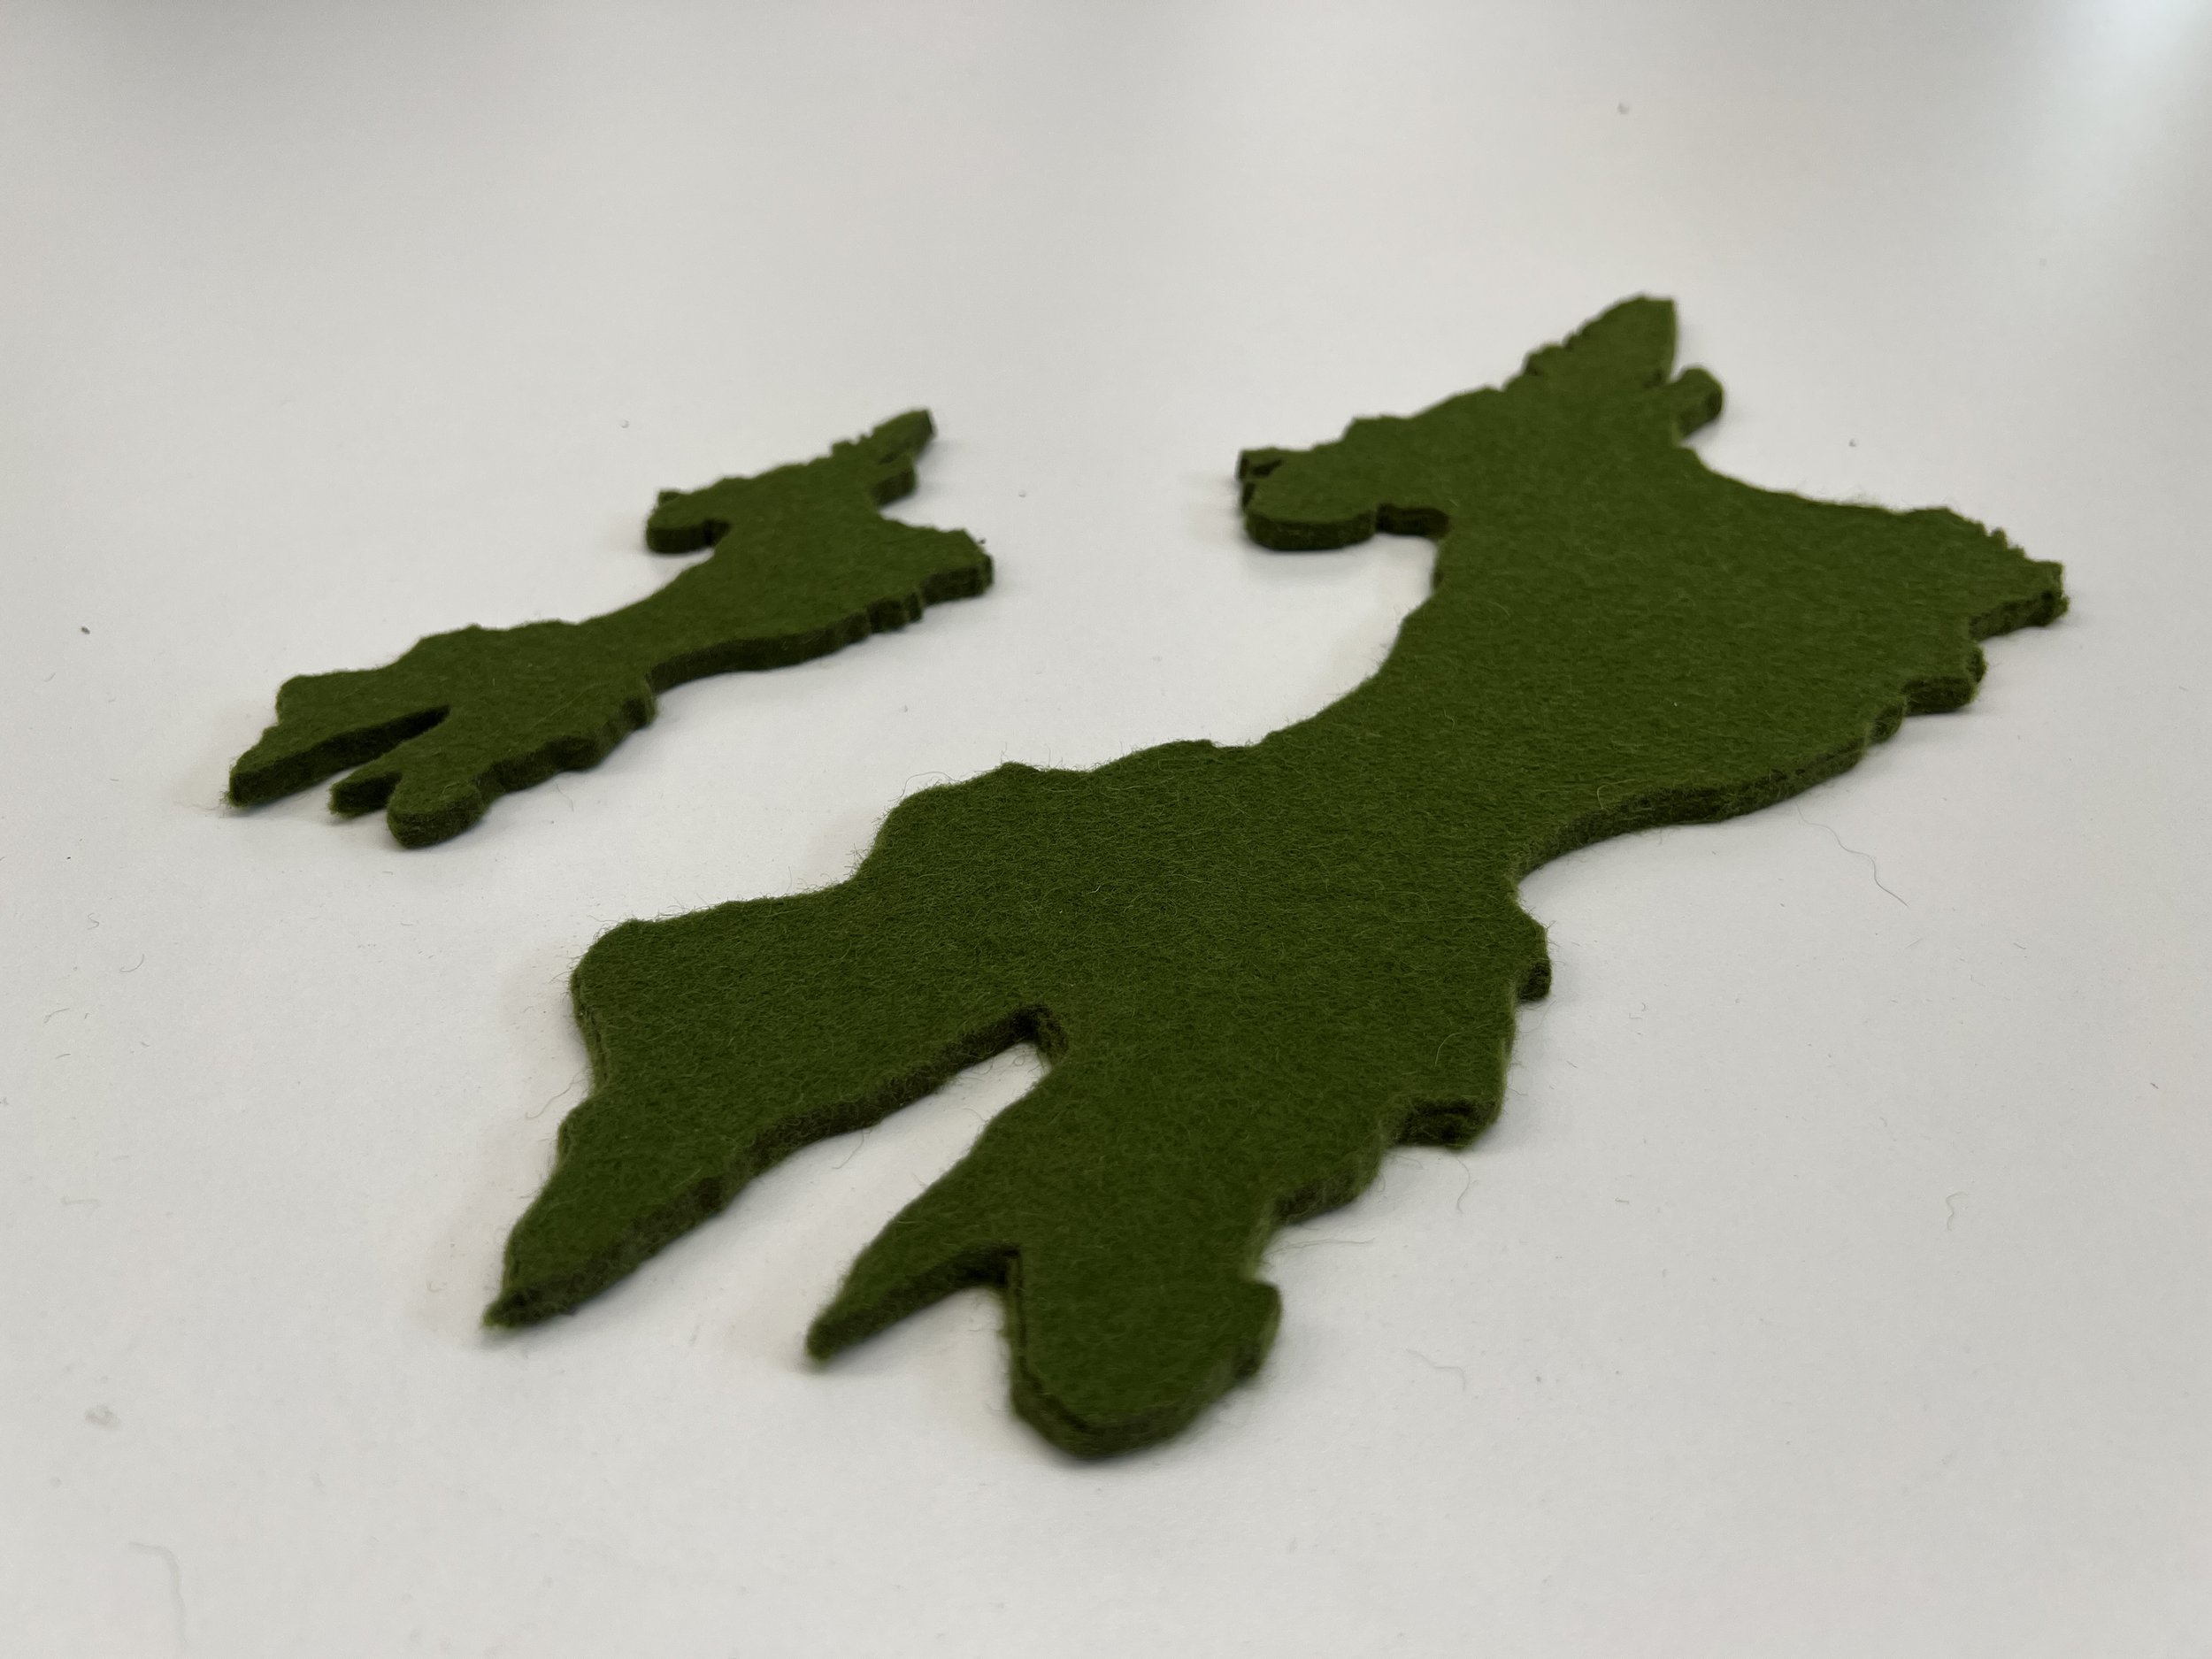
The final wool coaster and trivet with a cup of tea and empty bowl for scale.

Intro to Fabrication: Week 2

Assignment

For our second assignment, we were tasked to make two of the same thing using two or more methods of fabrication (no laser, no 3D printing) with tools that we covered: band saw, miter saw, panel saw, disc/belt sander, and drill press.

I picked up a 2x4 of poplar from the lumber shop for this week’s project. Working with my theme of Philippine heritage, I pursued making five rice paddles – an essential kitchen utensil for scooping cooked rice.

Drawings

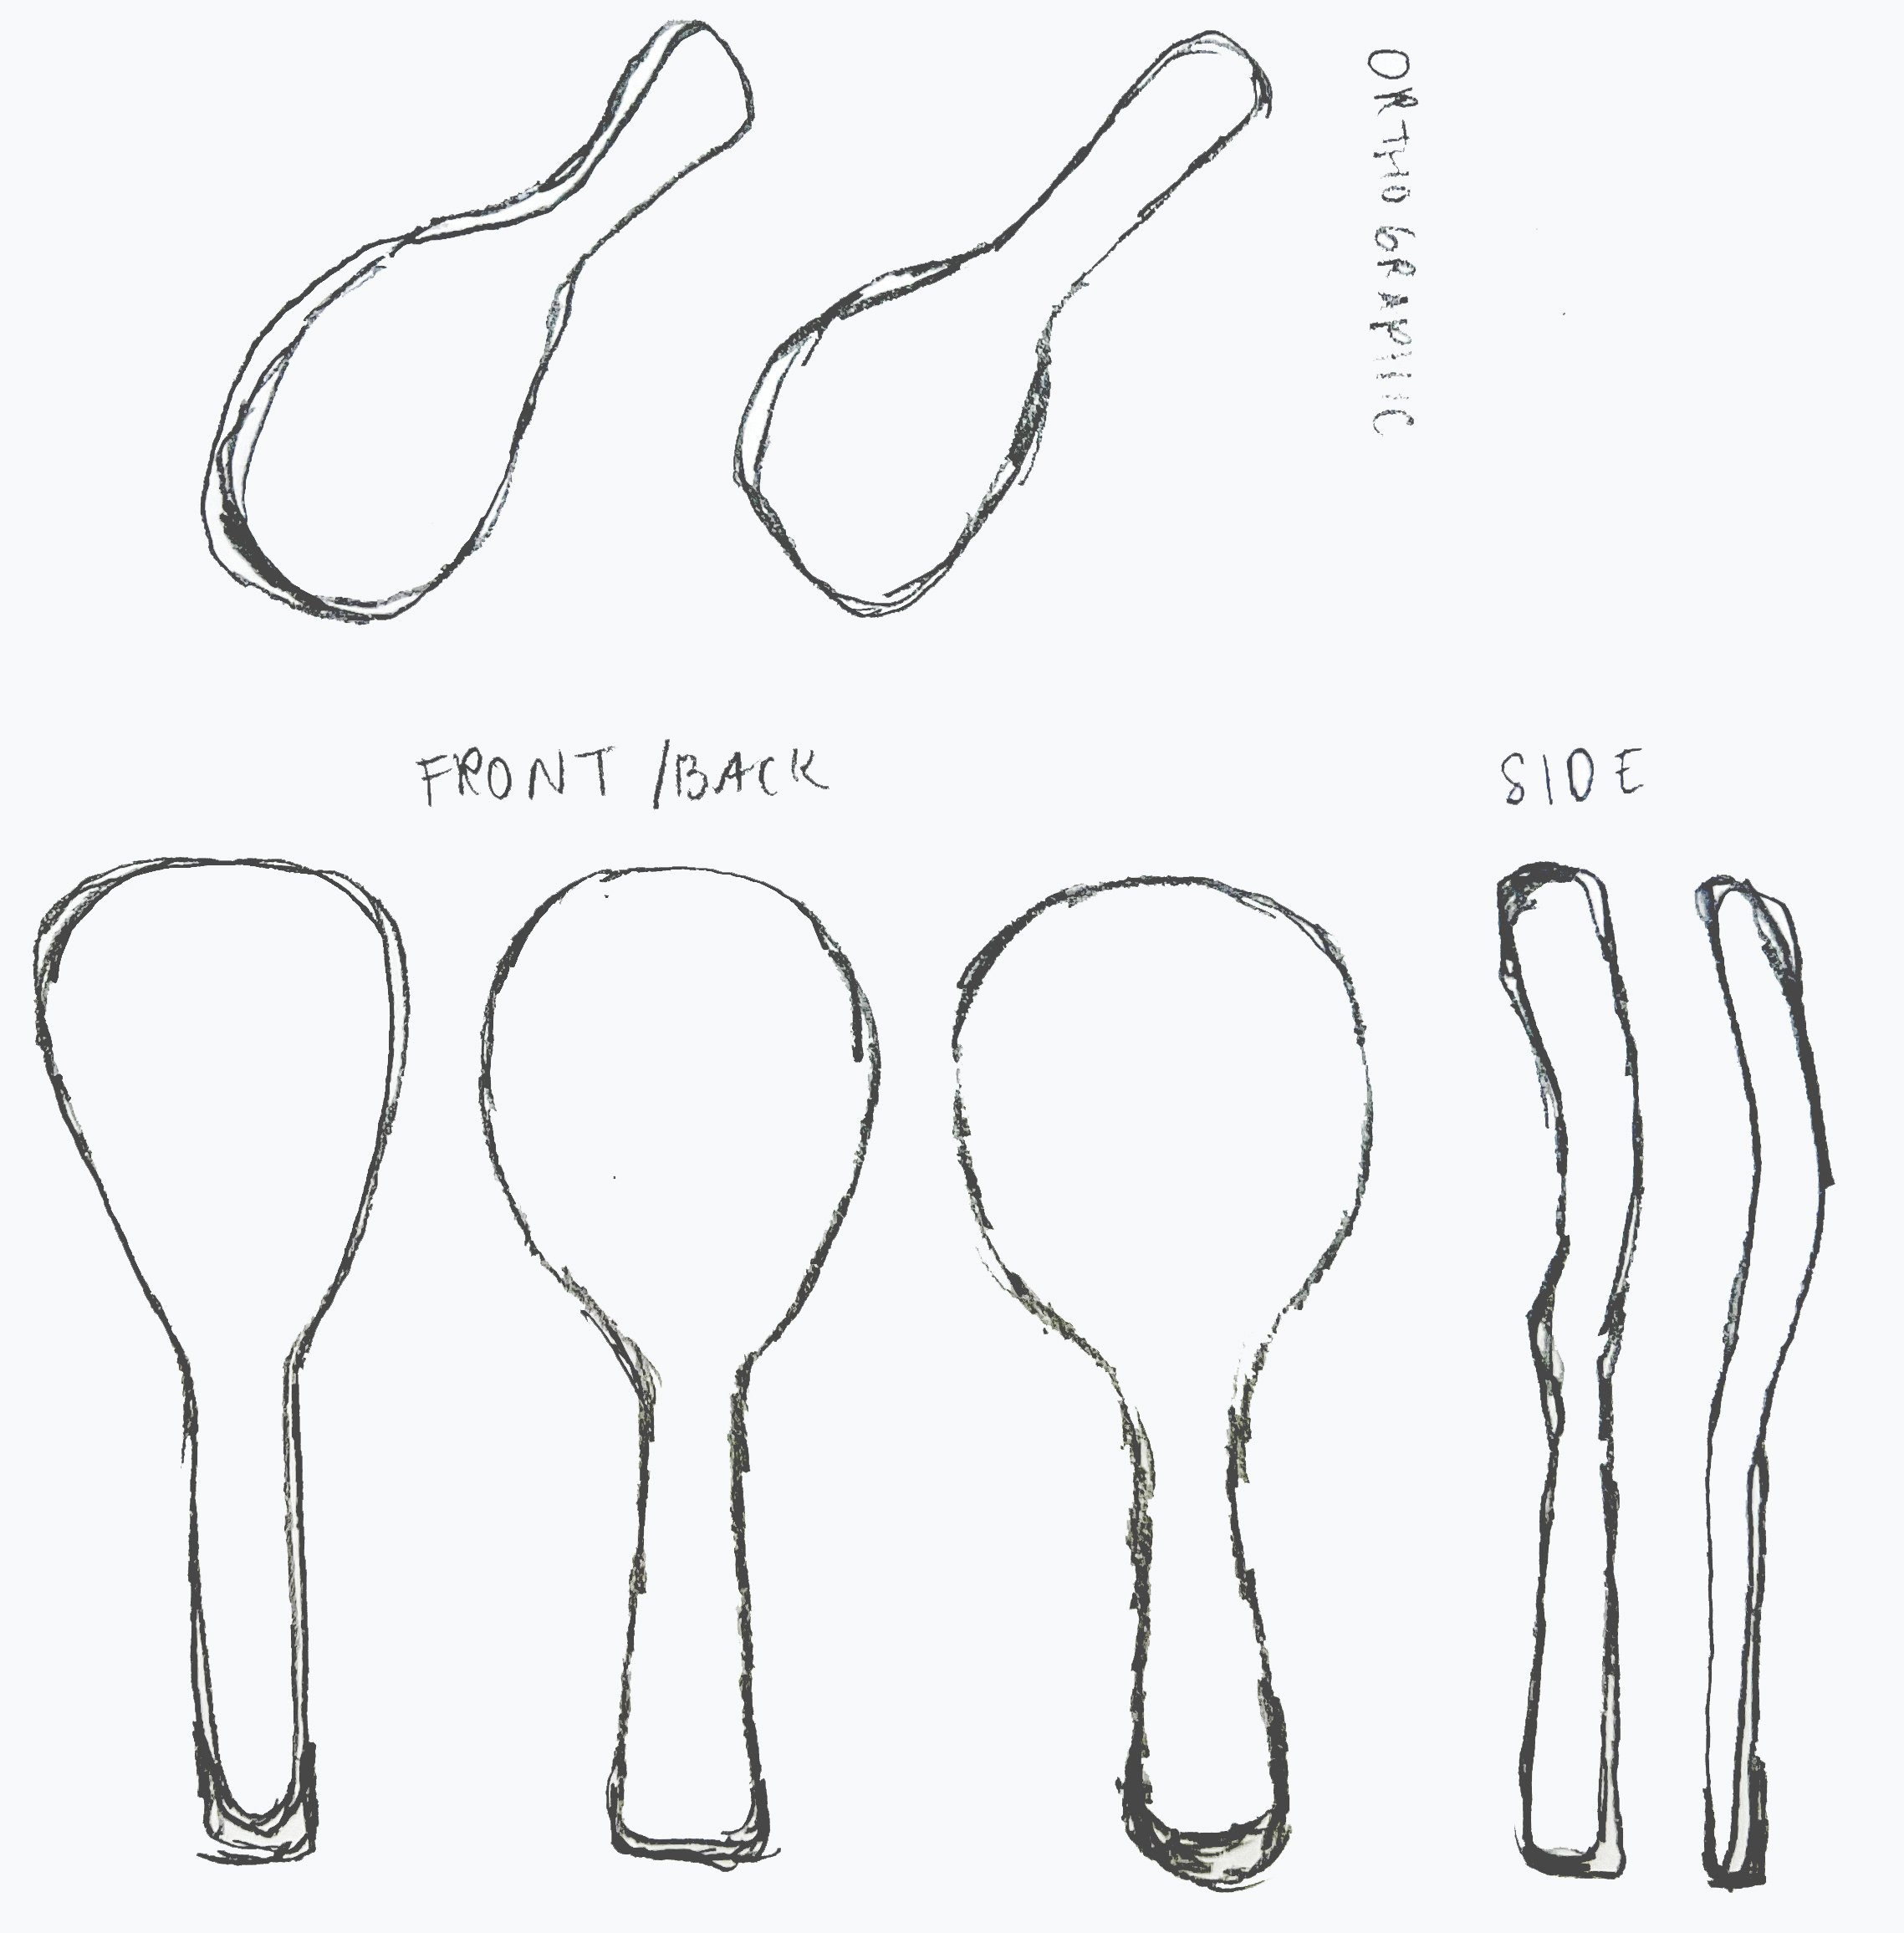
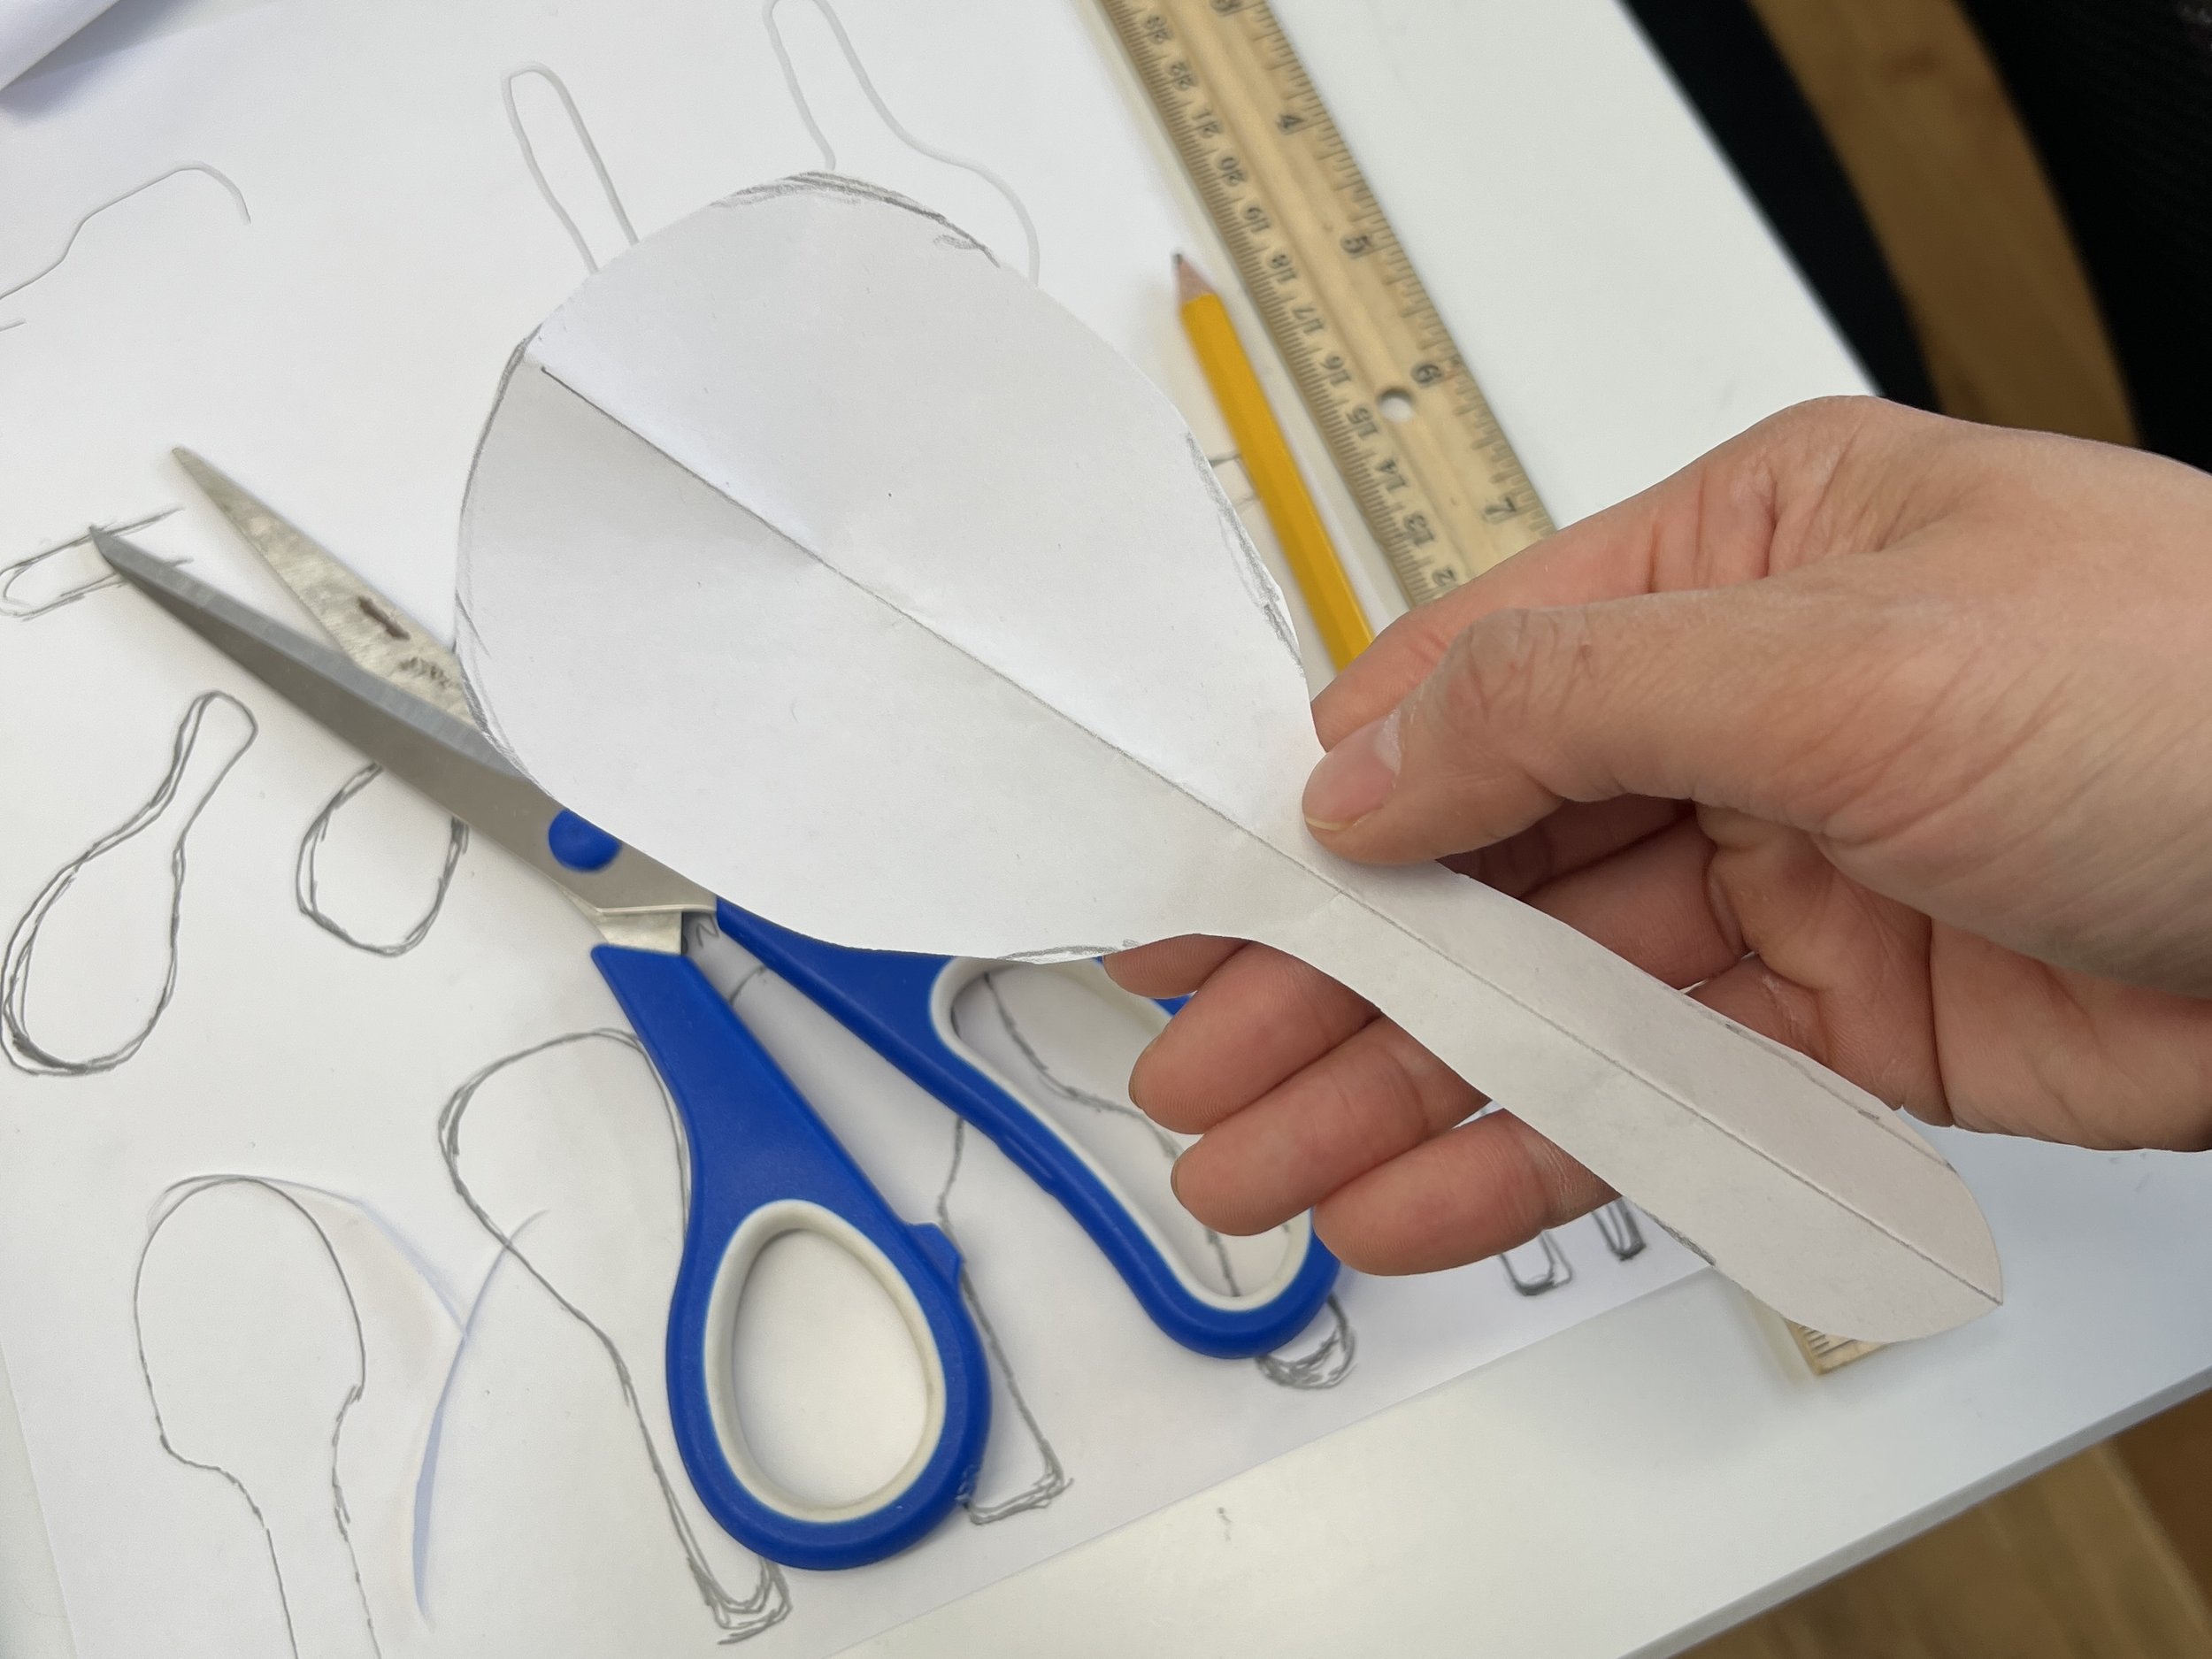
Designing a simple kitchen utensil is actually more difficult than you think it might be. I thought about how the rice paddle would function when sticking it into a pot of rice, or how it would fit in my hand. I started sketching out a few shapes before moving on to paper cutouts to get a feel for what size and shape to go with. I also asked a few friends and family for their opinion.

Process

I watched a few tutorials on YouTube to learn a few different woodworking approaches to making wooden spoons and spatulas. I saw a technique where one person used the band saw to cut the flat outline, tape it all back together, and then turn the block of wood sideways to cut out the shape of the profile. I went with this method to create the rough shape of the paddles.

The rough shape of the paddles after being cut with the band saw.

One issue though: I should have cut the profile of the paddle on the scooping side much thinner. I ended up spending a lot of time on the sanding machine trying to subtract more material from each one. I also struggled with shaping the inner curve of the paddle. I used the top rounded end of the belt sander to achieve the final shape, and then cleaned up the shape and surface further with hand sanding. I used a power hand sander in addition to using a wooden dowel (to get the rounded inside corners of the handles) and a rectangular scrap piece of wood as sanding blocks.

A rice paddle all done with power sanding and ready for finer hand sanding.

Result

As you can see, the five paddles are close enough, but not exactly the same. Even when I thought I was cutting and sanding each piece evenly, there were variations in size and shape. I added a finish of mineral oil to protect the wood and prepare them for actual rice cooker usage. The oil gave the paddles a slightly darker color.

Five rice paddles – that you can also stand up on the kitchen counter when not in use.

Intro to Fabrication: Week 1

Theme

Over the years and especially from my most recent visits to the Philippines, it has become a part of my personal mission to honor and preserve my Filipino cultural heritage in America. I've become passionate about highlighting Philippine coffee and handweaving traditions in other projects outside of NYU, and it's a theme I'm contemplating on building upon for my thesis. In the realm of learning fabrication, I believe there are so many cultural references and design motifs in the Philippines to take inspiration from, so I plan on building a family of objects that relate to this theme of heritage.

Assignment

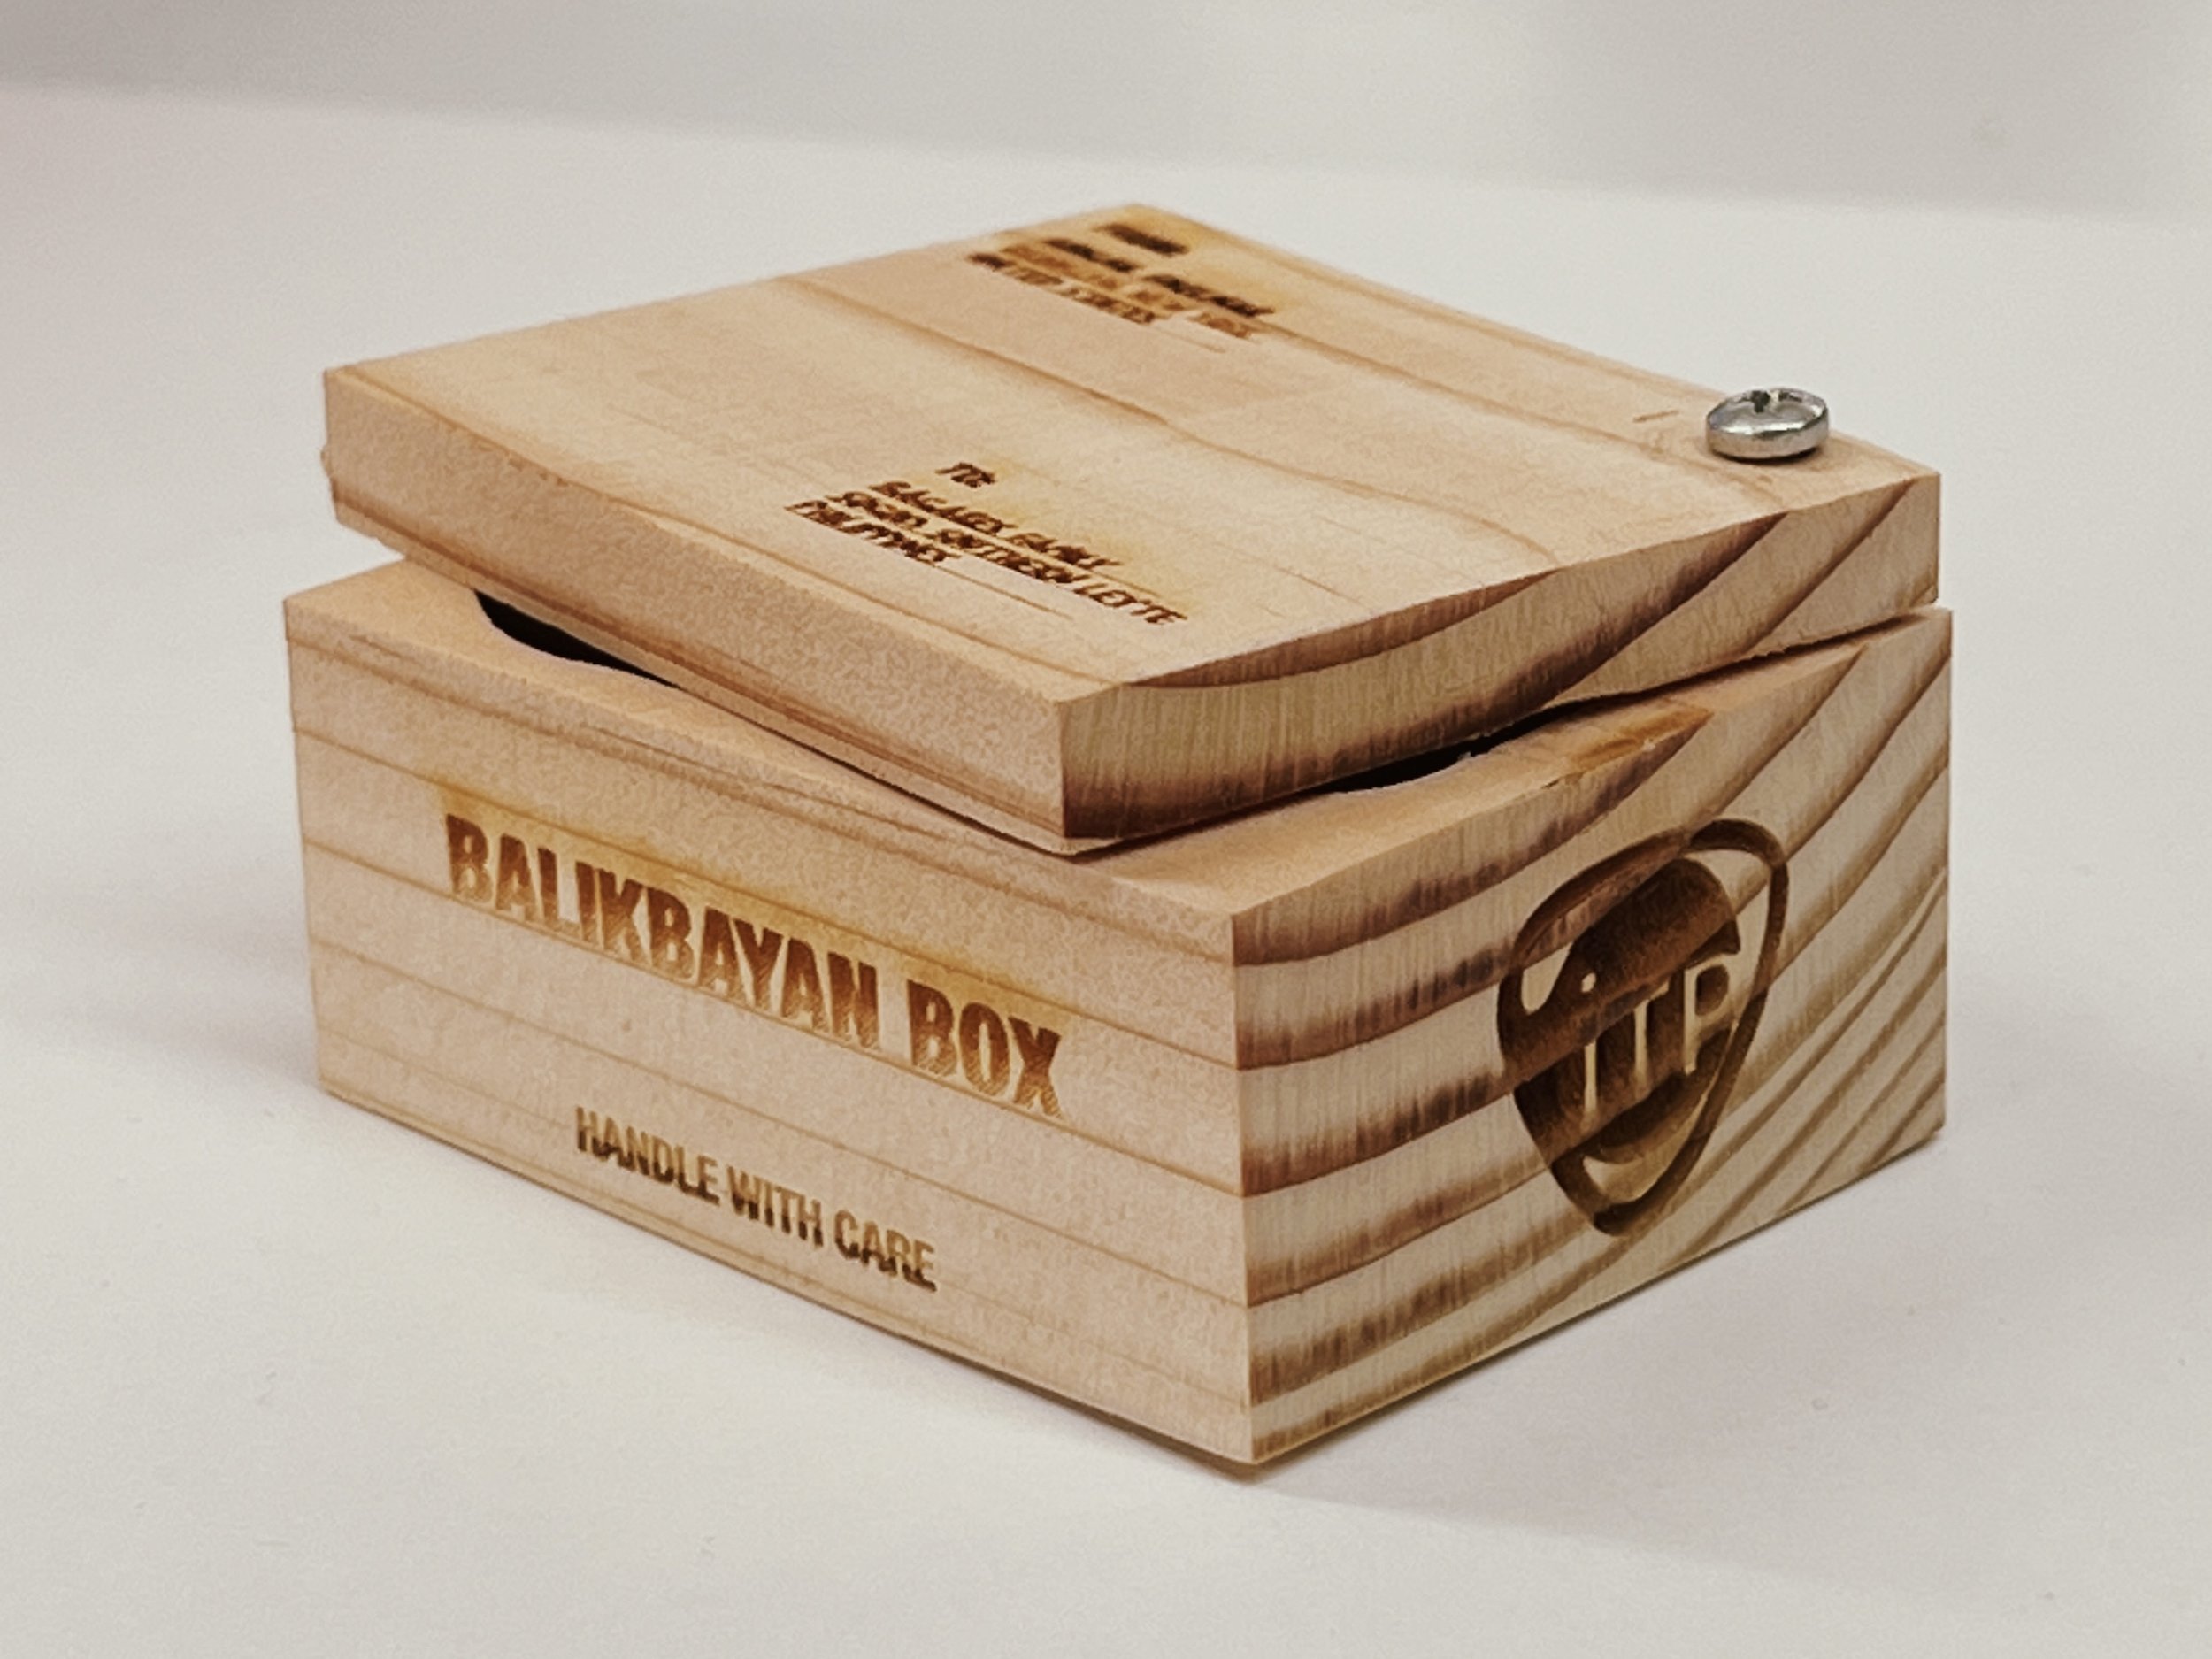
For our first assignment, we were specifically required to make a box with the fabrication methods we learned in class: utilizing the band saw, drill press, and belt sander. The top/lid of the box should be attached with a screw and swiveled to open.

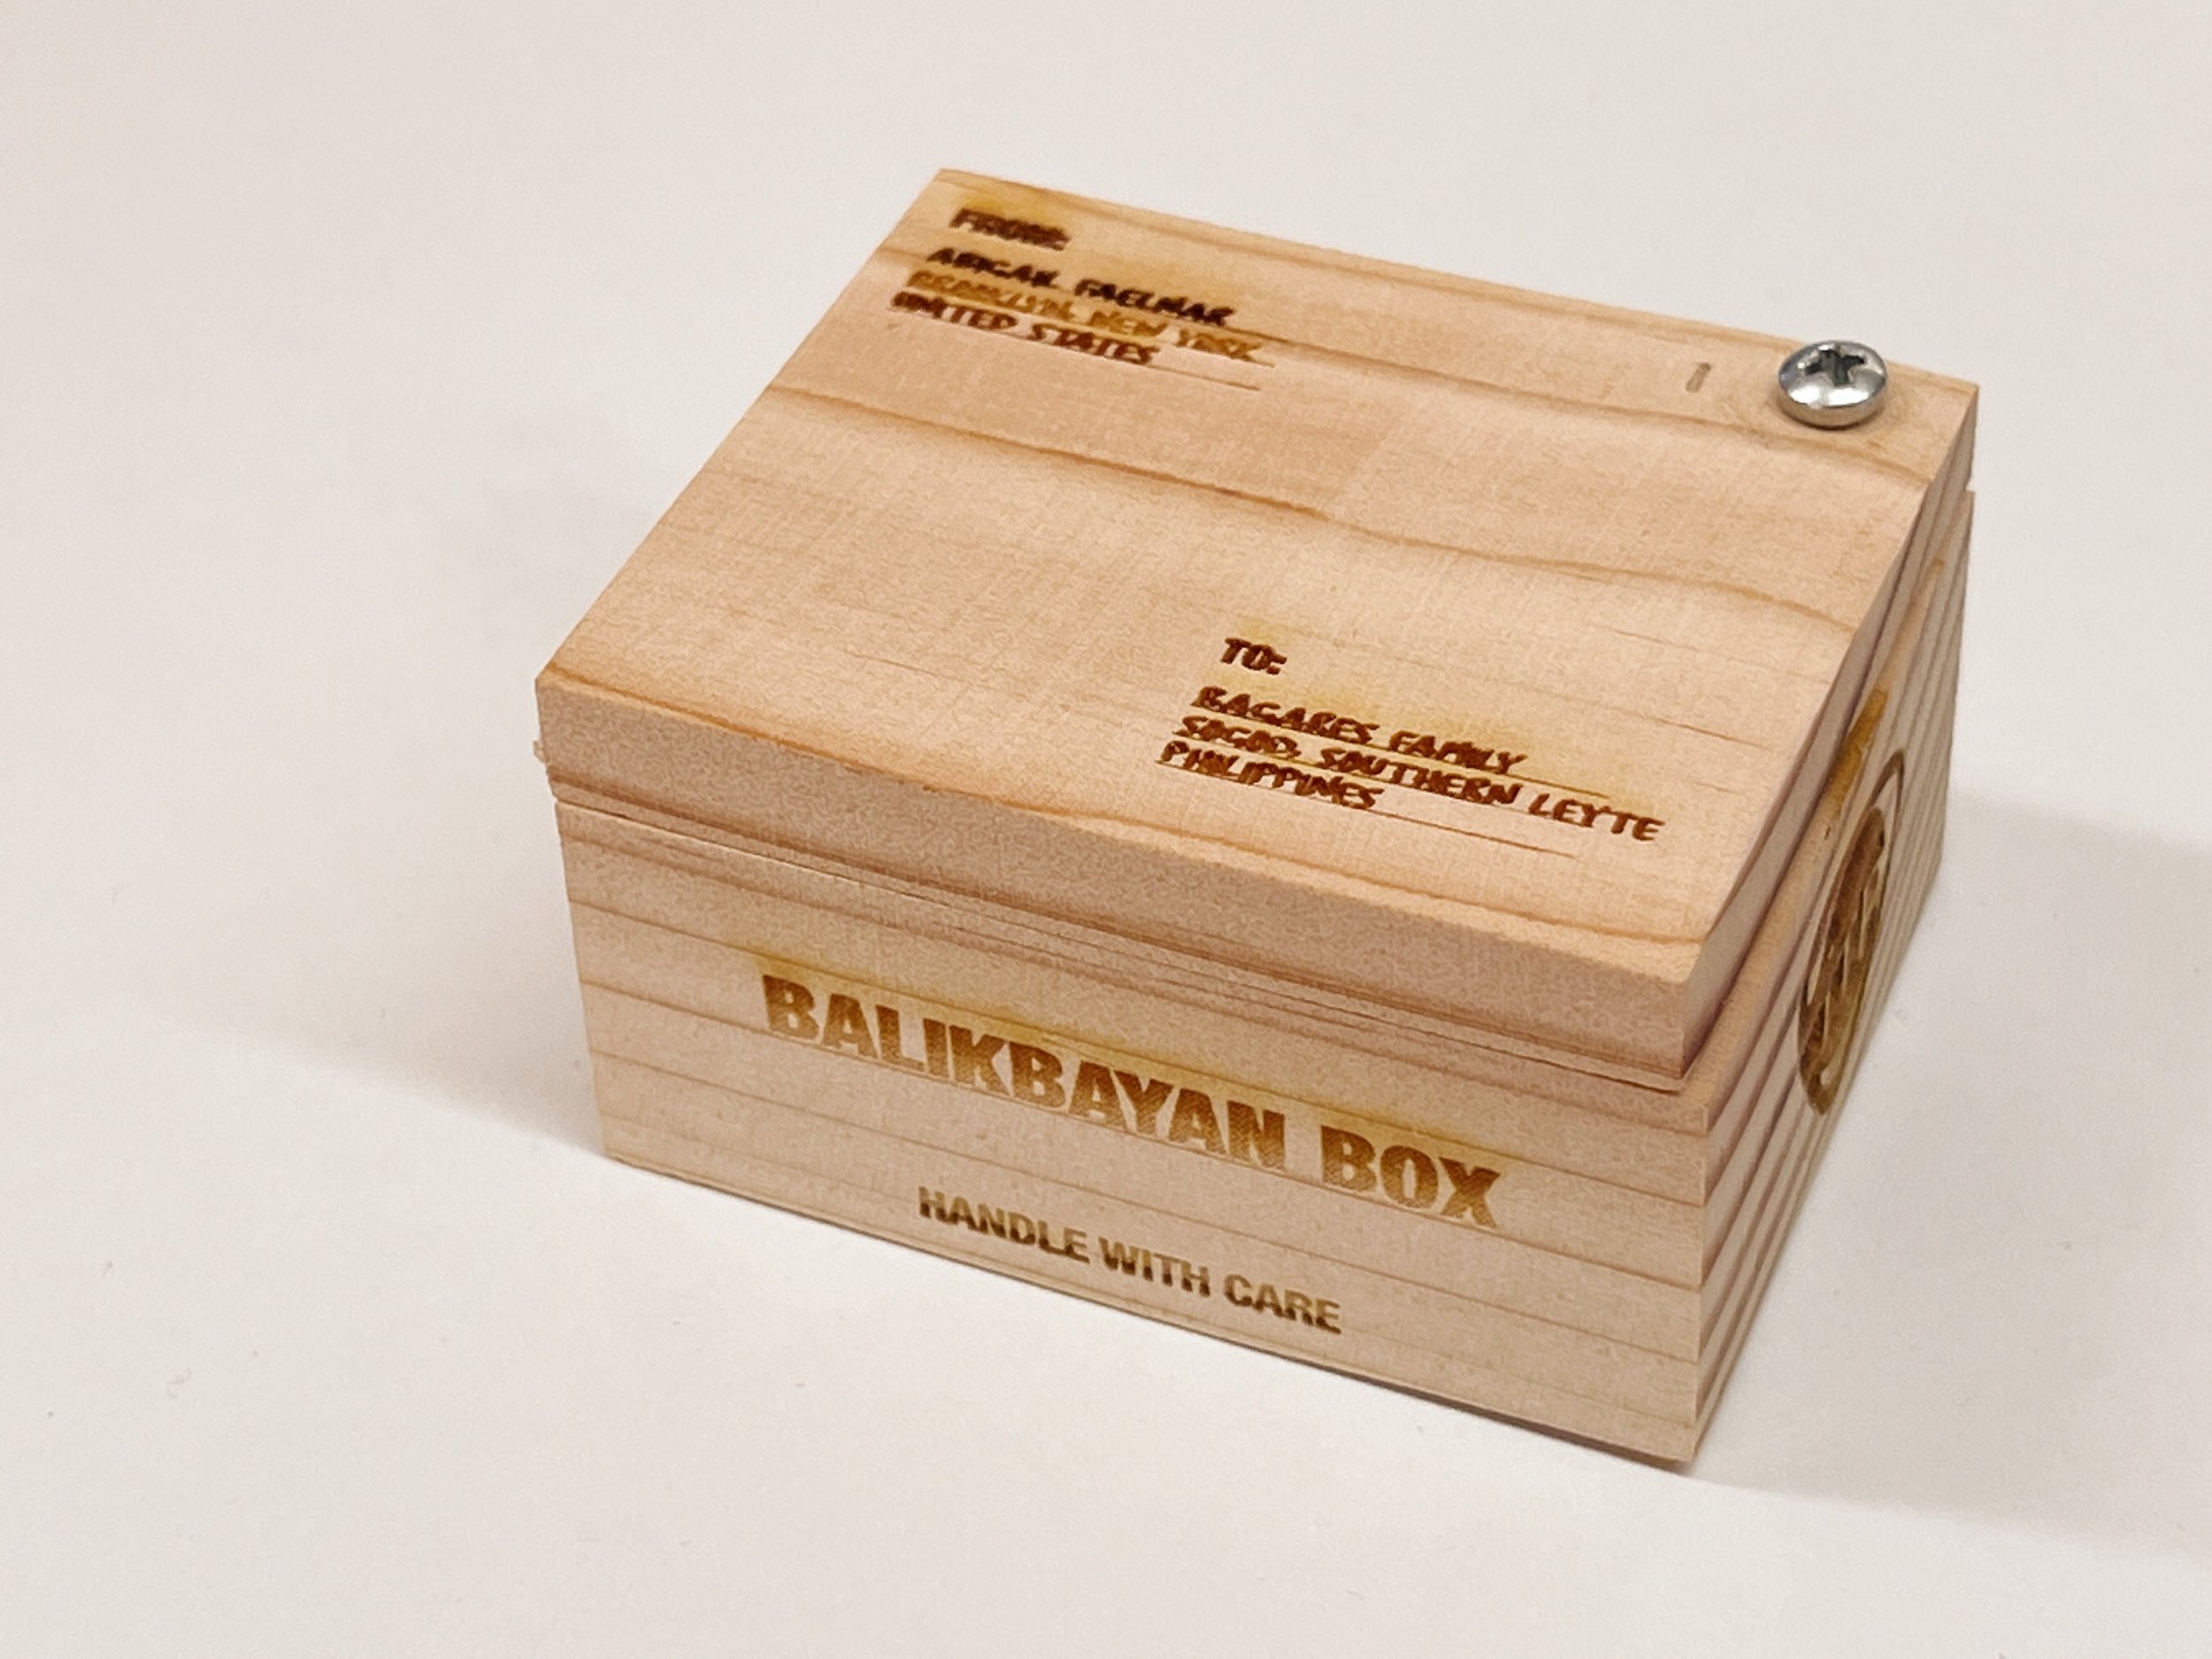
I knew immediately what kind of box I wanted to make that would fit my theme. I chose to make a miniature version of a “balikbayan box” – the large cardboard boxes full of items that Filipinos overseas or in America would send to their families back in the Philippines (the term “balikbayan” refers to a Filipino returning to the Philippines after being away/abroad).

Drawings

Some rough sketches of what I envisioned the box would be and how the box turned out (overall, quite similar).

Process

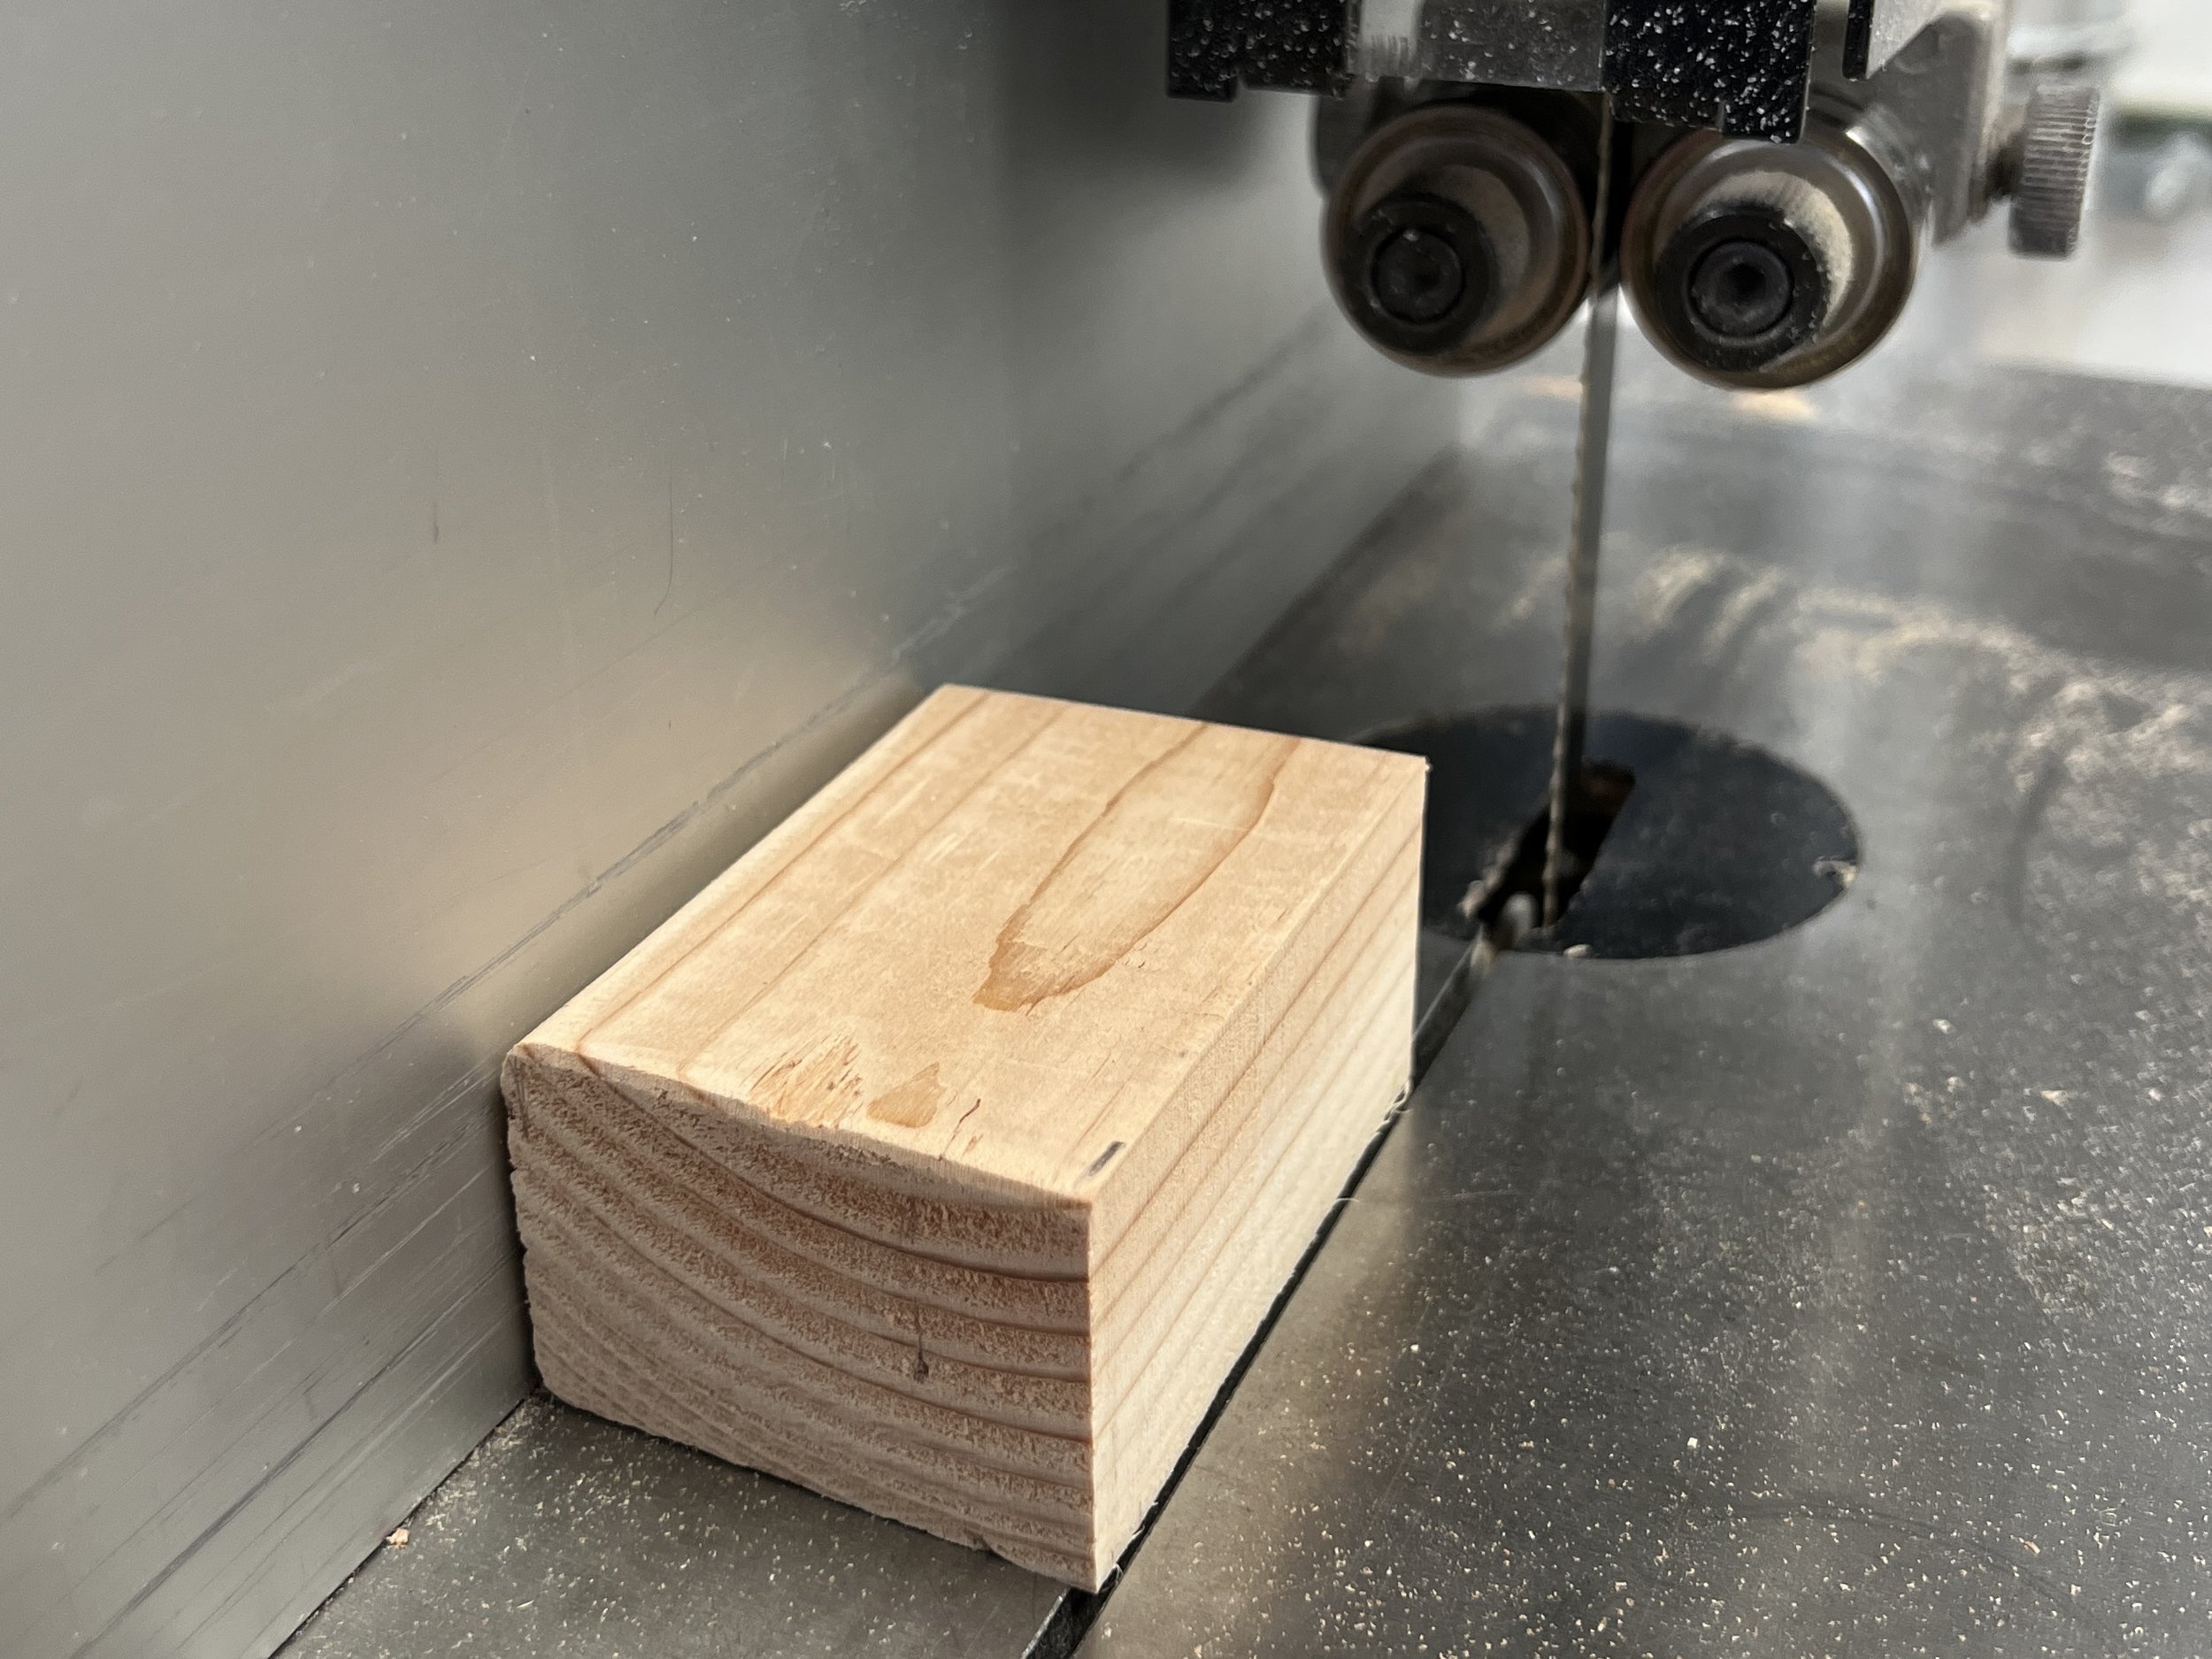
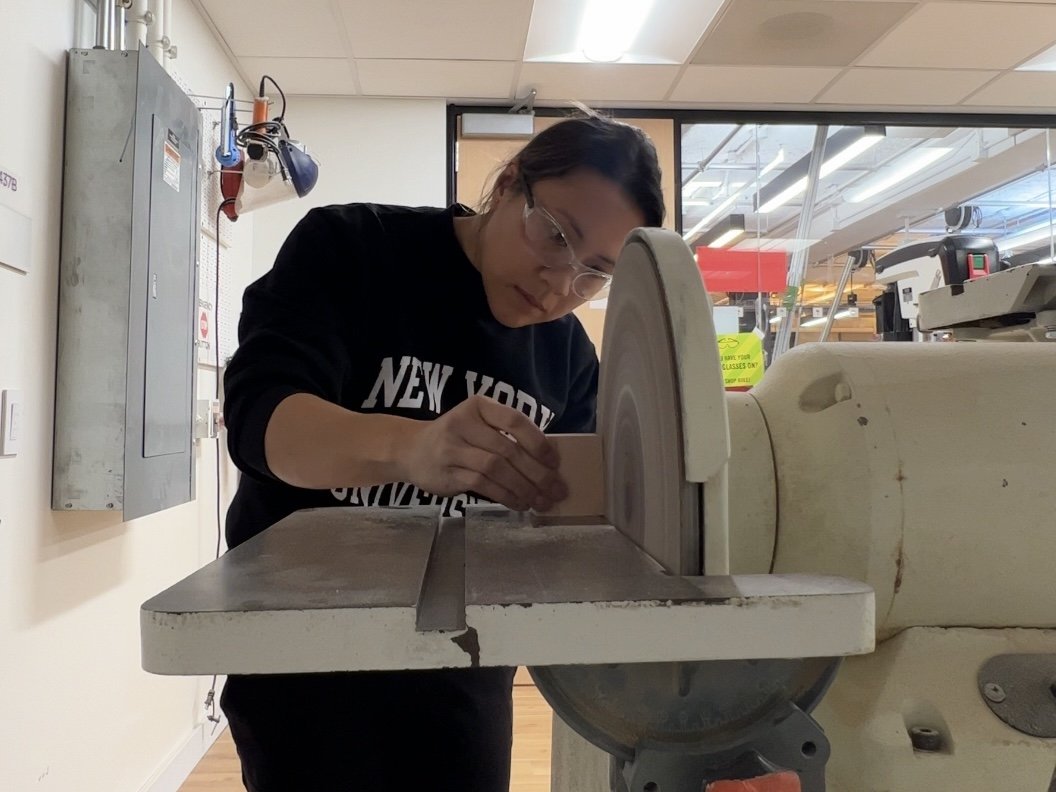
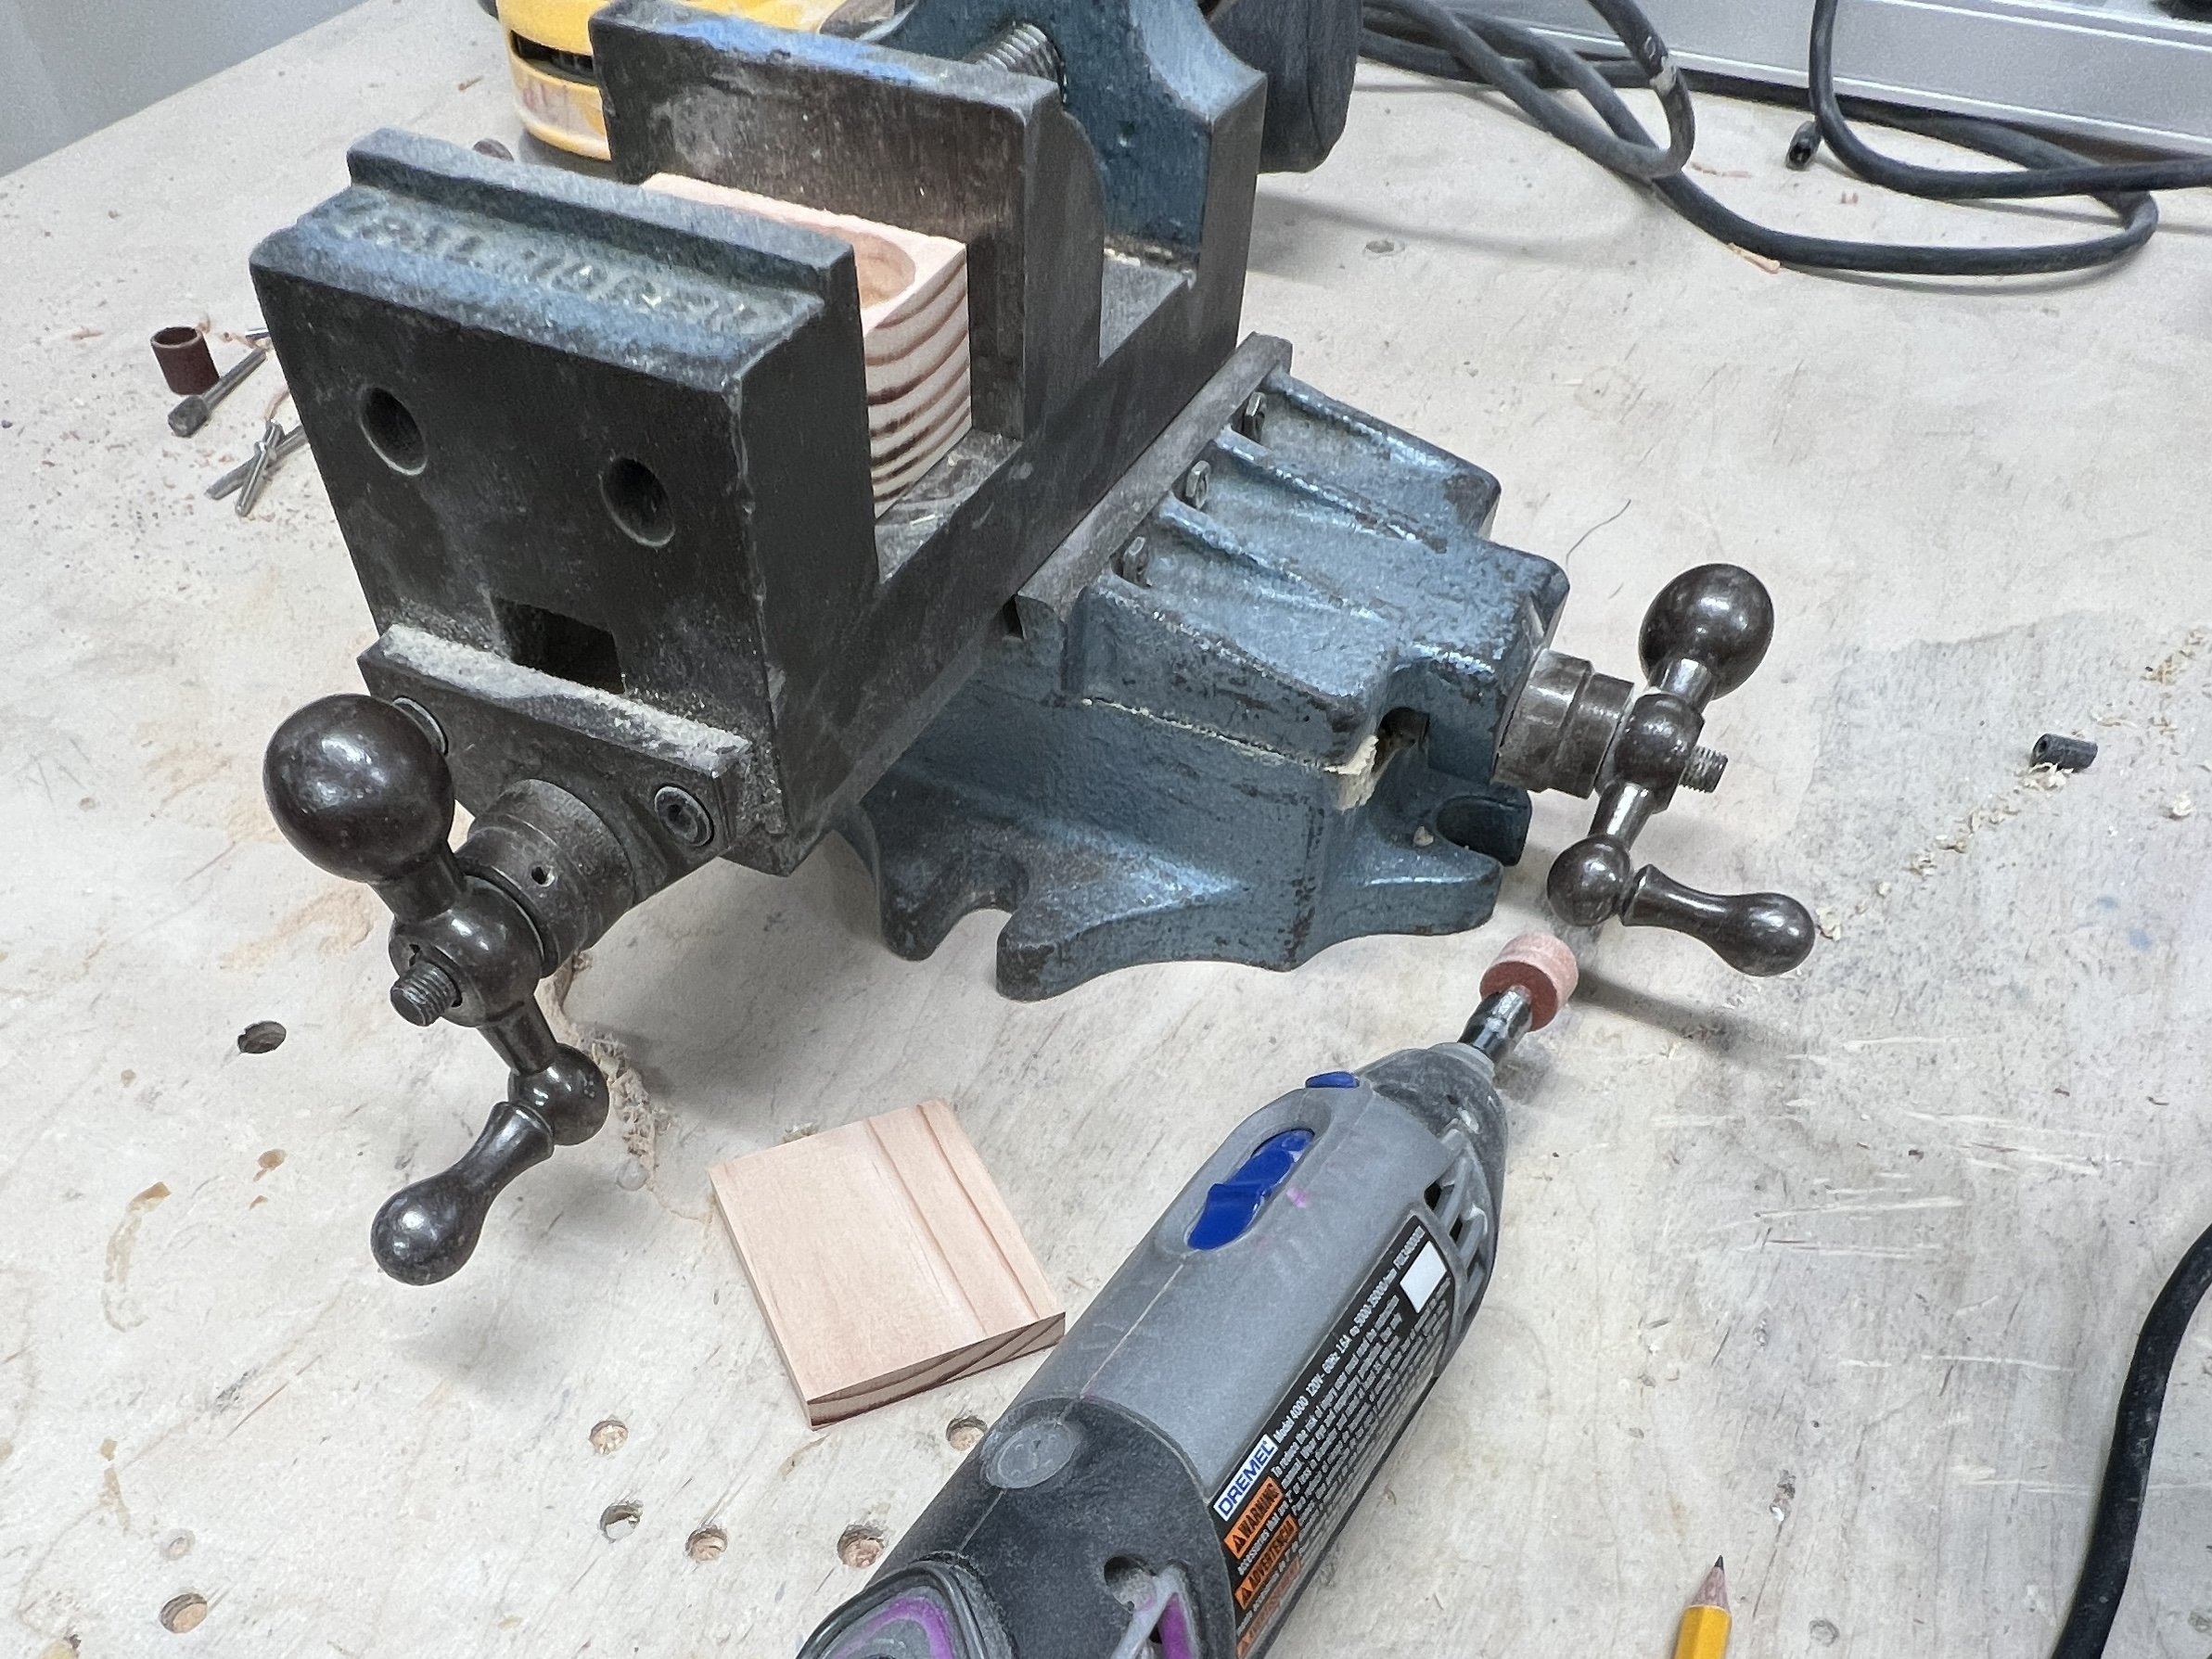
I found the whole process overall very therapeutic. It was nice to switch it up from digital work and create something physical, spend time away from my screens, and truly focus on only one task at a time. Sanding wood down to a smooth surface was just incredibly satisfying. I quickly learned that fabrication is a whole lot of learning by doing when it came to how much pressure to apply to the wood against the belt sander, how to adjust components on different pieces of machinery, making use of the dremel to smooth out the inside of the box. This all also came with a splinter that I’ll have to learn how to properly take out.

Result

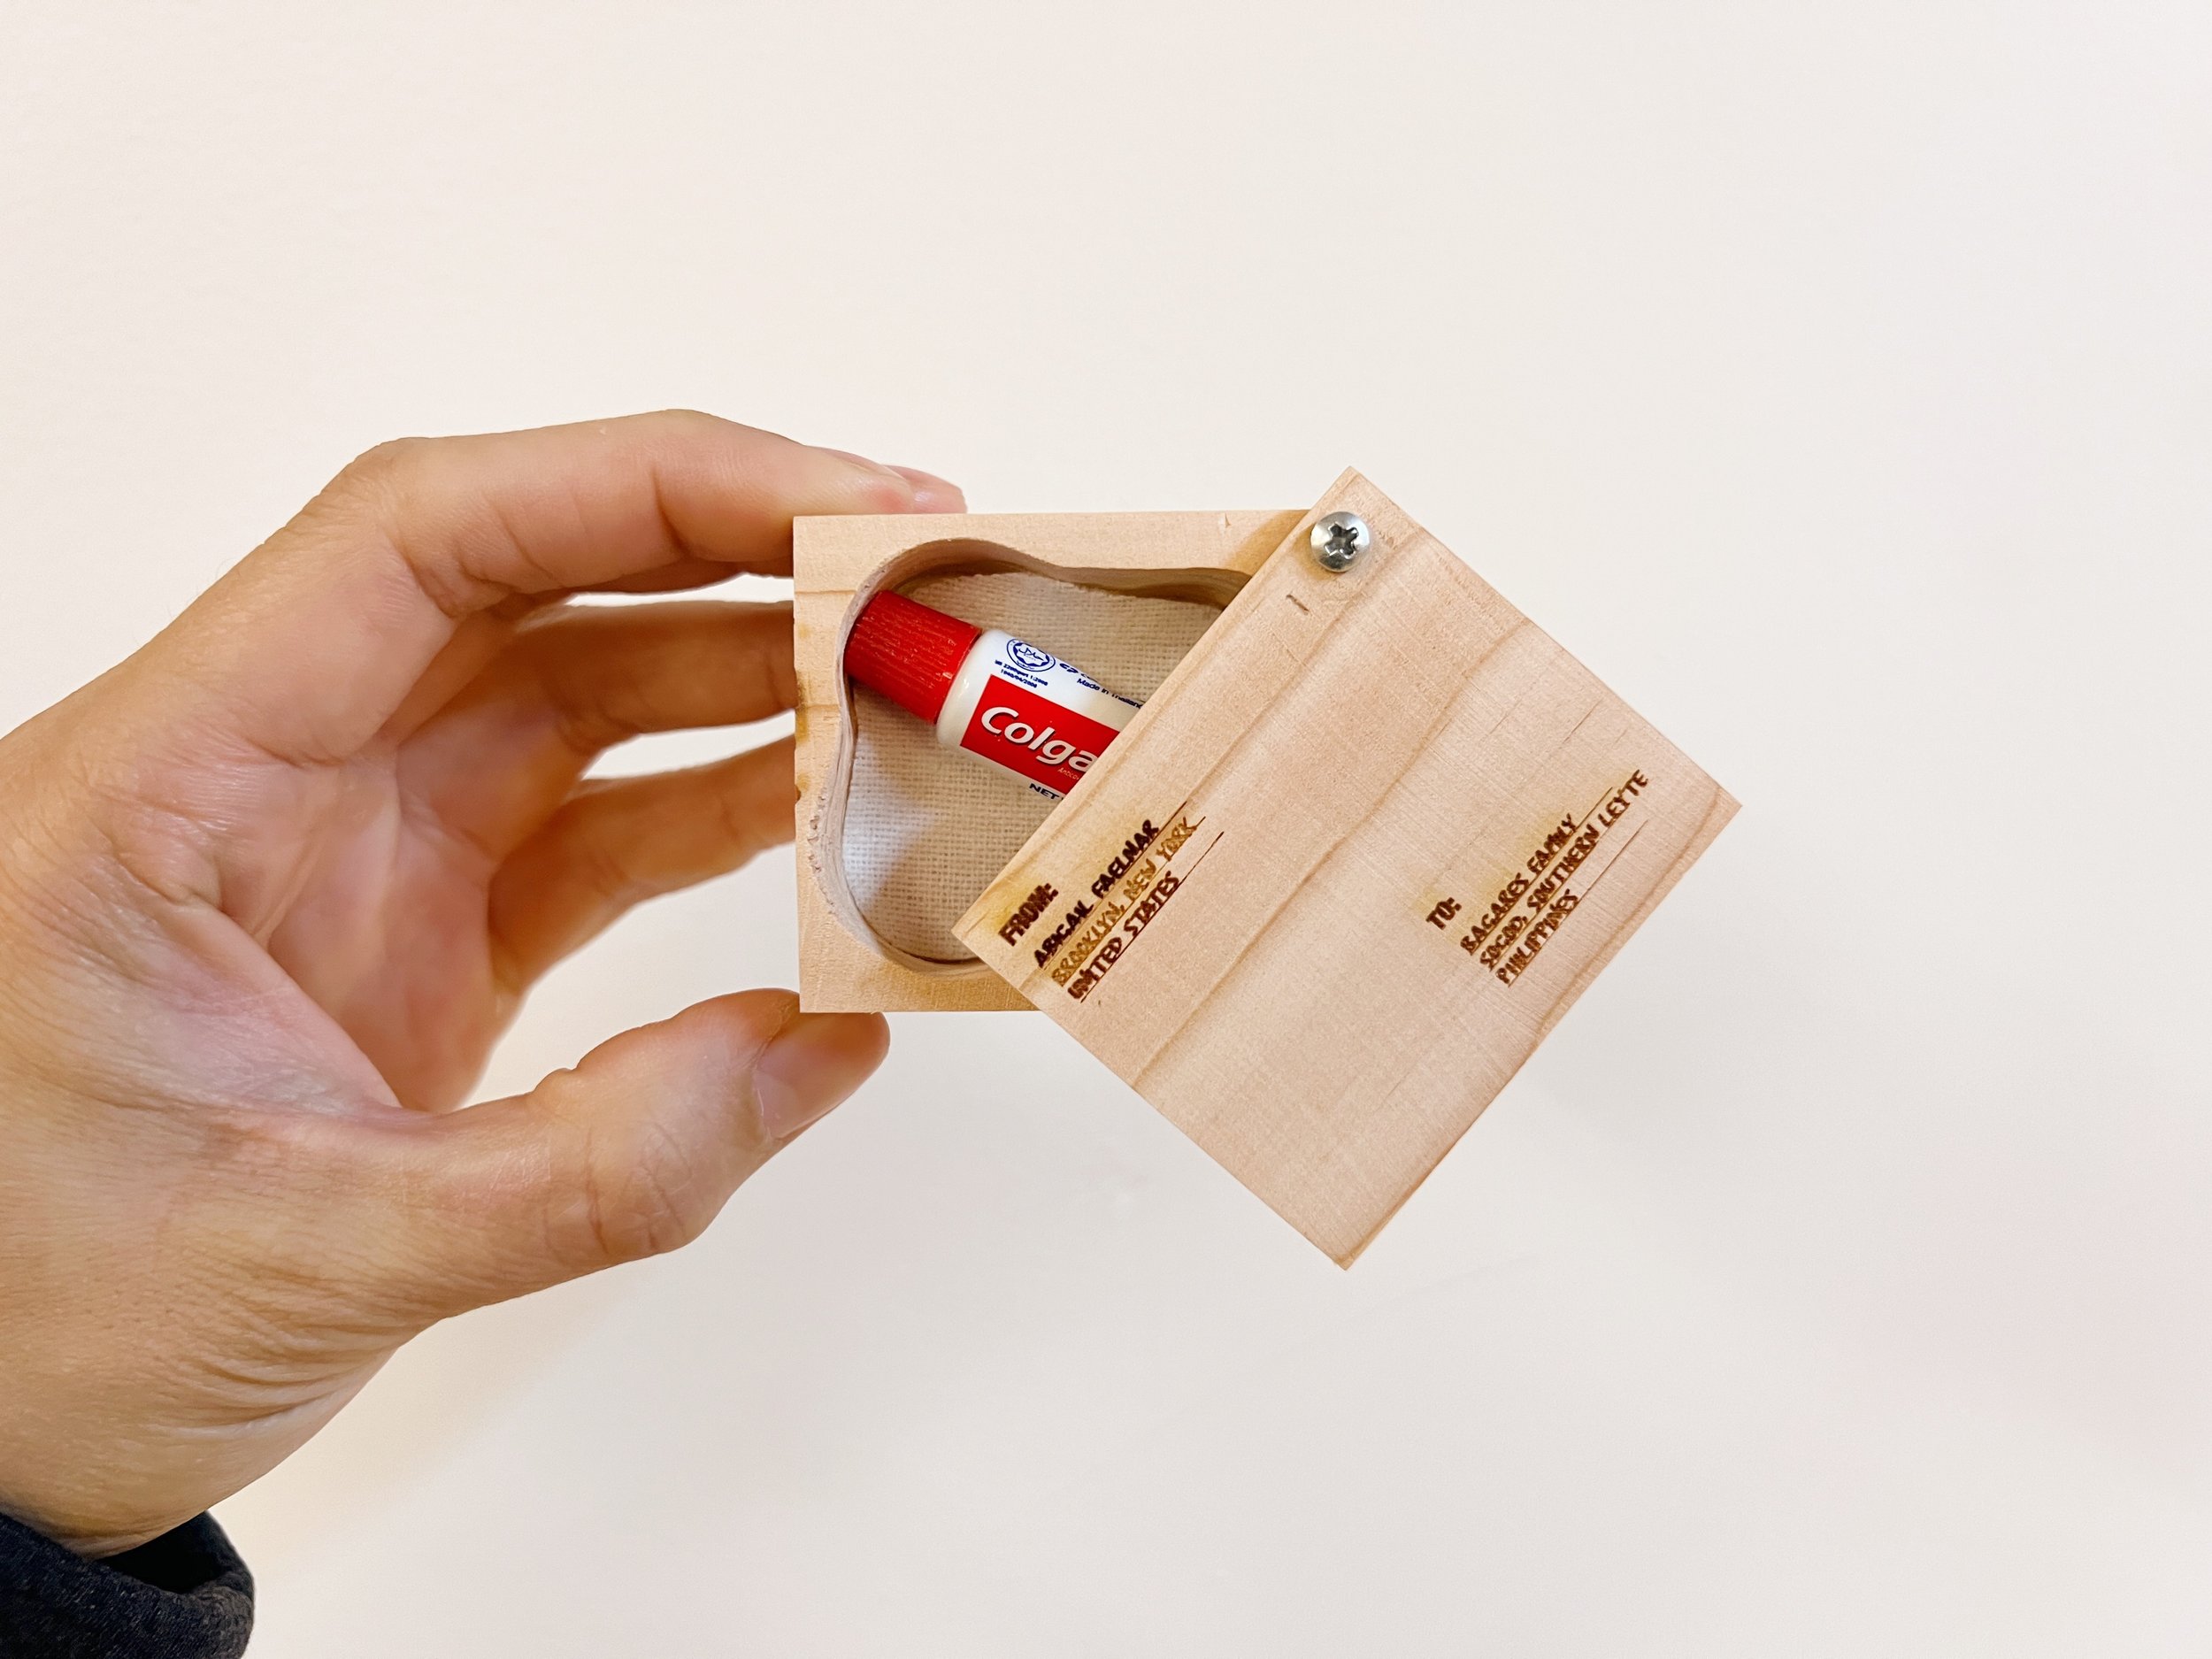
I didn’t think about what the contents of this balikbayan box would be until after I made it. It would make the most sense to fill it with objects that are commonly sent in these boxes: clothes, shoes, personal care items, magazines, canned goods, etc. A friend suggested making a box that was big enough to perfectly fit just one can of Spam – but the scrap piece of wood I had could not make that happen. I remembered I had a miniature tube of Colgate toothpaste (note: since there’s no direct translation of “toothpaste” in the Philippines, Filipinos often refer to any tube of toothpaste as “Colgate”) that came in the airplane kit from my most recent Philippine Airlines flight to Manila. It fit inside perfectly. I would consider making this box again but in larger sizes to function as a trinket box.