Assemblies
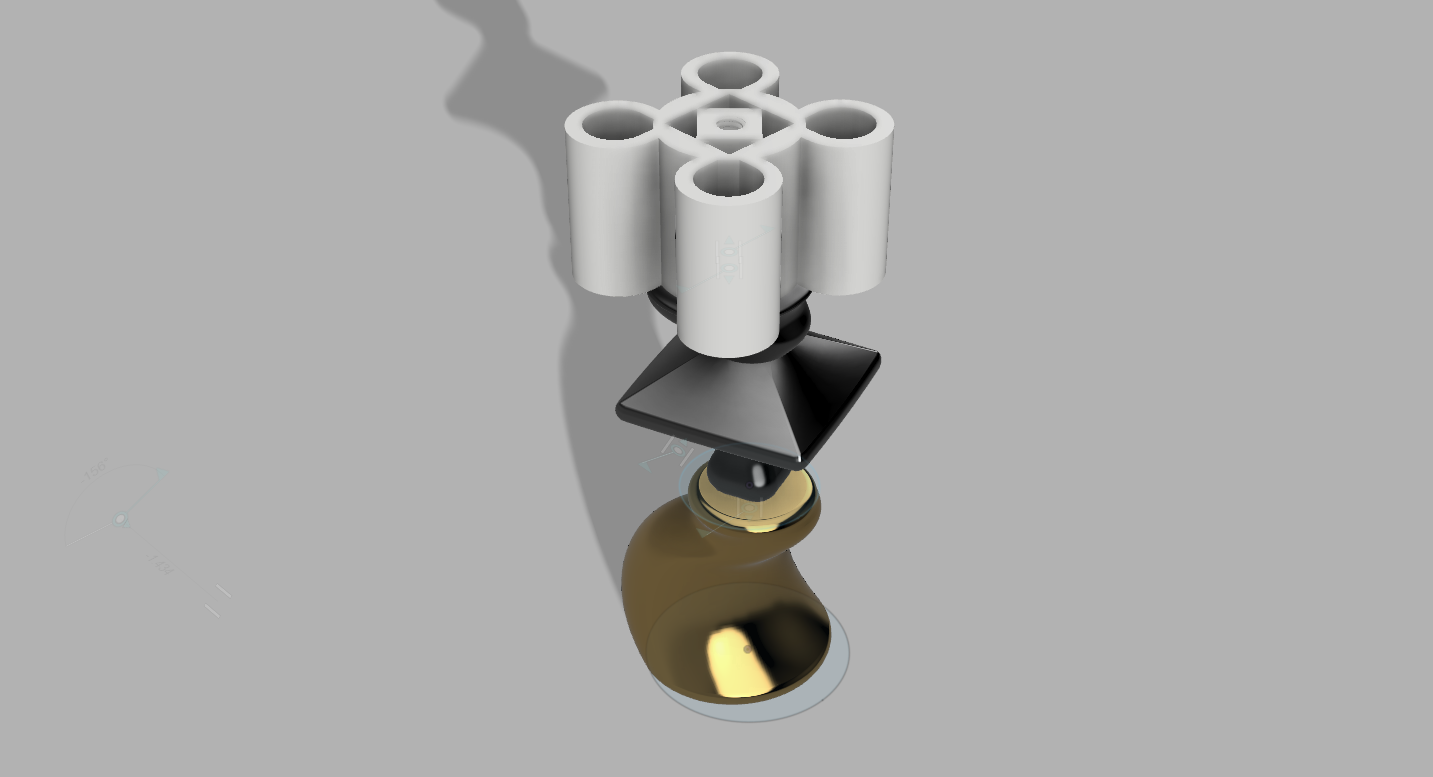
Building off from the last assignment to make a double-threaded part, for this week, we shared our files to join our individual parts with 1/4-20″ threaded rods. I set up an assembly by placing my part on the bottom and then joined two additional parts from our shared folder using two 1/2” rods.
The front view of my shared assembly.
A rendered version. Looks like it could be a taper candle holder.
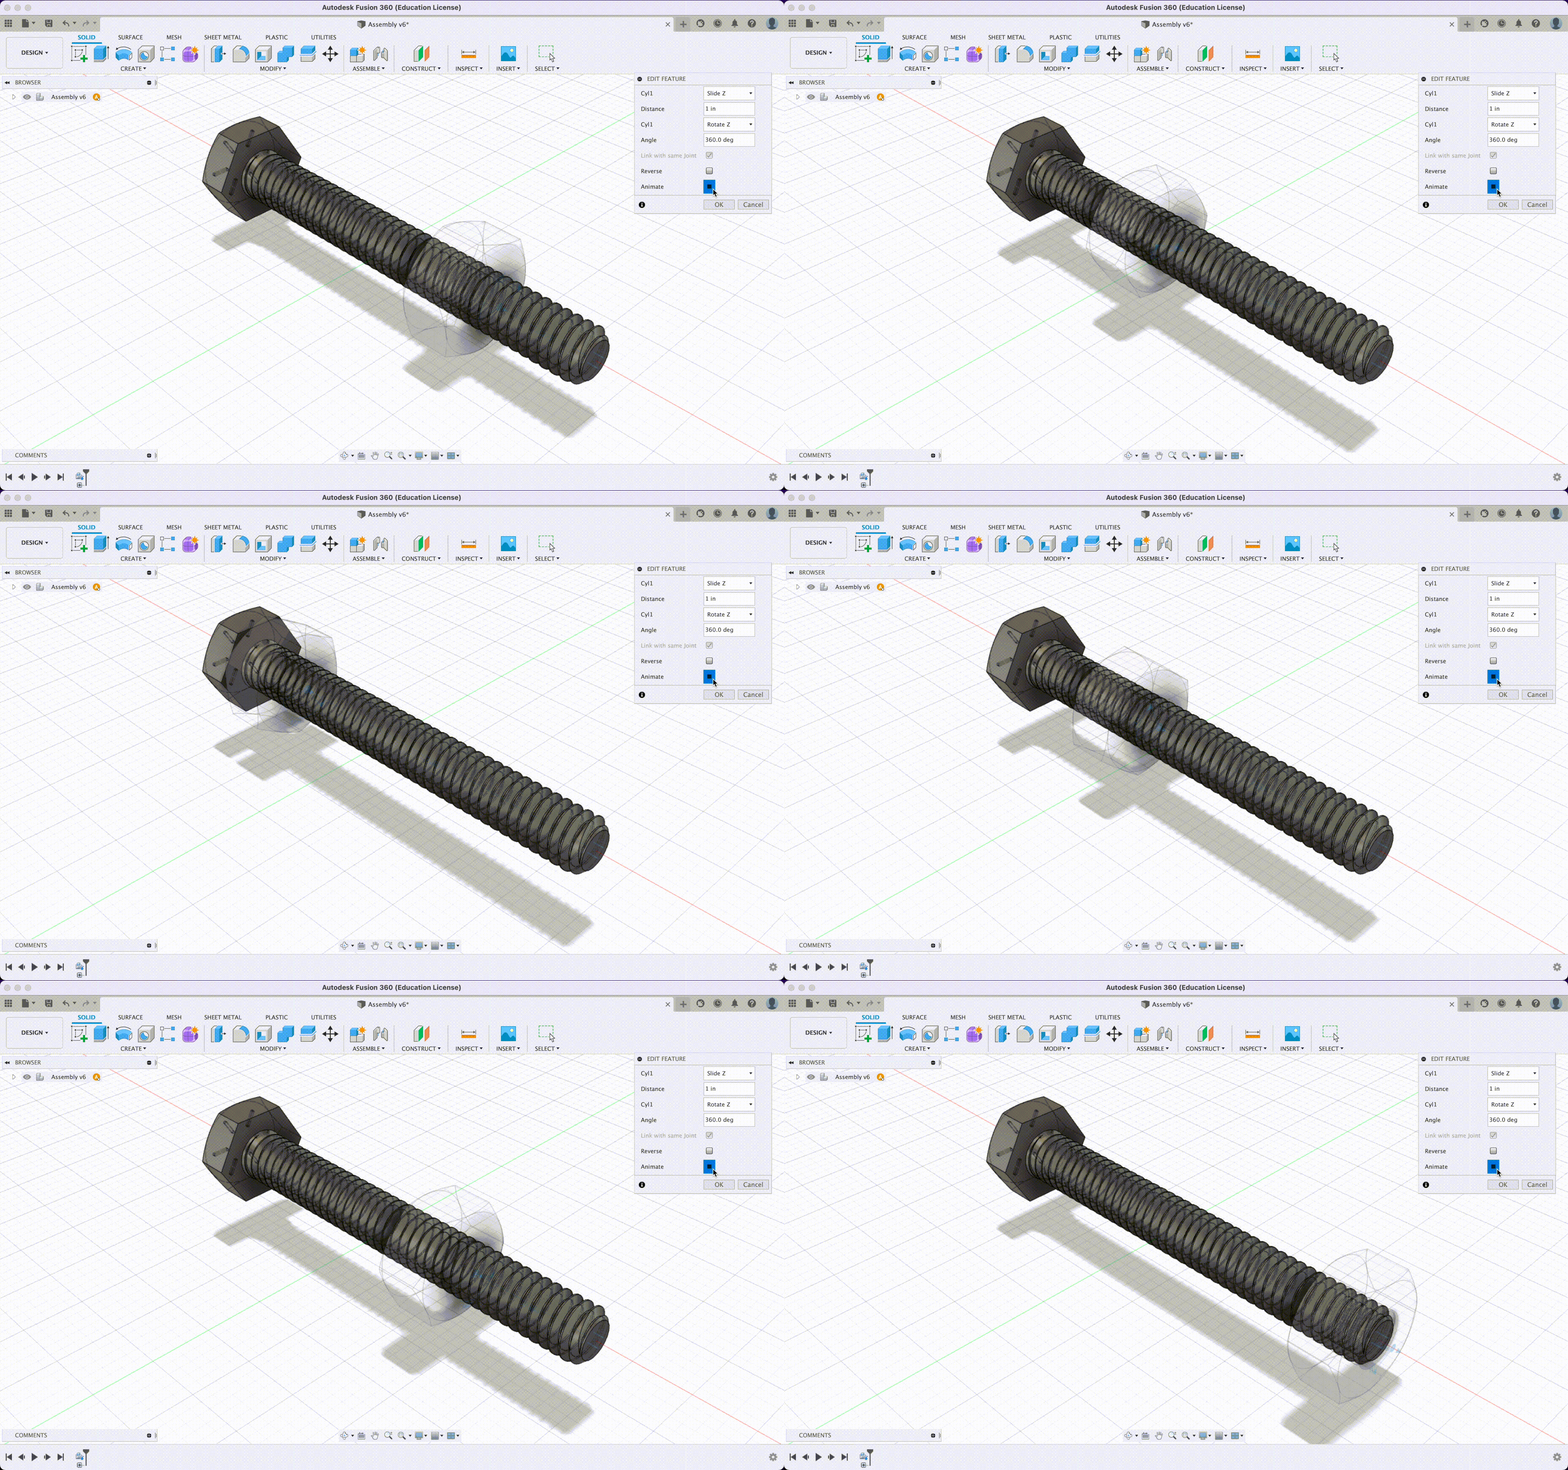
The next part of the assignment was to create an assembly and animate them. As I was still trying to practice the joint feature in Fusion360, I followed the Cylindrical Joint example tutorial, which helped me understand how to create and animate realistic movement with actual parts, including adding constraints for rotations and sliding motion like the hex nut on the thread.
An animation of a hex nut rotating along a hex head screw using motion link.
Linkages
Project Idea
After running the Mechanical Expression simulator and seeing how changing the values of each part of a four bar linkage, I chose a path that had a sweeping motion. The first idea that came to mind with this motion was using an icing spatula to apply and spread frosting onto a cake.
The inspiration.
The path generated by the Mechanical Expression simulator.
My first attempt at creating and animating a working four bar linkage.


